Task 7 - Change Control
Overview
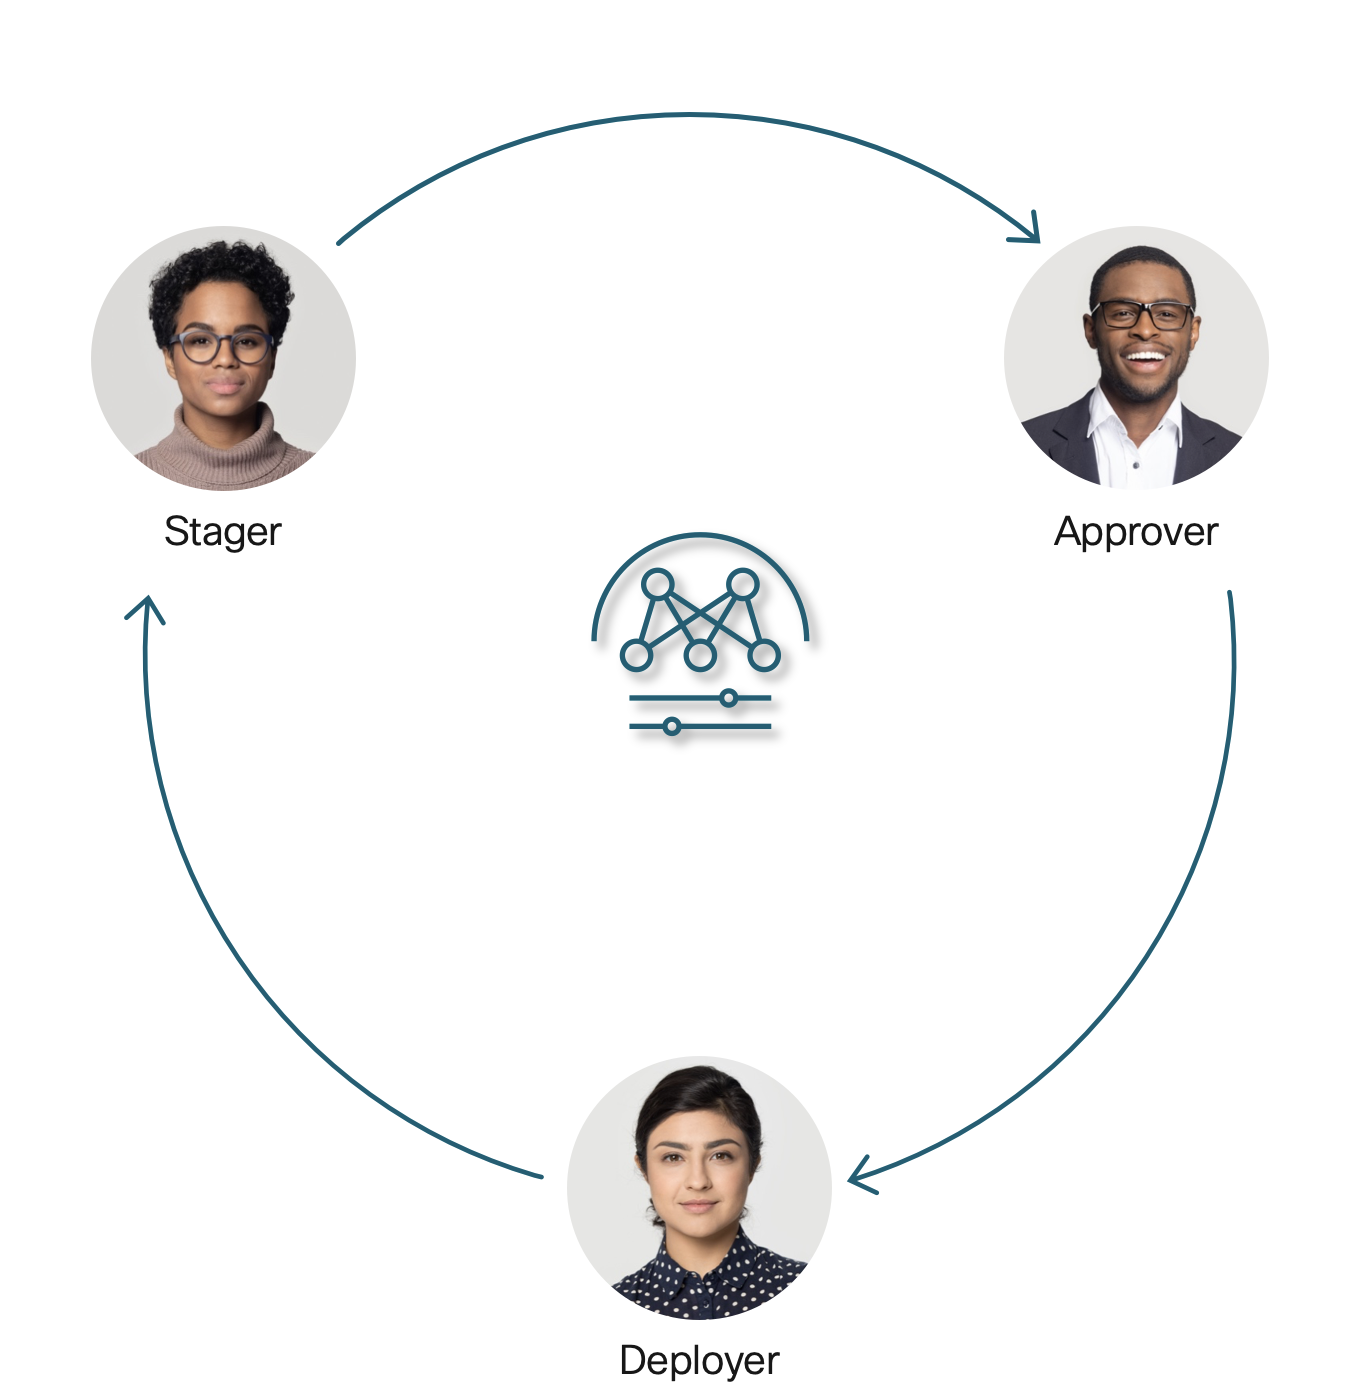
The change control feature enables tracking of intent changes through a unique ticket associated with a specific action. It offers a stage/approve/deploy workflow for users with required privileges. When you enable the change control feature, all supported deployment operations must be conducted through change control tickets; no other deployment operations via the GUI or REST API will be allowed without a respective change control ticket in NDFC. For example when change control is enabled, you can save the configurations for an interface but you cannot deploy those configurations until the change control workflow for this specific operation has been completed.
Available Users
The Nexus Dashboard is already configured with the following three local users –
- stager / C1sco12345
- approver / C1sco12345
- deployer / C1sco12345
Each user is assigned the corresponding role.
Remote Authentication
These roles could also be mapped to external authentication methods like TACACS, LDAP, RADIUS, etc. Additionally, a user could hold multiple roles. For example, a user could be both a stager and deployer simultaneously.
Staging a Change
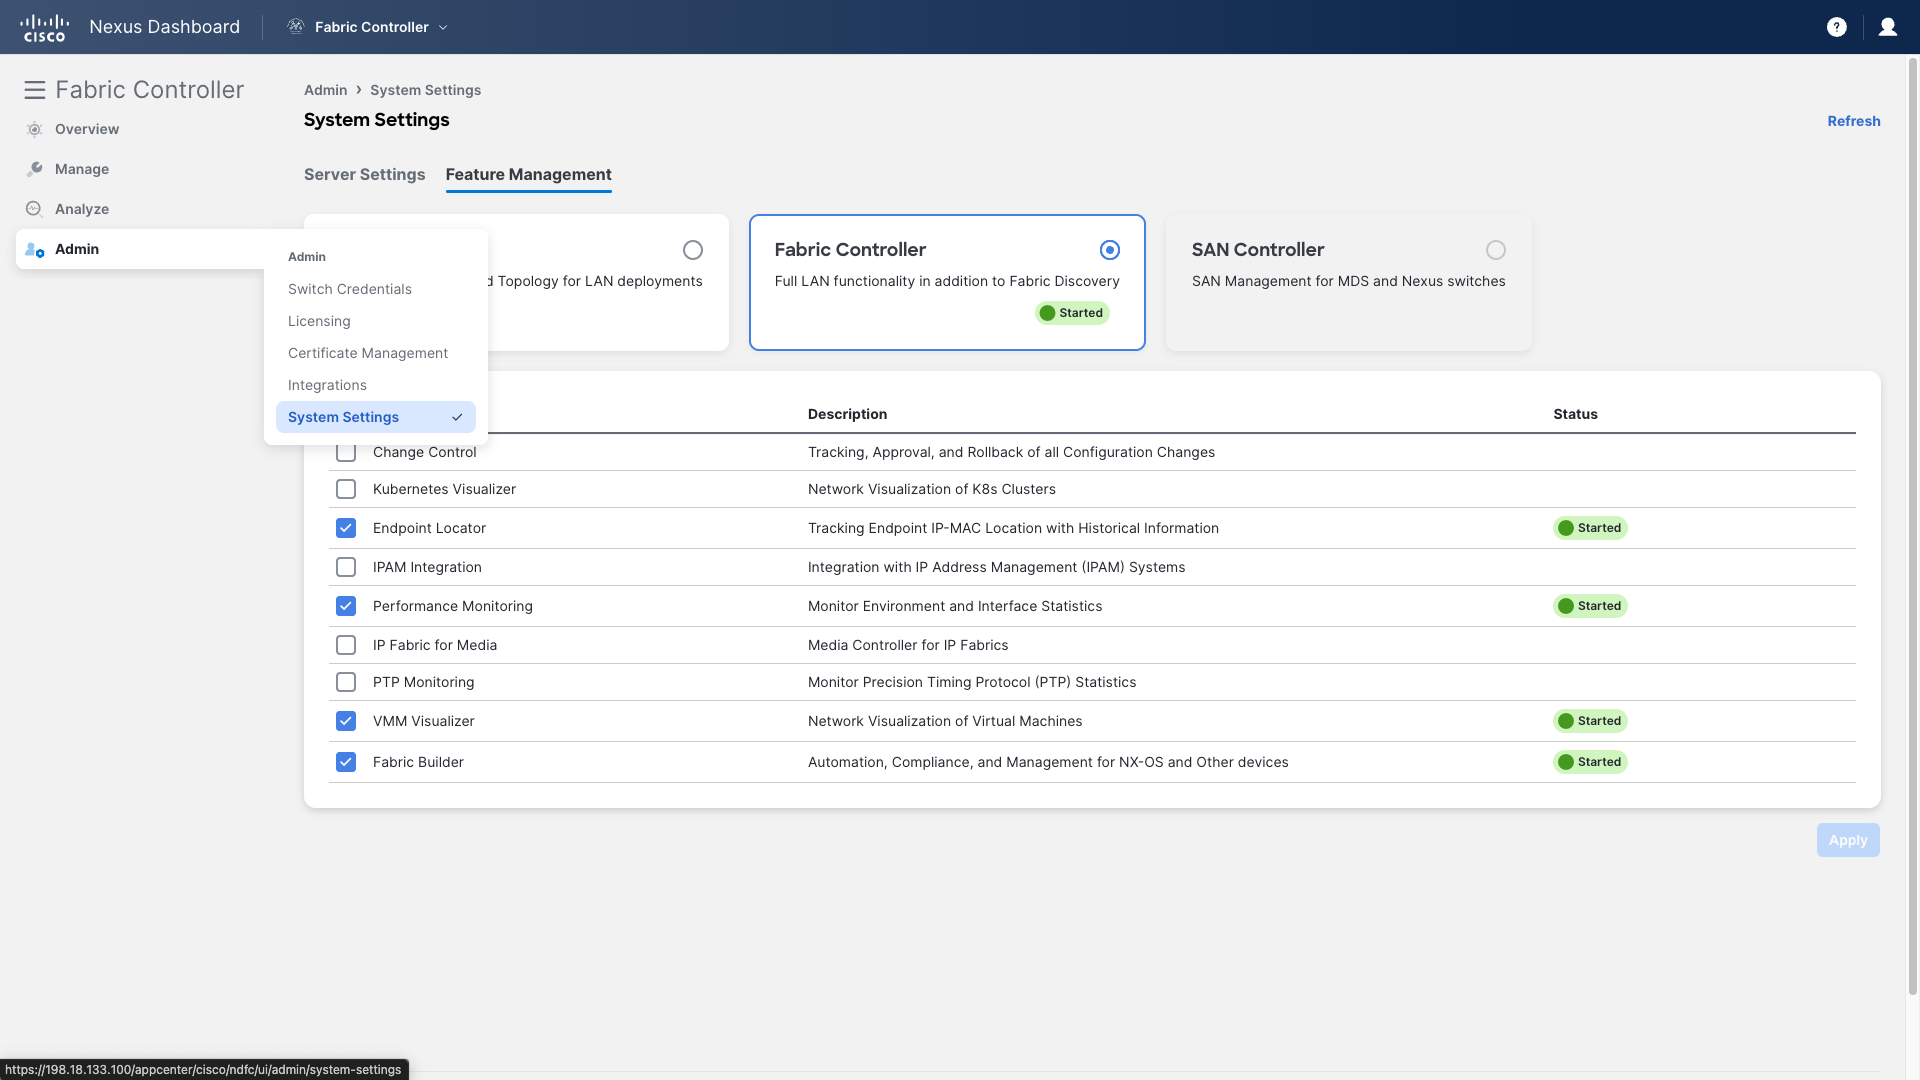
Step 1 – Enable the Change Control feature
-
Navigate to NDFC Admin > System Settings > Feature Management
-
Check the box against Change Control and then click on Apply
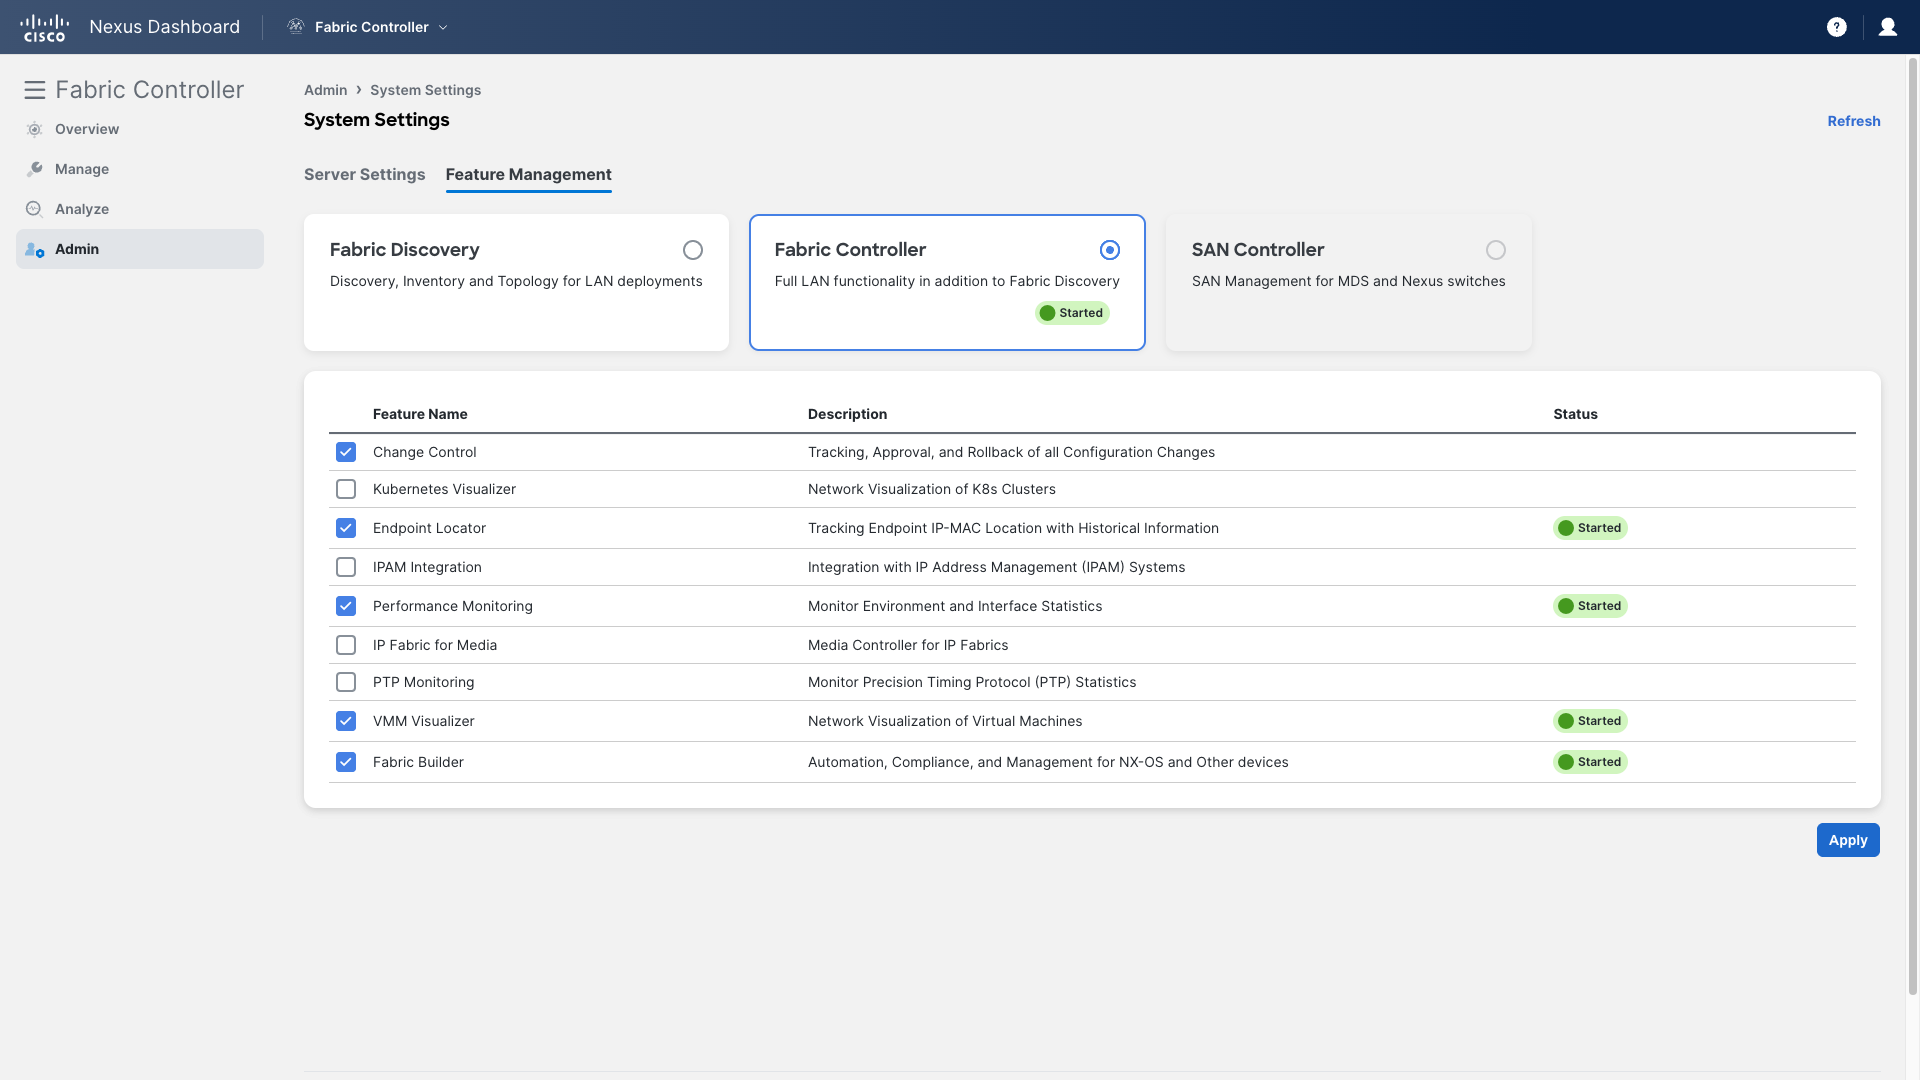
Step 2 – Wait 1-2 minutes until the feature is enabled, then click on the Reload the page link at the top to refresh the page
<figure markdown>

</figure>
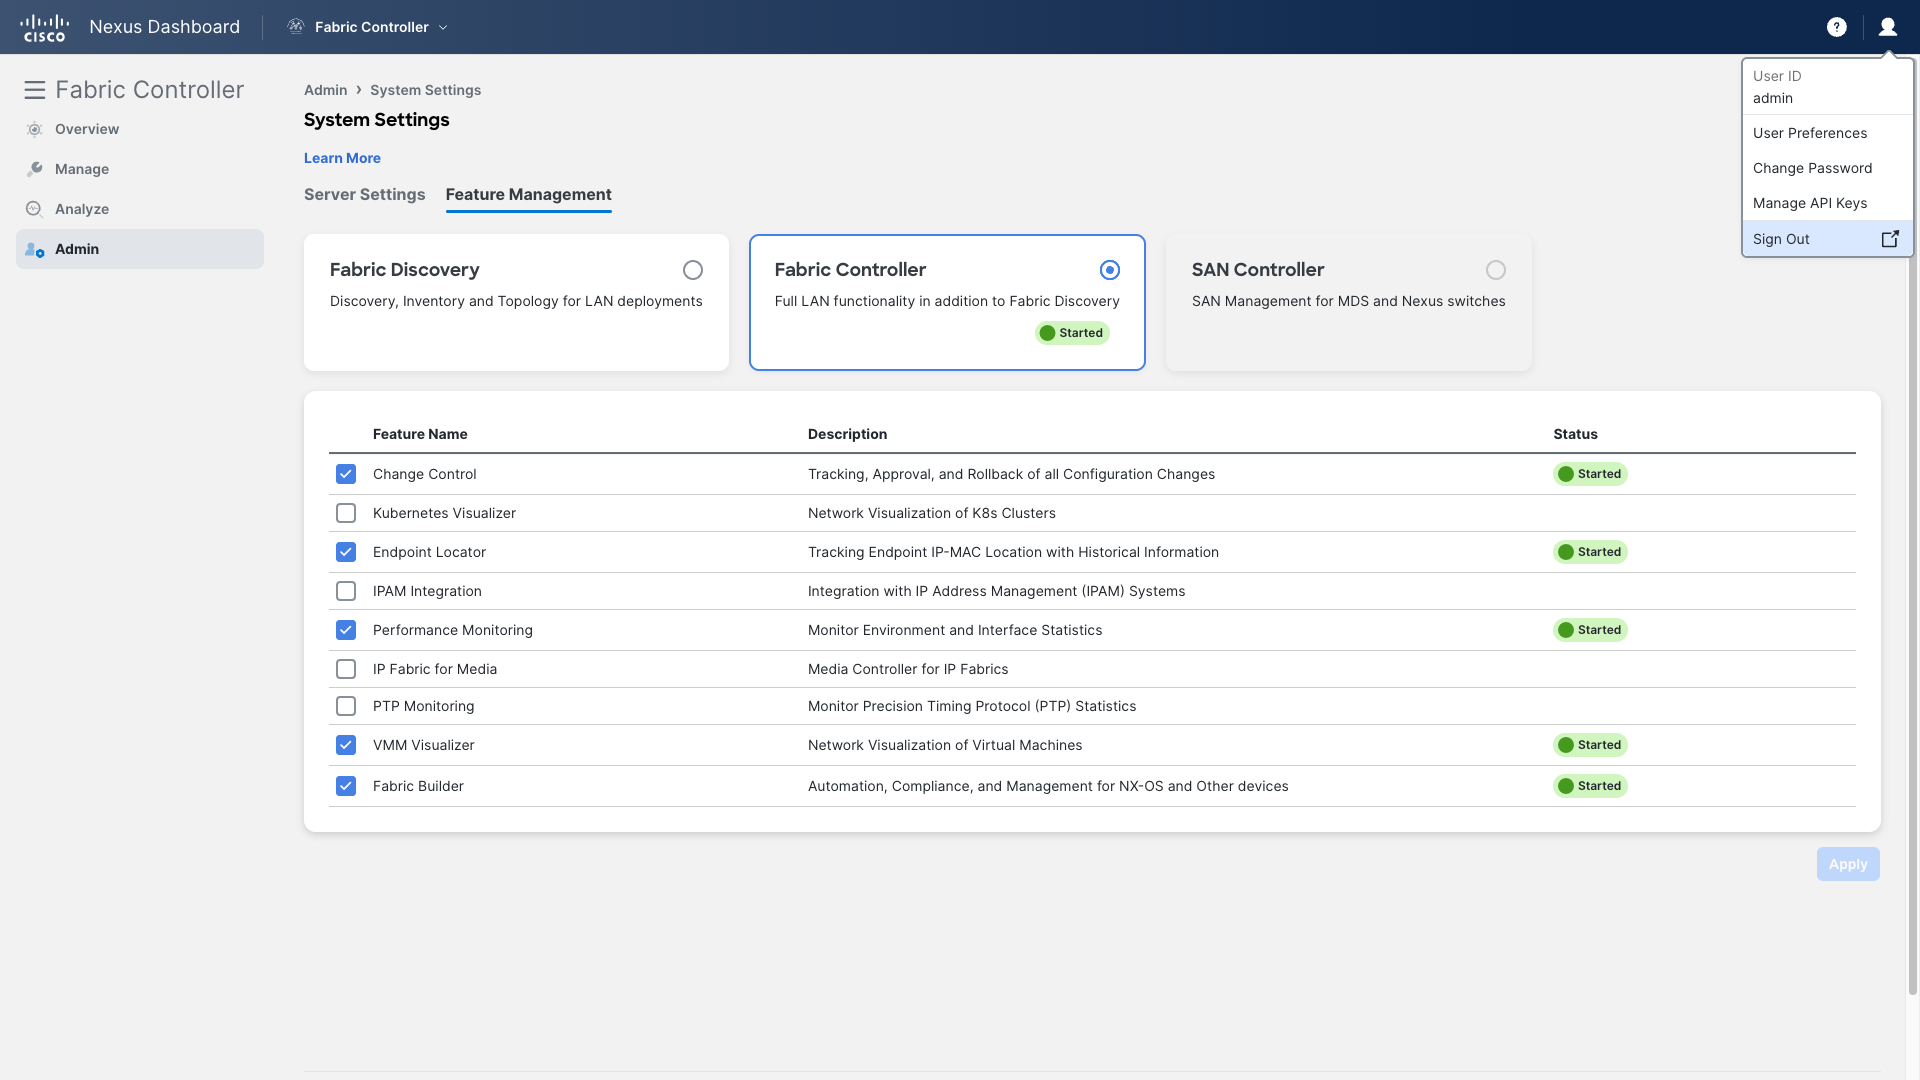
Step 3 – Next, log out from NDFC
Step 4 – Log in using the Stager user role with the following credentials –
Username – stager
Password – C1sco12345
Step 5 – If the What’s New dialog page appears on the Nexus Dashboard, click Get Started
If the It looks like you need access page appears on the Nexus Dashboard choose Fabric Controller from the Admin Console dropdown at the top
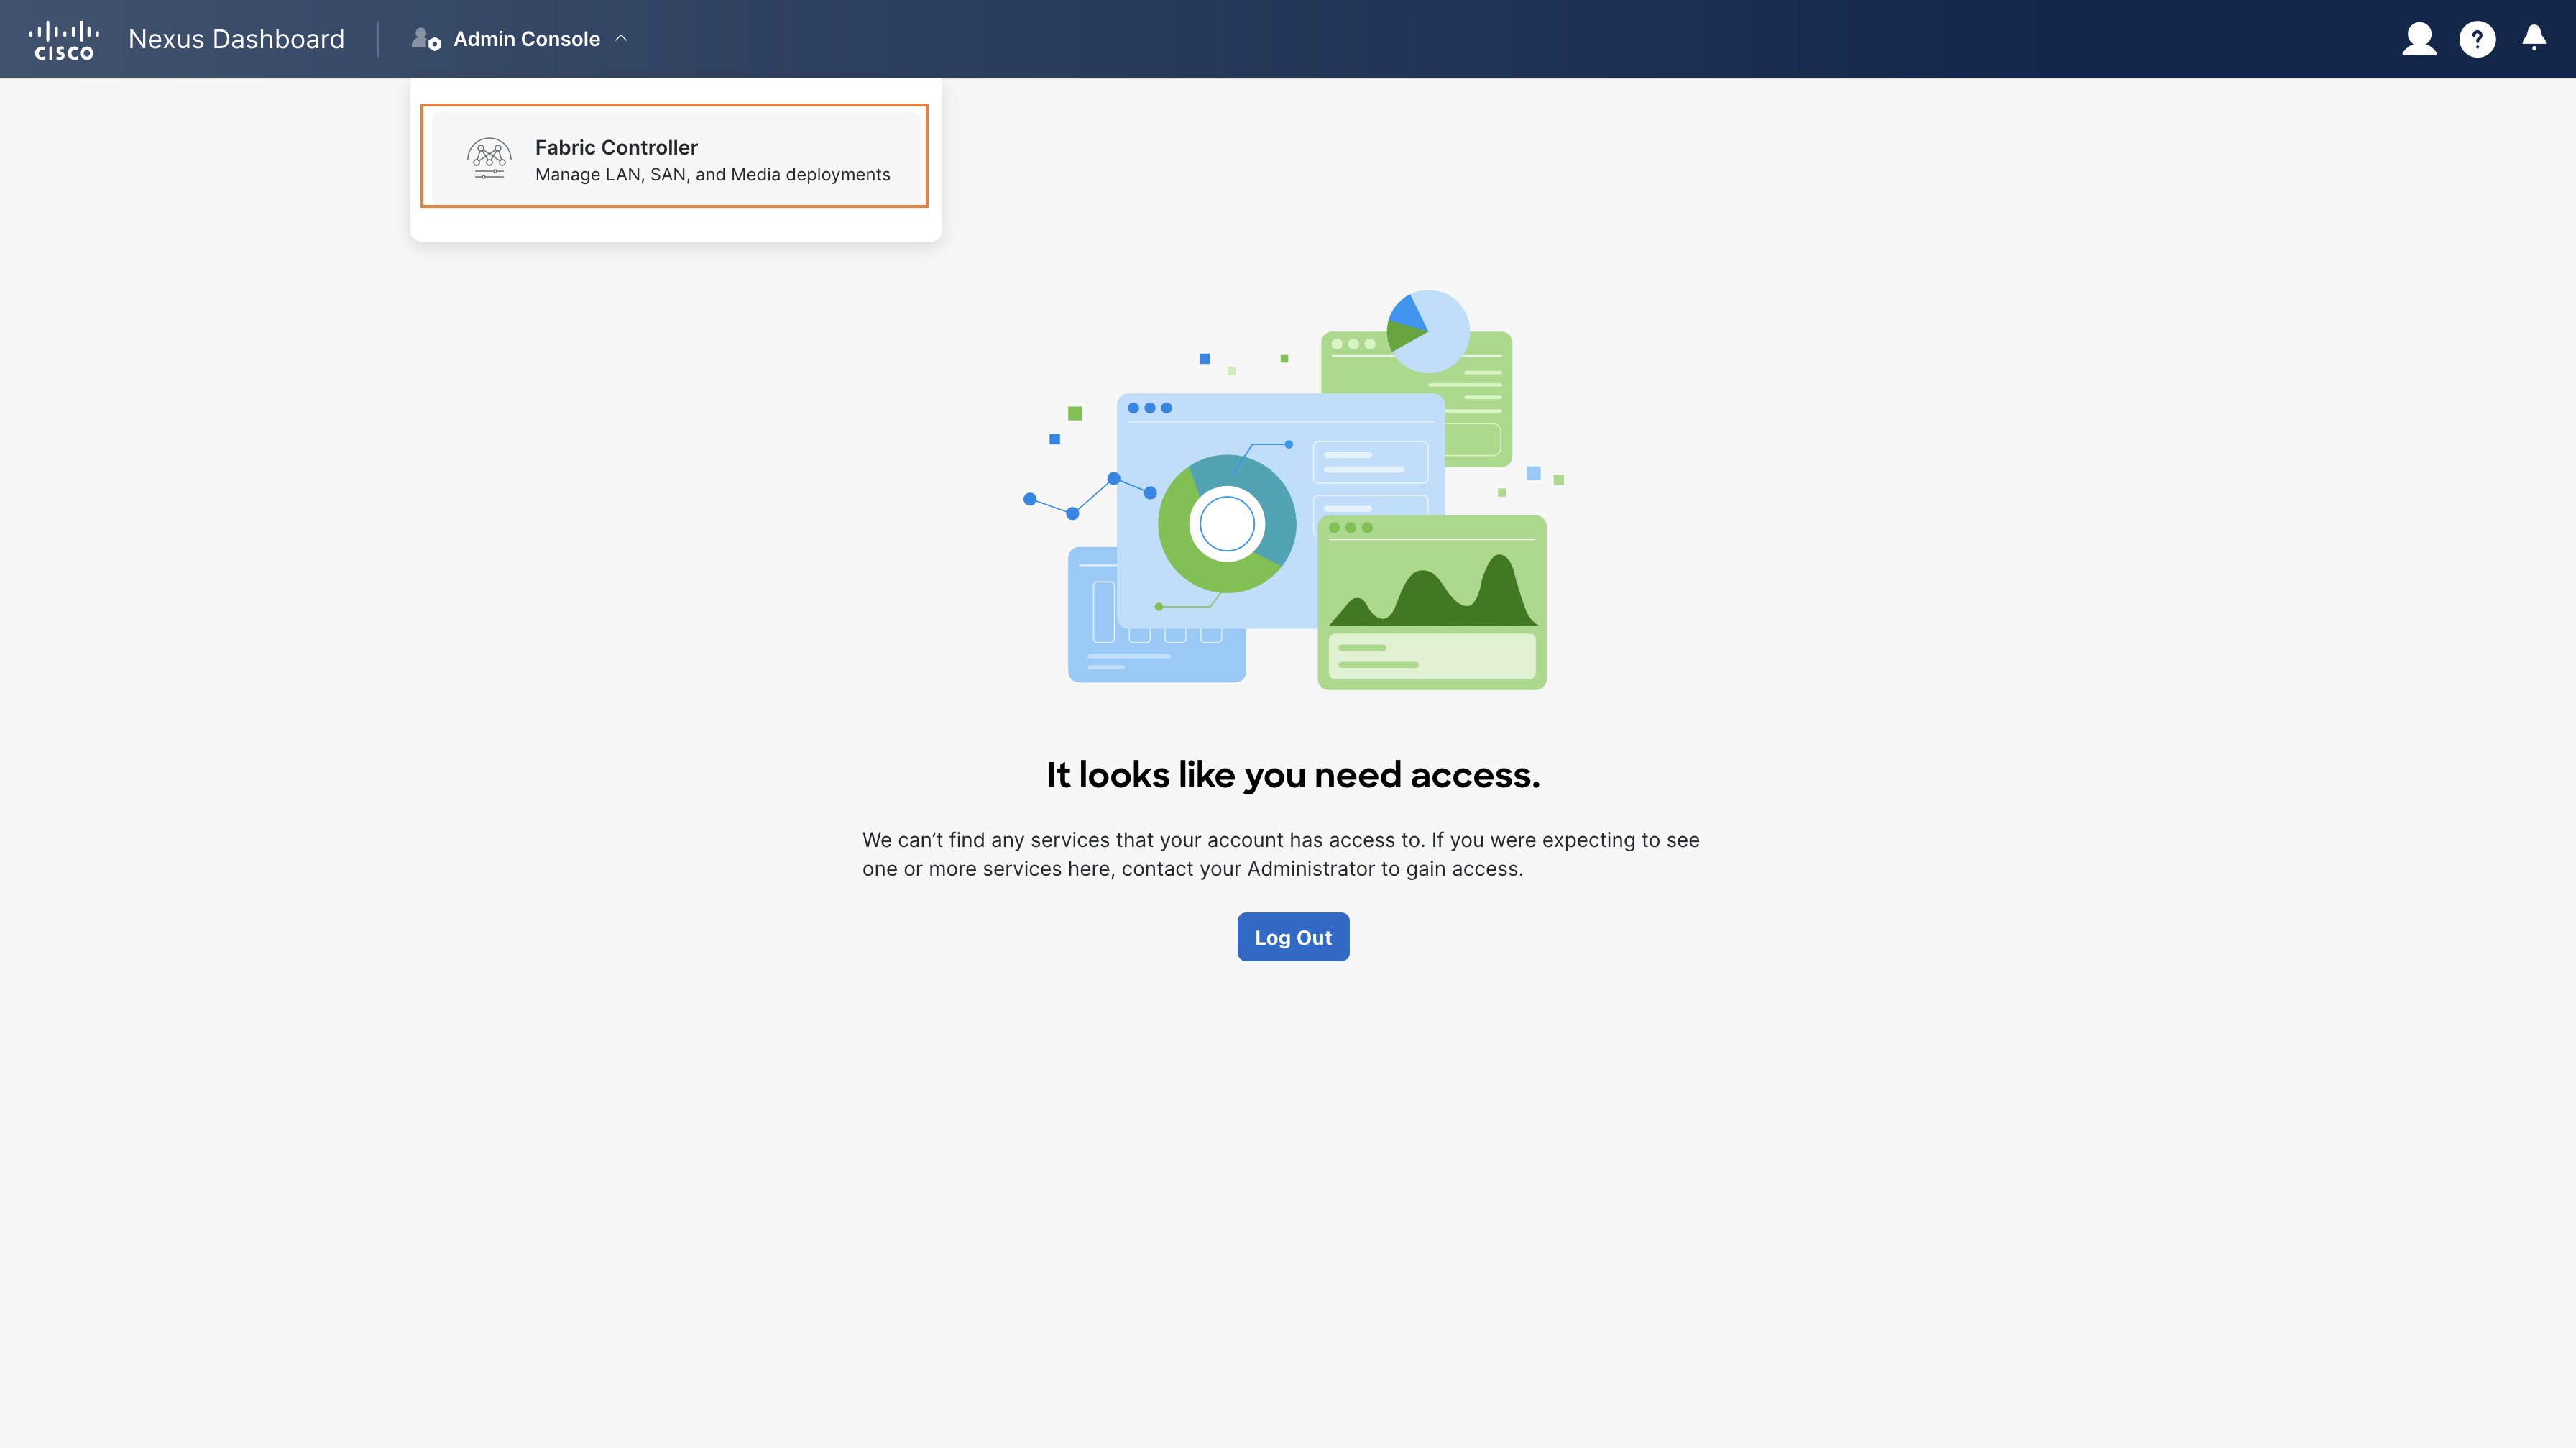
Info
The "It looks like you need access" splash screen appears because the three users do not have any permissions for the Nexus Dashboard itself. They can only access the NDFC guest application.
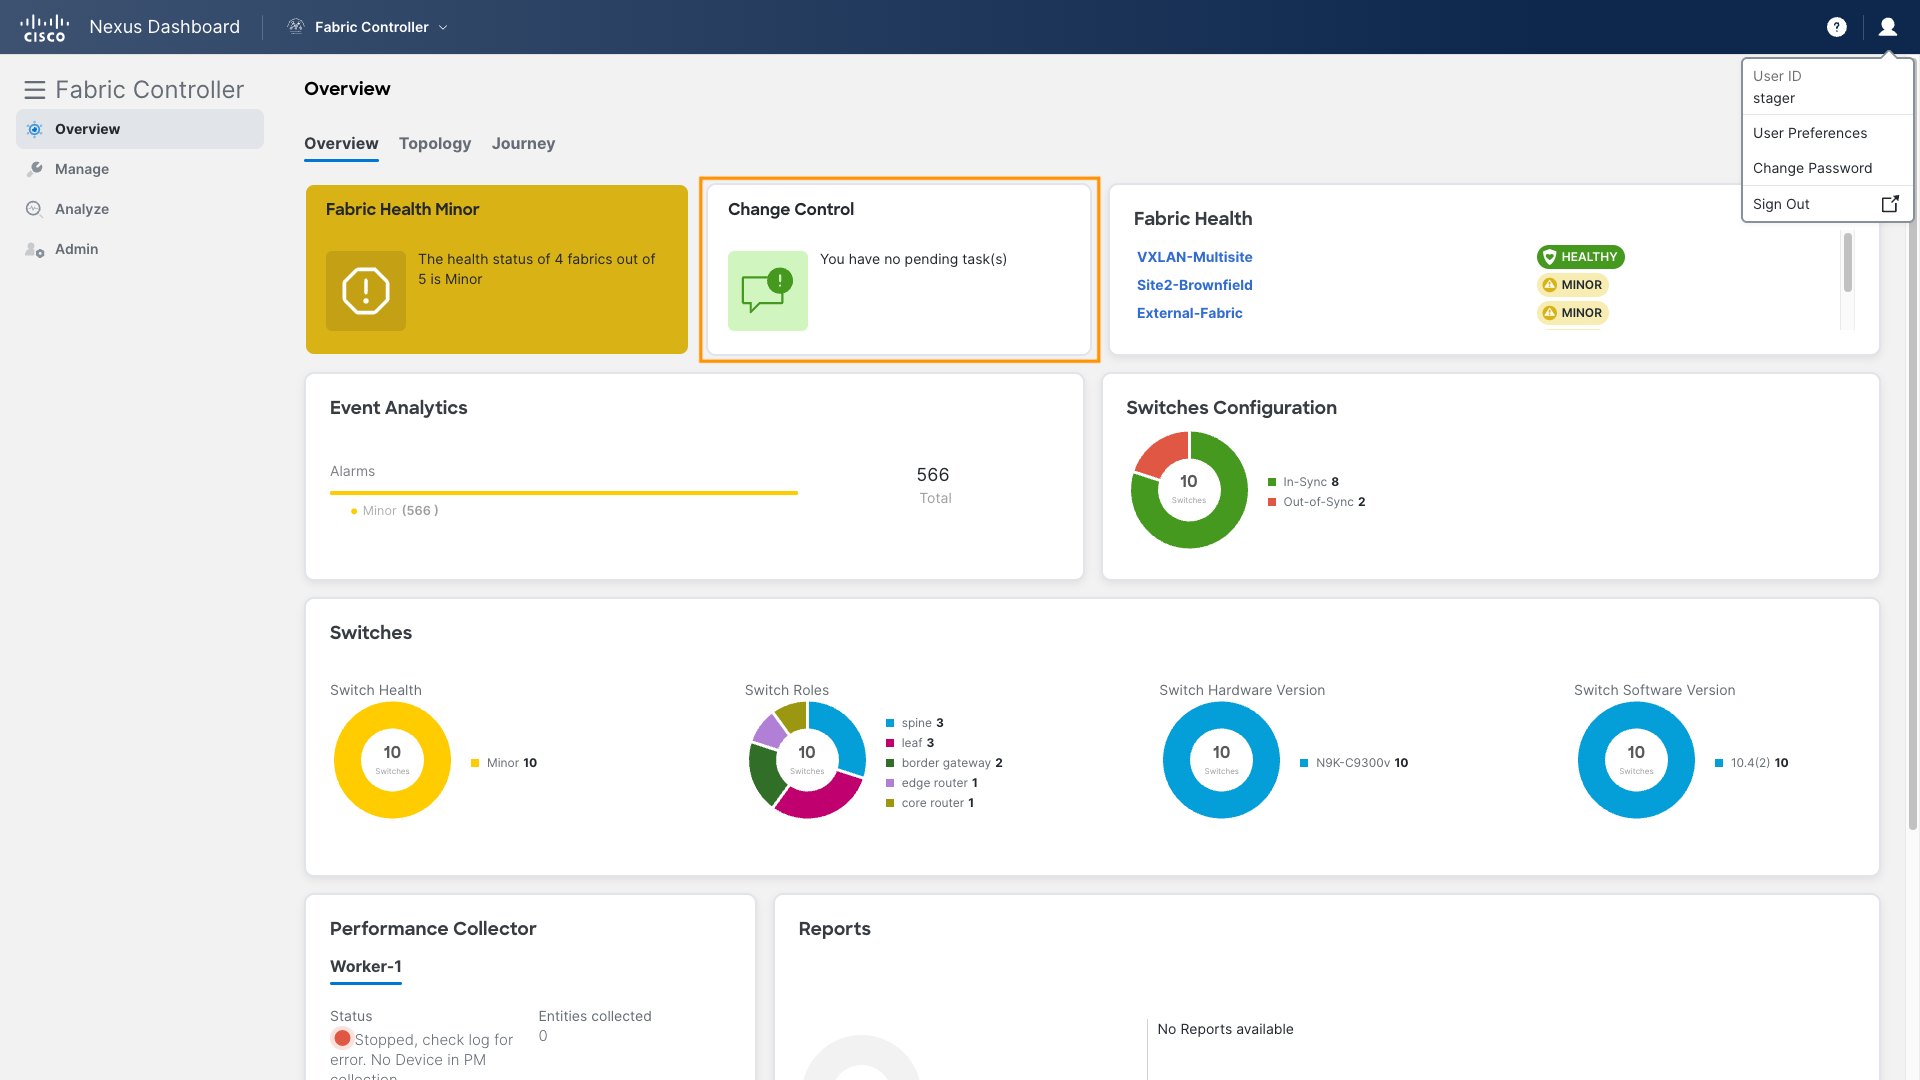
Observe the new Change Control section on NDFC’s Dashboard
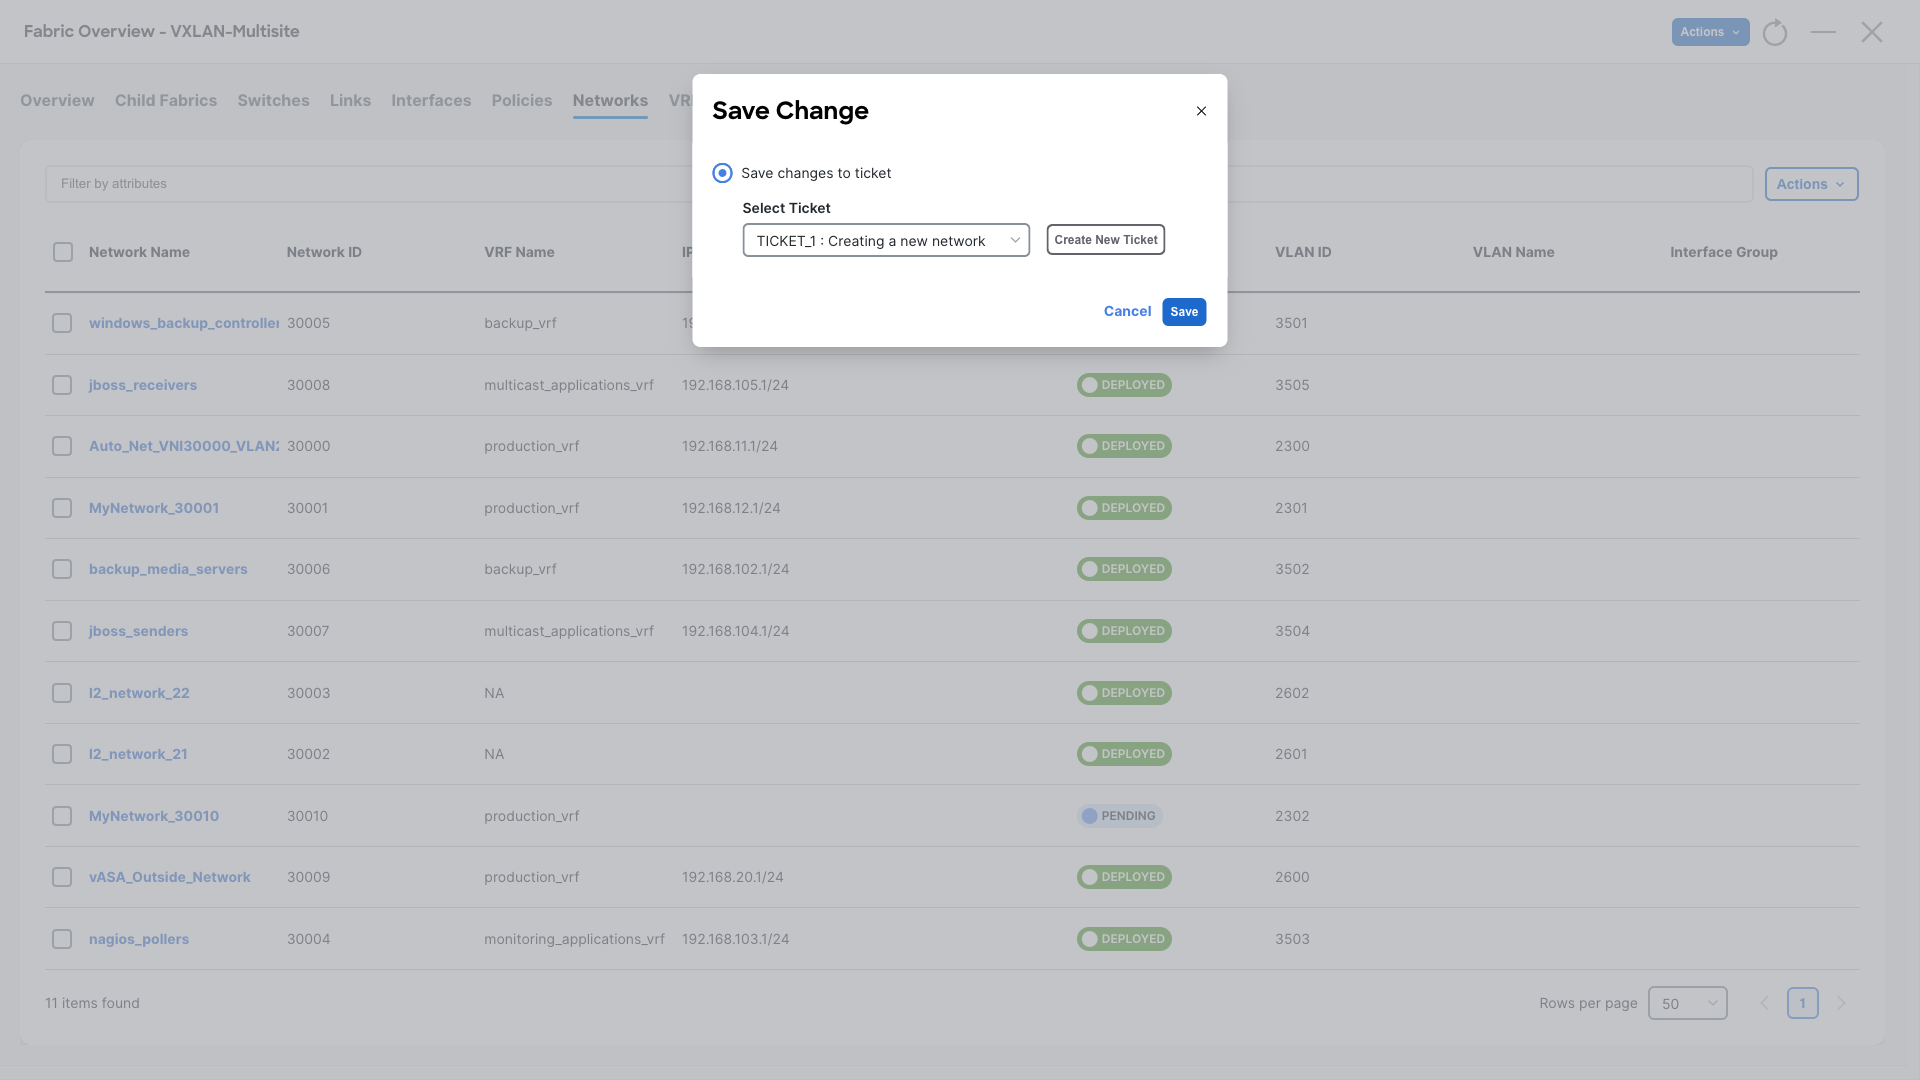
Step 6 – Now, try creating a new Network under the VXLAN-Multisite fabric. The process is exactly the same as before, but this time, a new Save Change dialog will ask for ticket details for this change
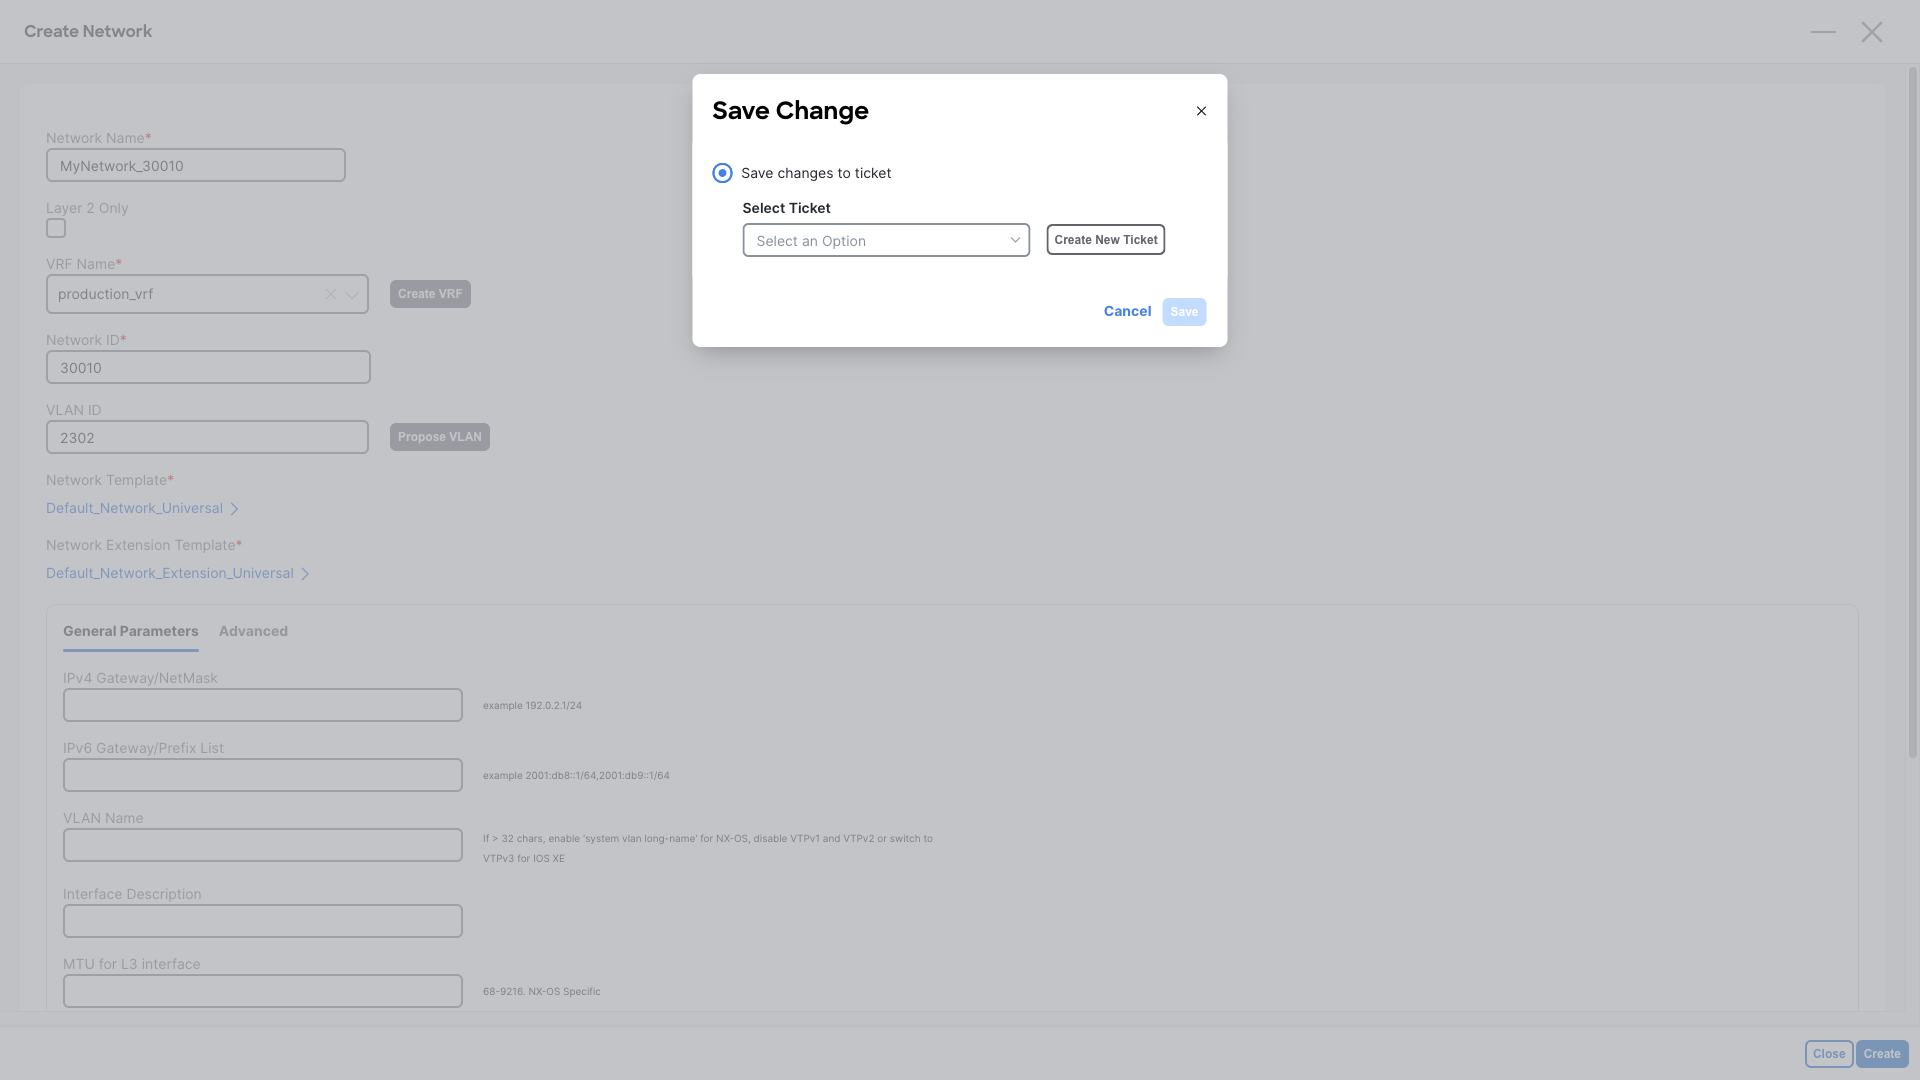
Click on Create New Ticket, provide a change description and click Save in the Save Ticket dialog
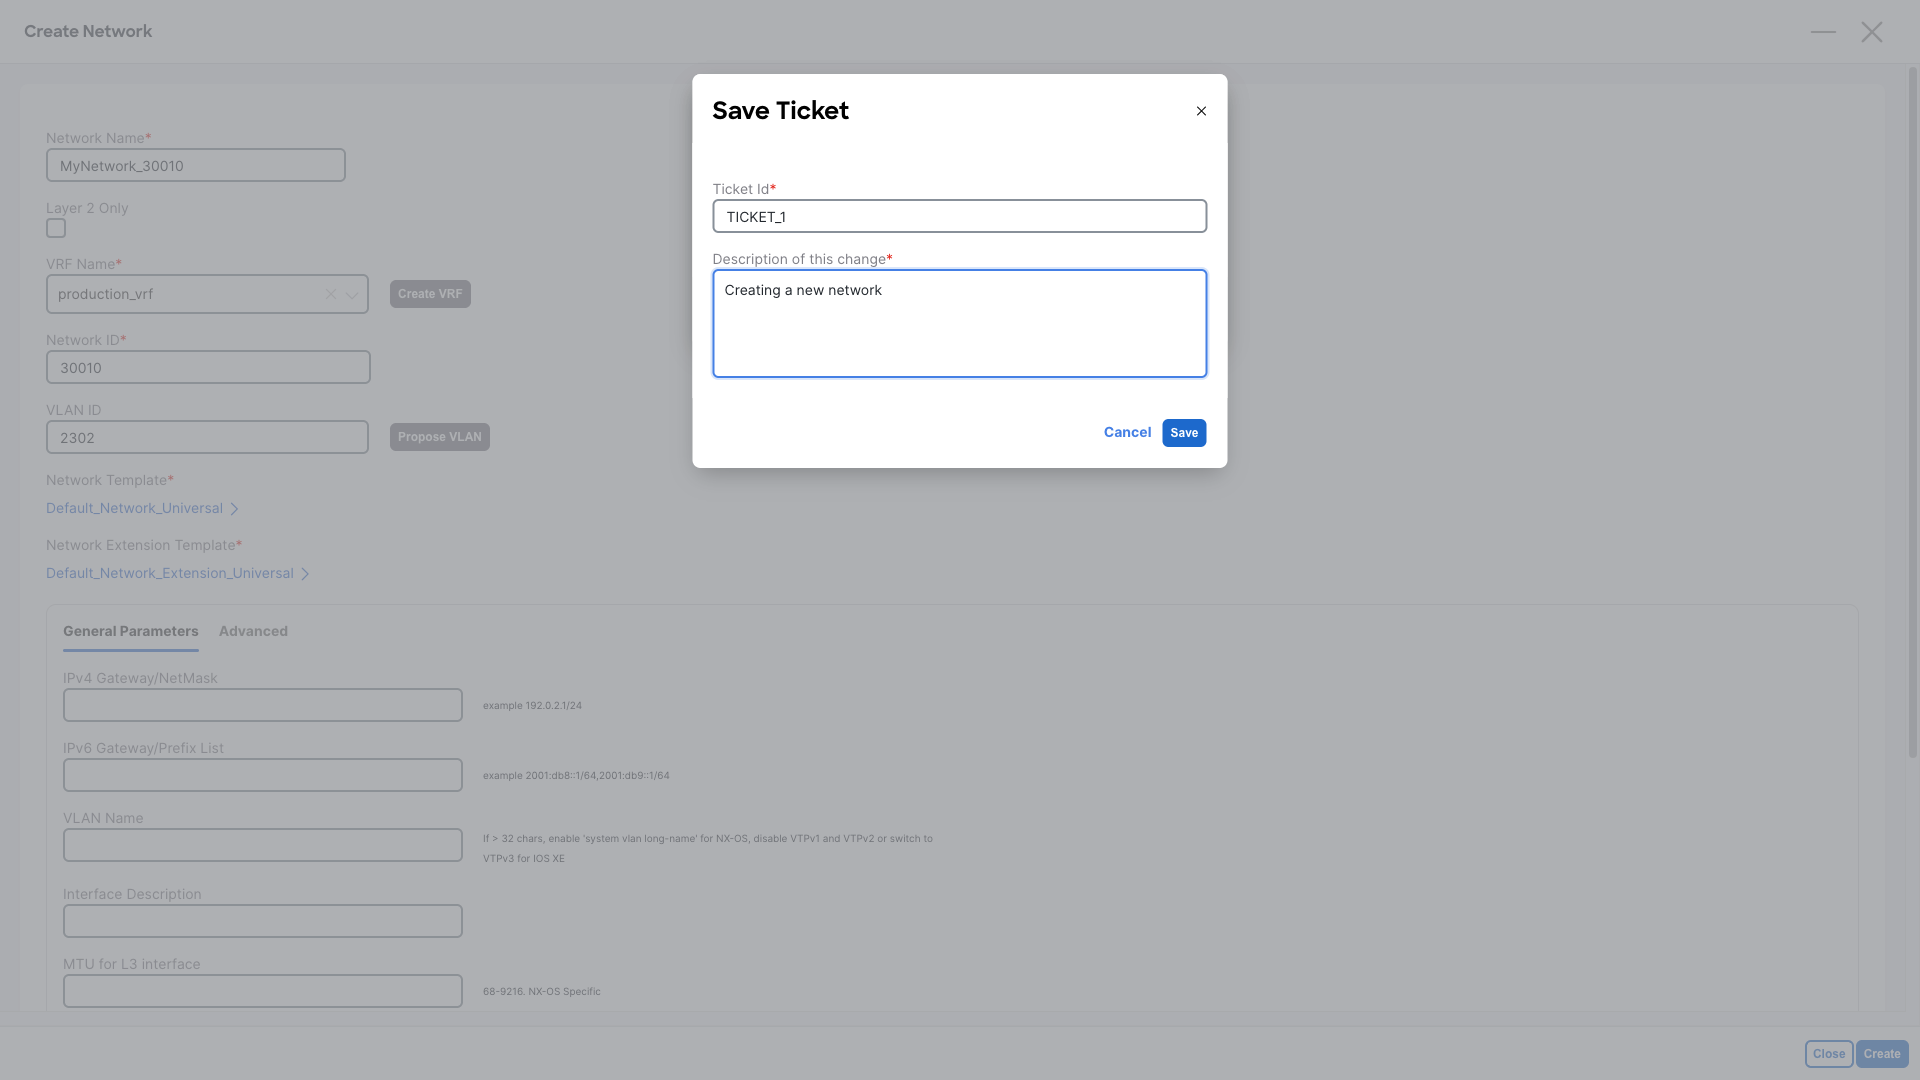
Finally, click Save in the Save Change dialog to map this intent change to the ticket

Step 7 – Double-click on the new networks, navigate to Network Attachments select the two border gateways and perform a Quick attach for this new network
Info
Quick attach simply provisions the required VXLAN/EVPN configuration to have that network deployed on the BGWs.
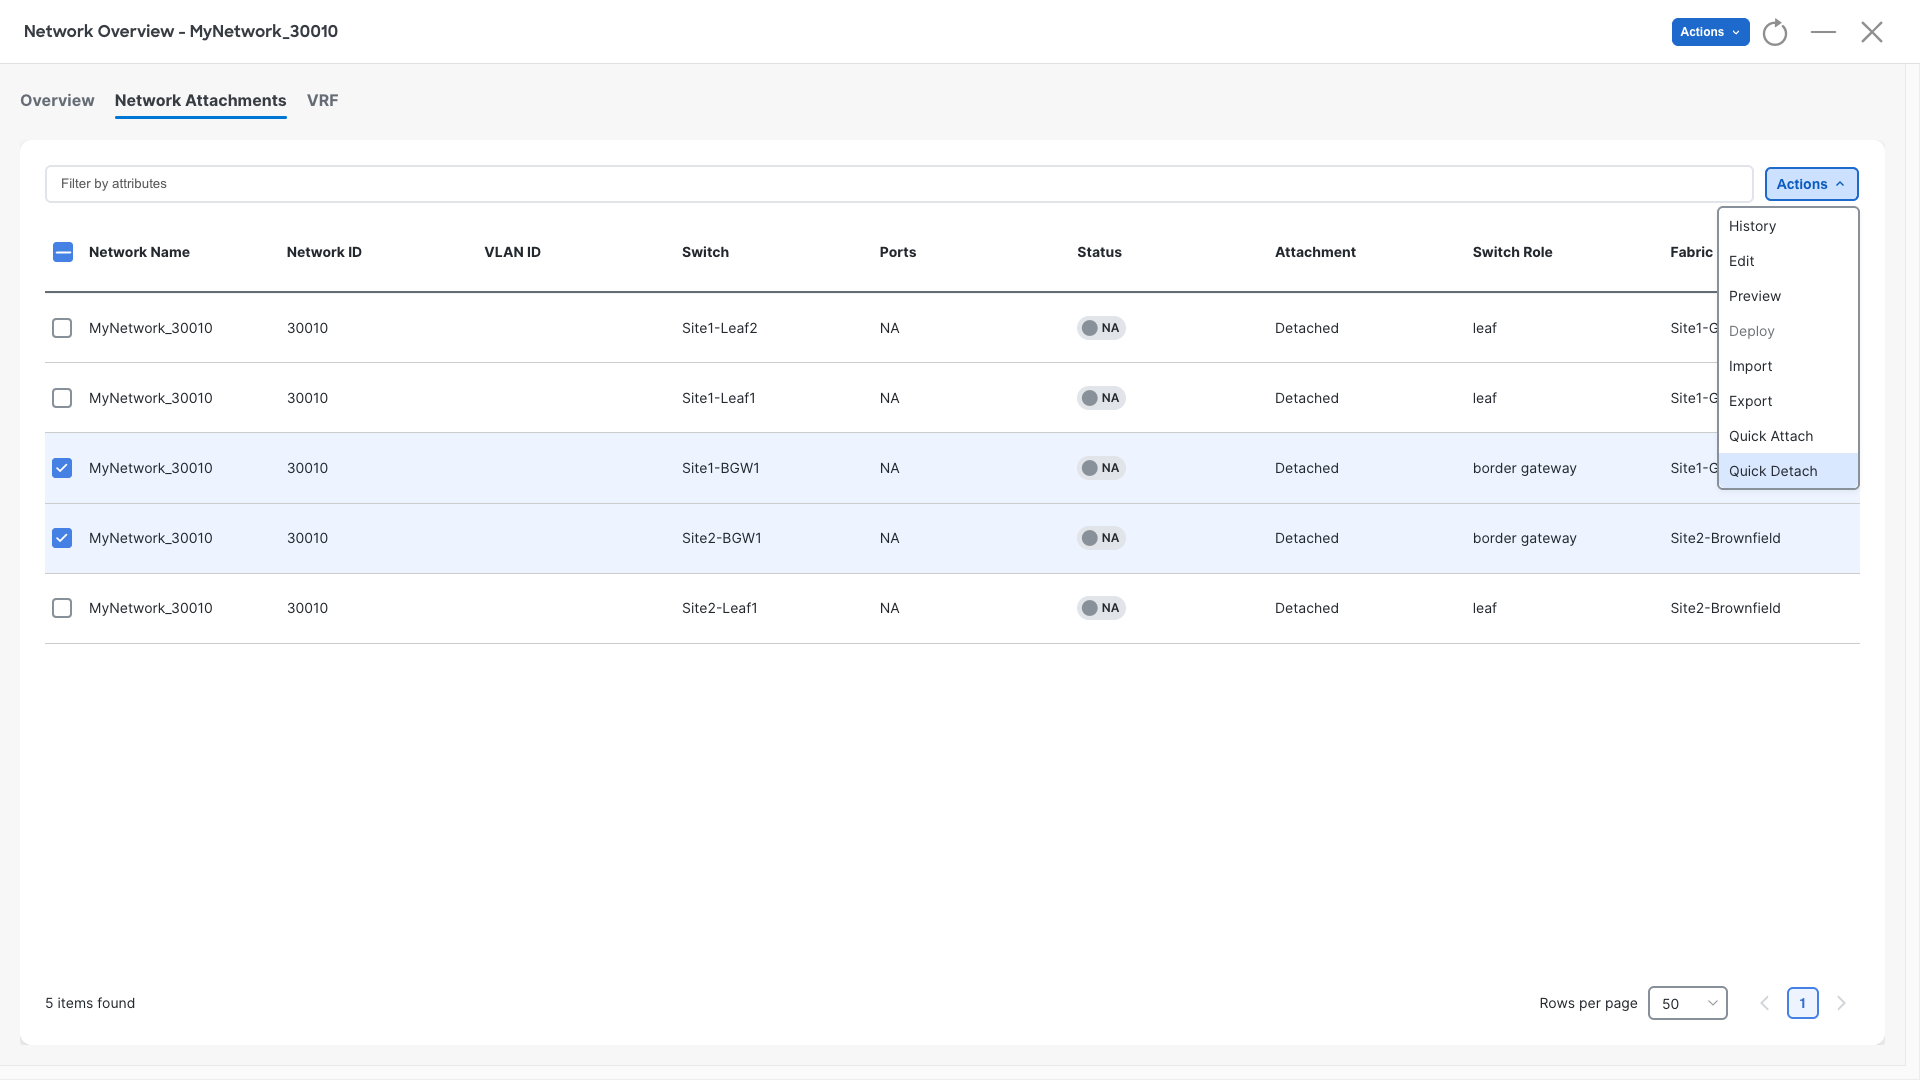
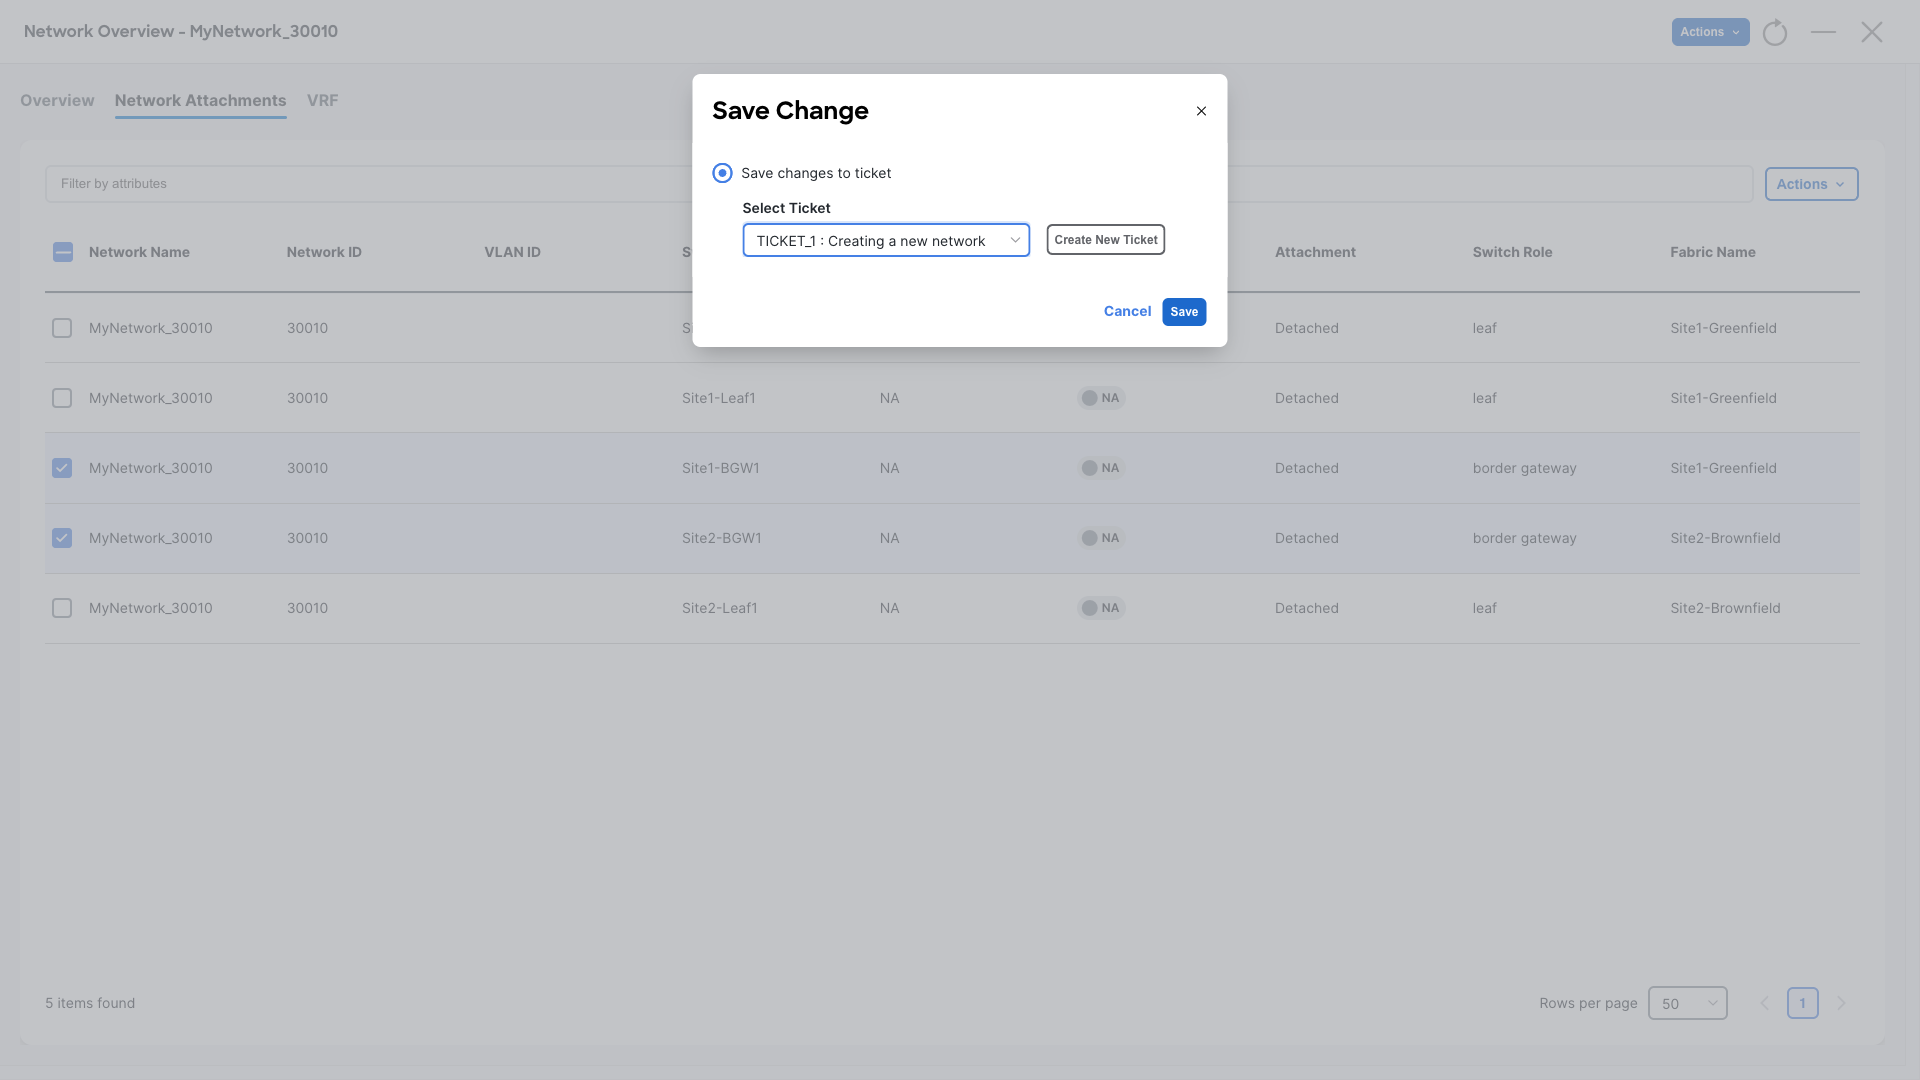
Again, NDFC will prompt for ticket association for this task. Let’s use the previous ticket for network attachment
Info
NDFC allows mapping multiple tasks to the same ticket.
Step 8 – Now click on Actions and you will notice that the Deploy option is disabled

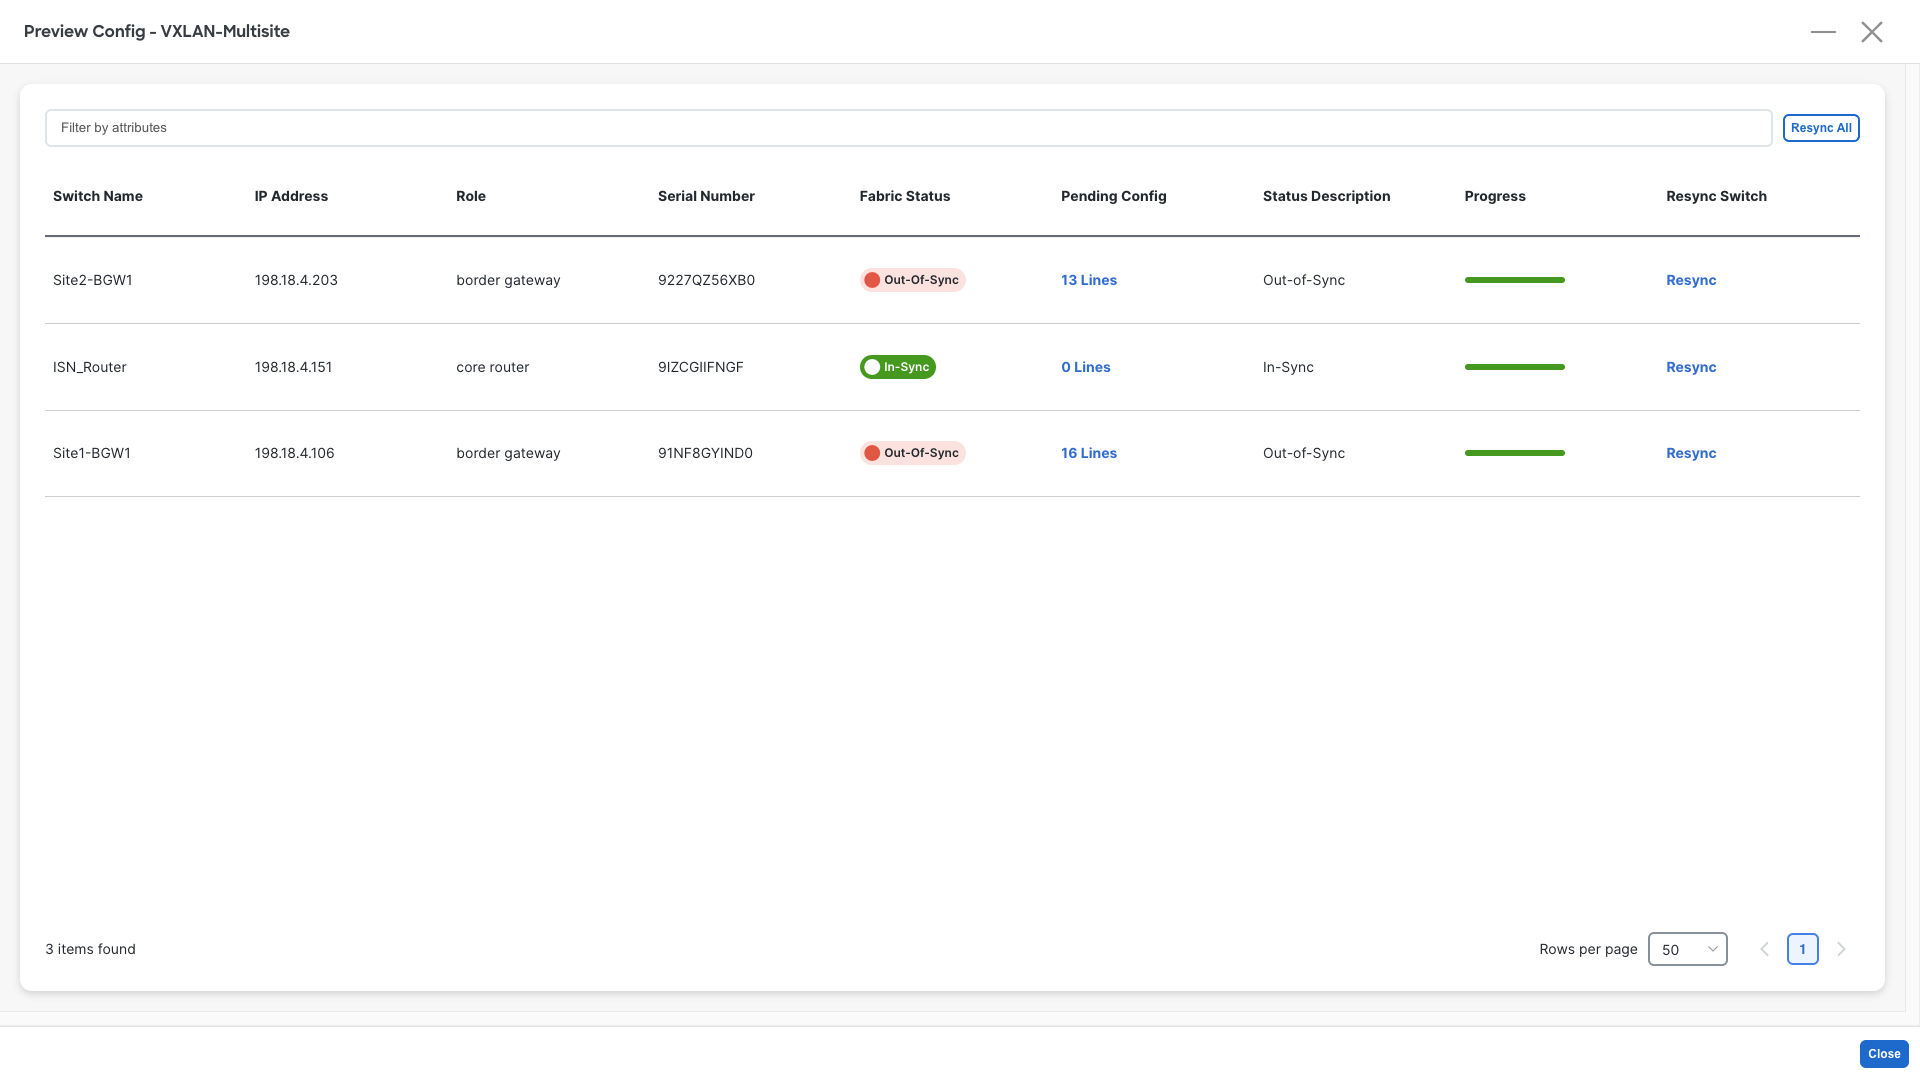
Step 9 – Exit from the Network View, and once in the Fabric-Overview perform Recalculate from the top Actions
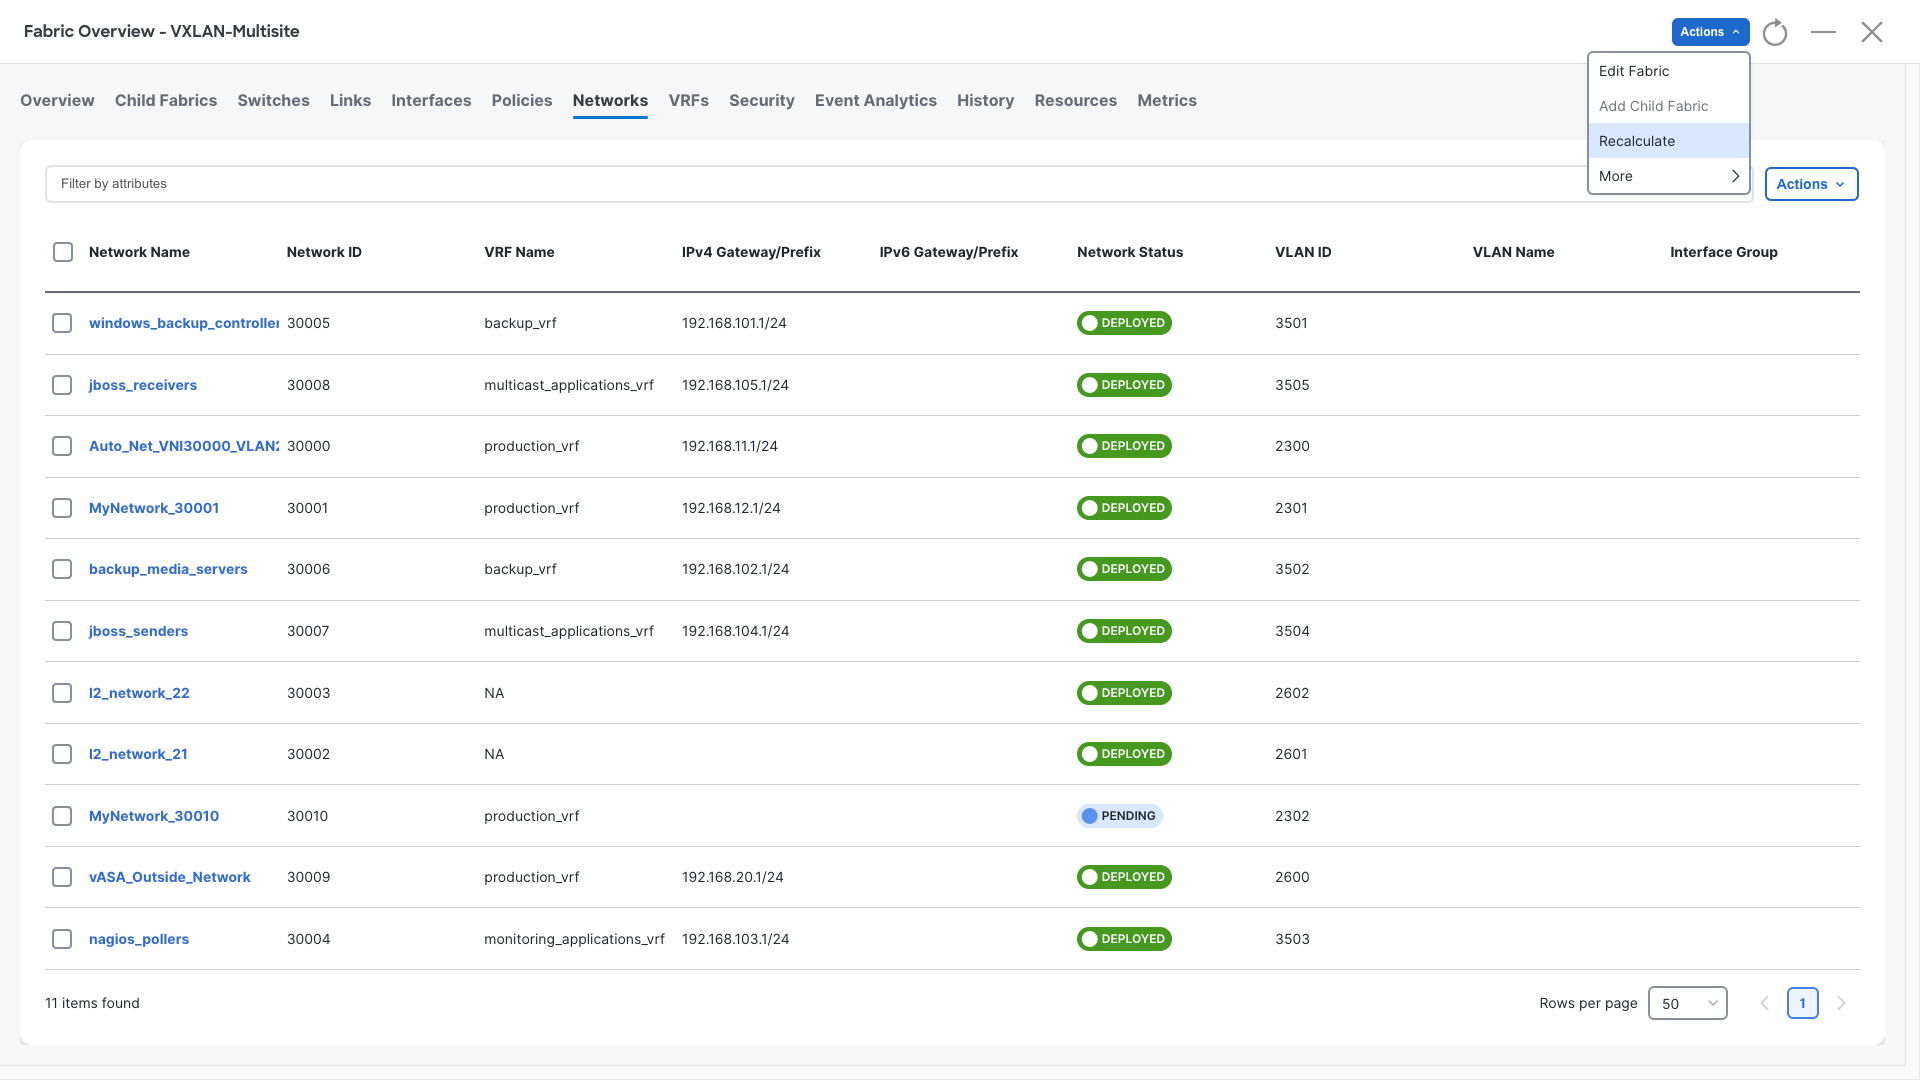
And associate it with the previous ticket.
In the Preview Config dialog, you can see the pending config but there is no Deploy option
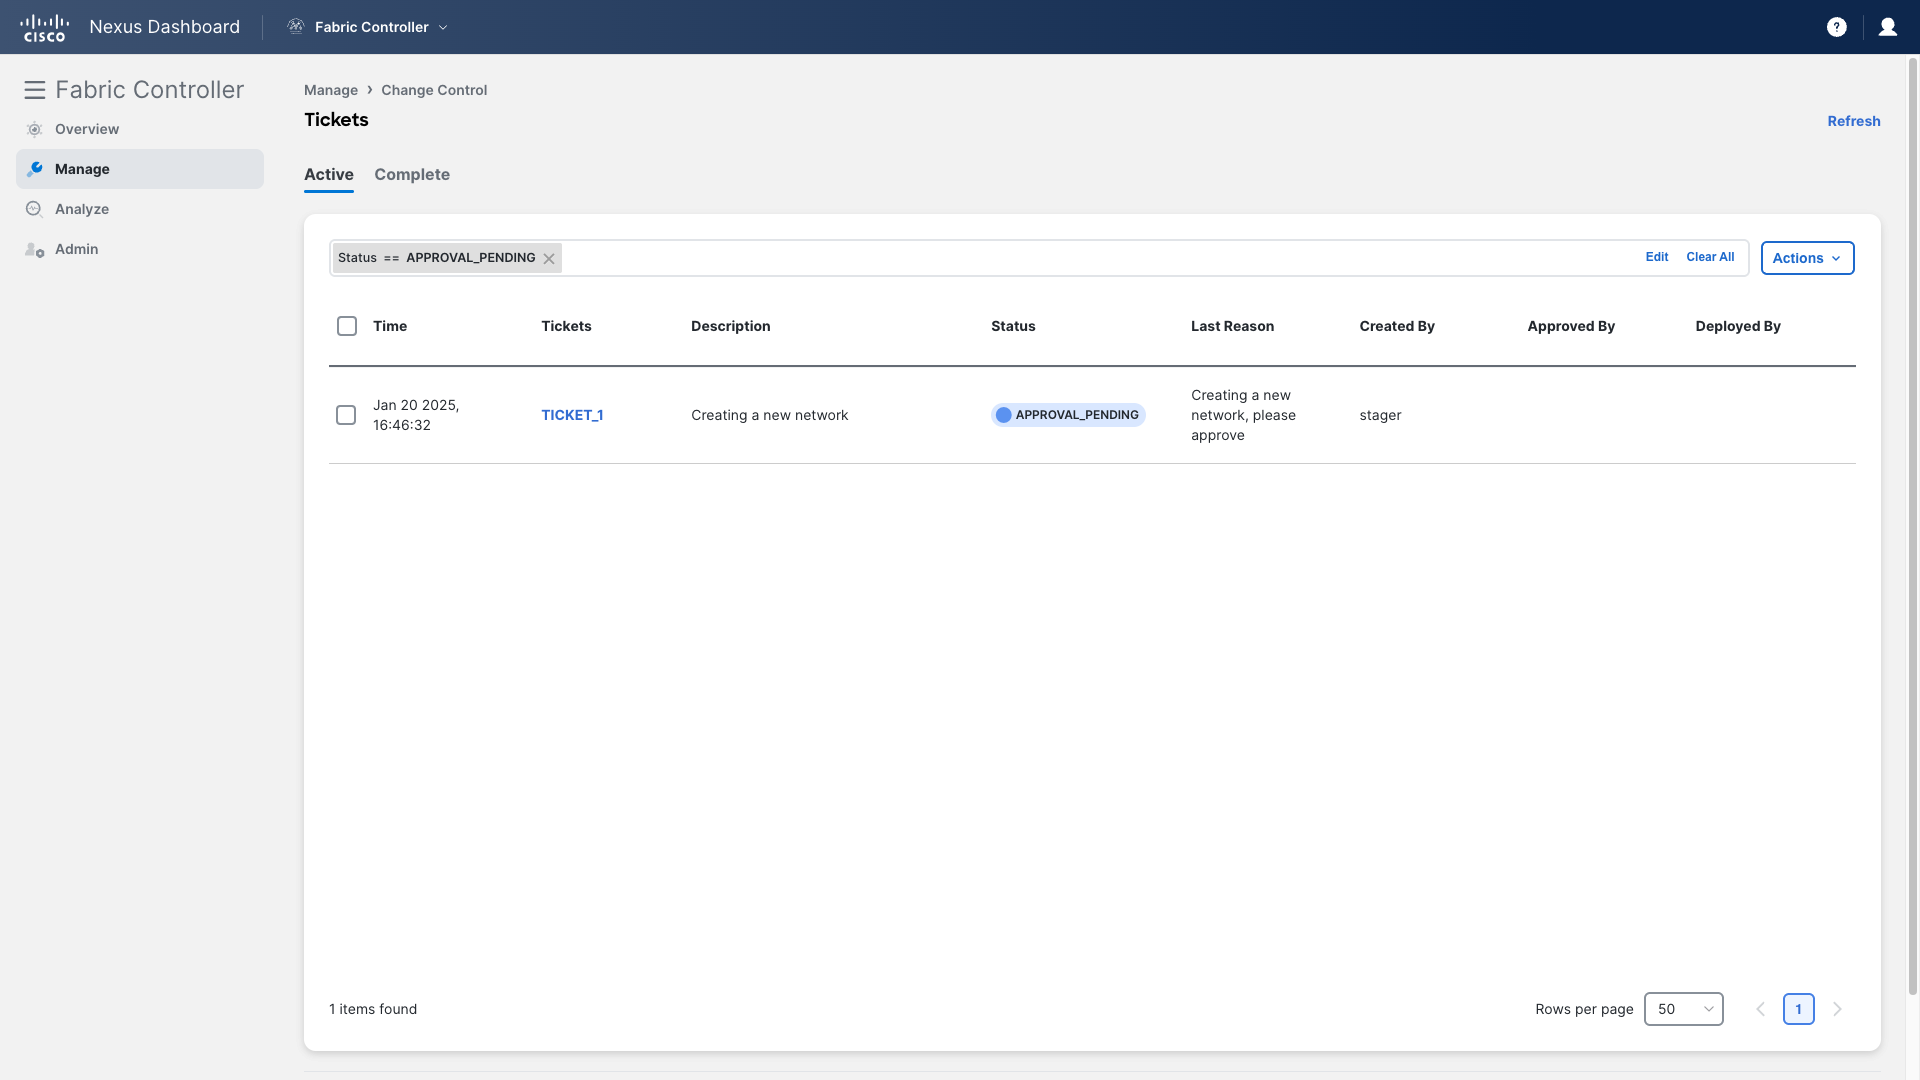
Step 10 – Return to NDFC’s Overview and now you have one pending task as a Stager under the Change Control section
Click on the “You have 1 pending task(s)” link and you will be taken to the Change Control page

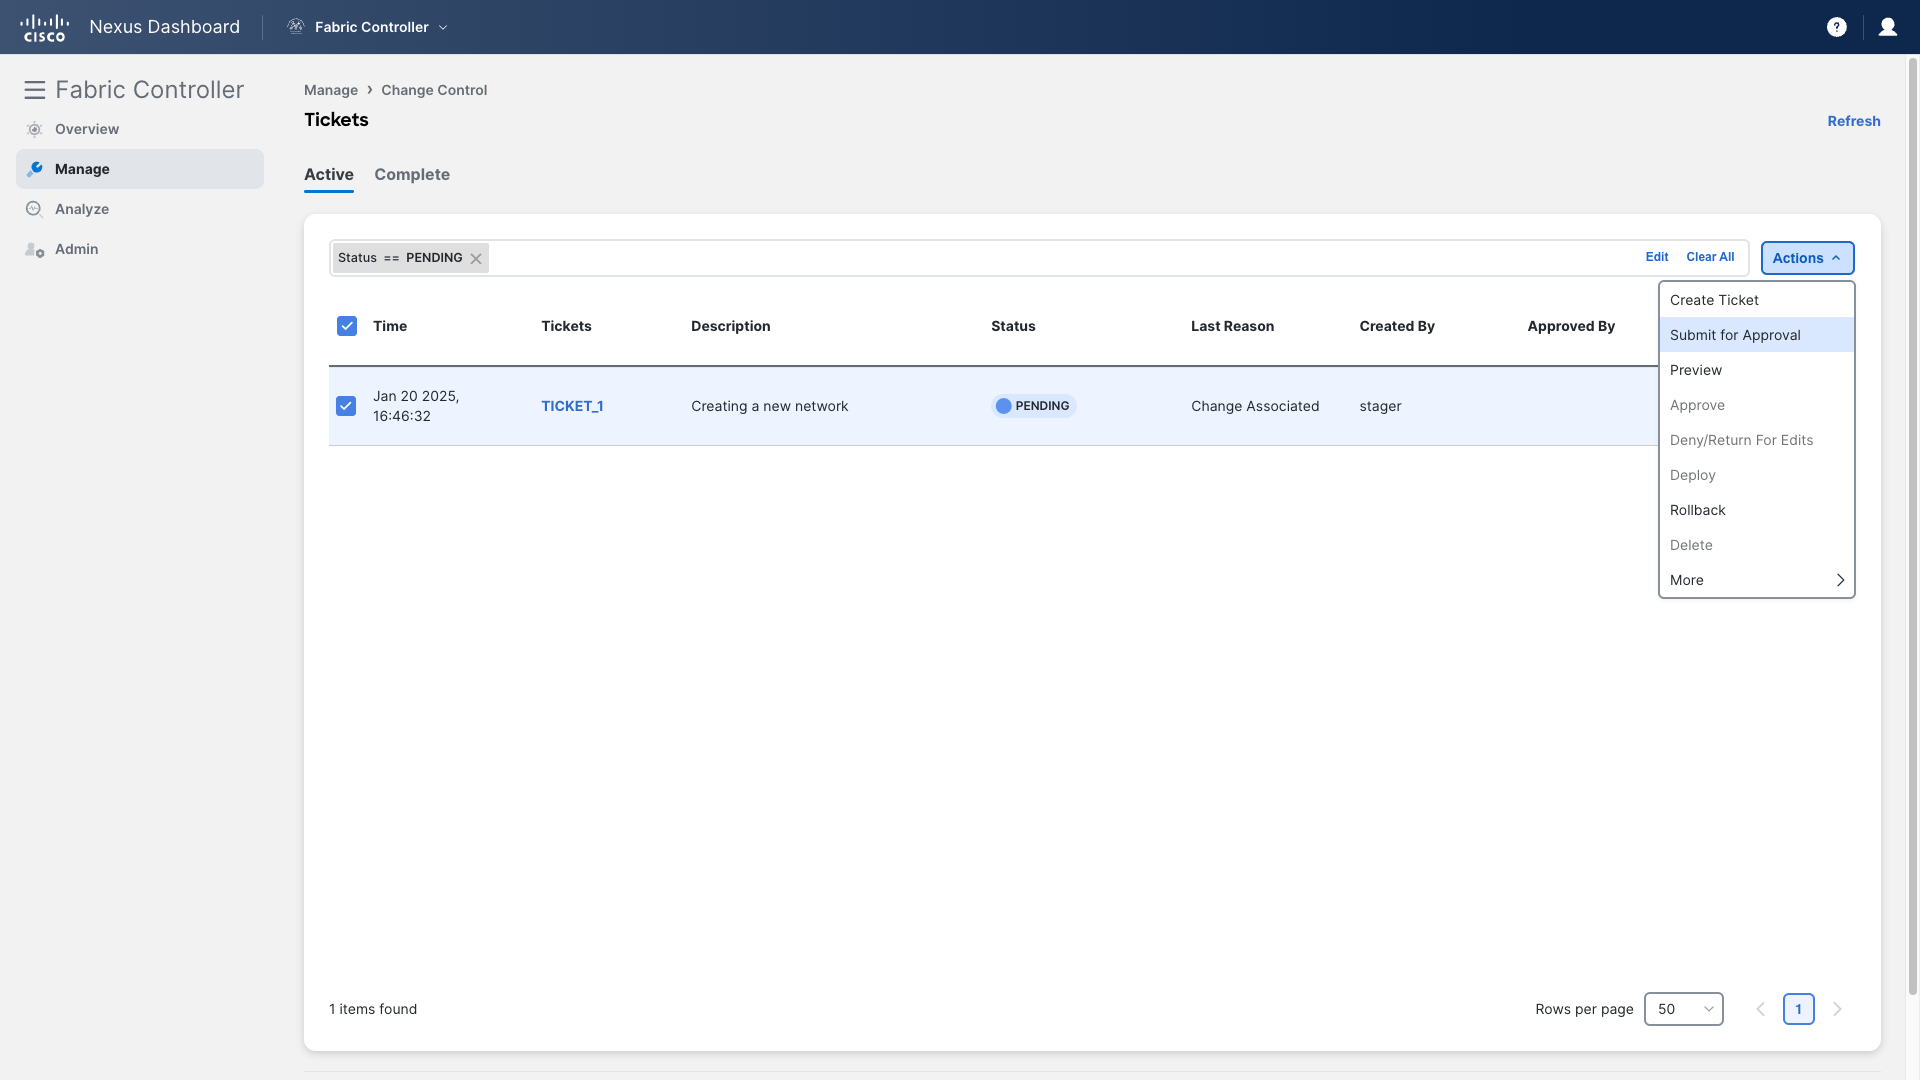
Step 11 – You can see the change ticket created previously. To send this change for approval, select this change ticket and click Submit for Approval from the Actions drop-down
Provide a description and click Ok
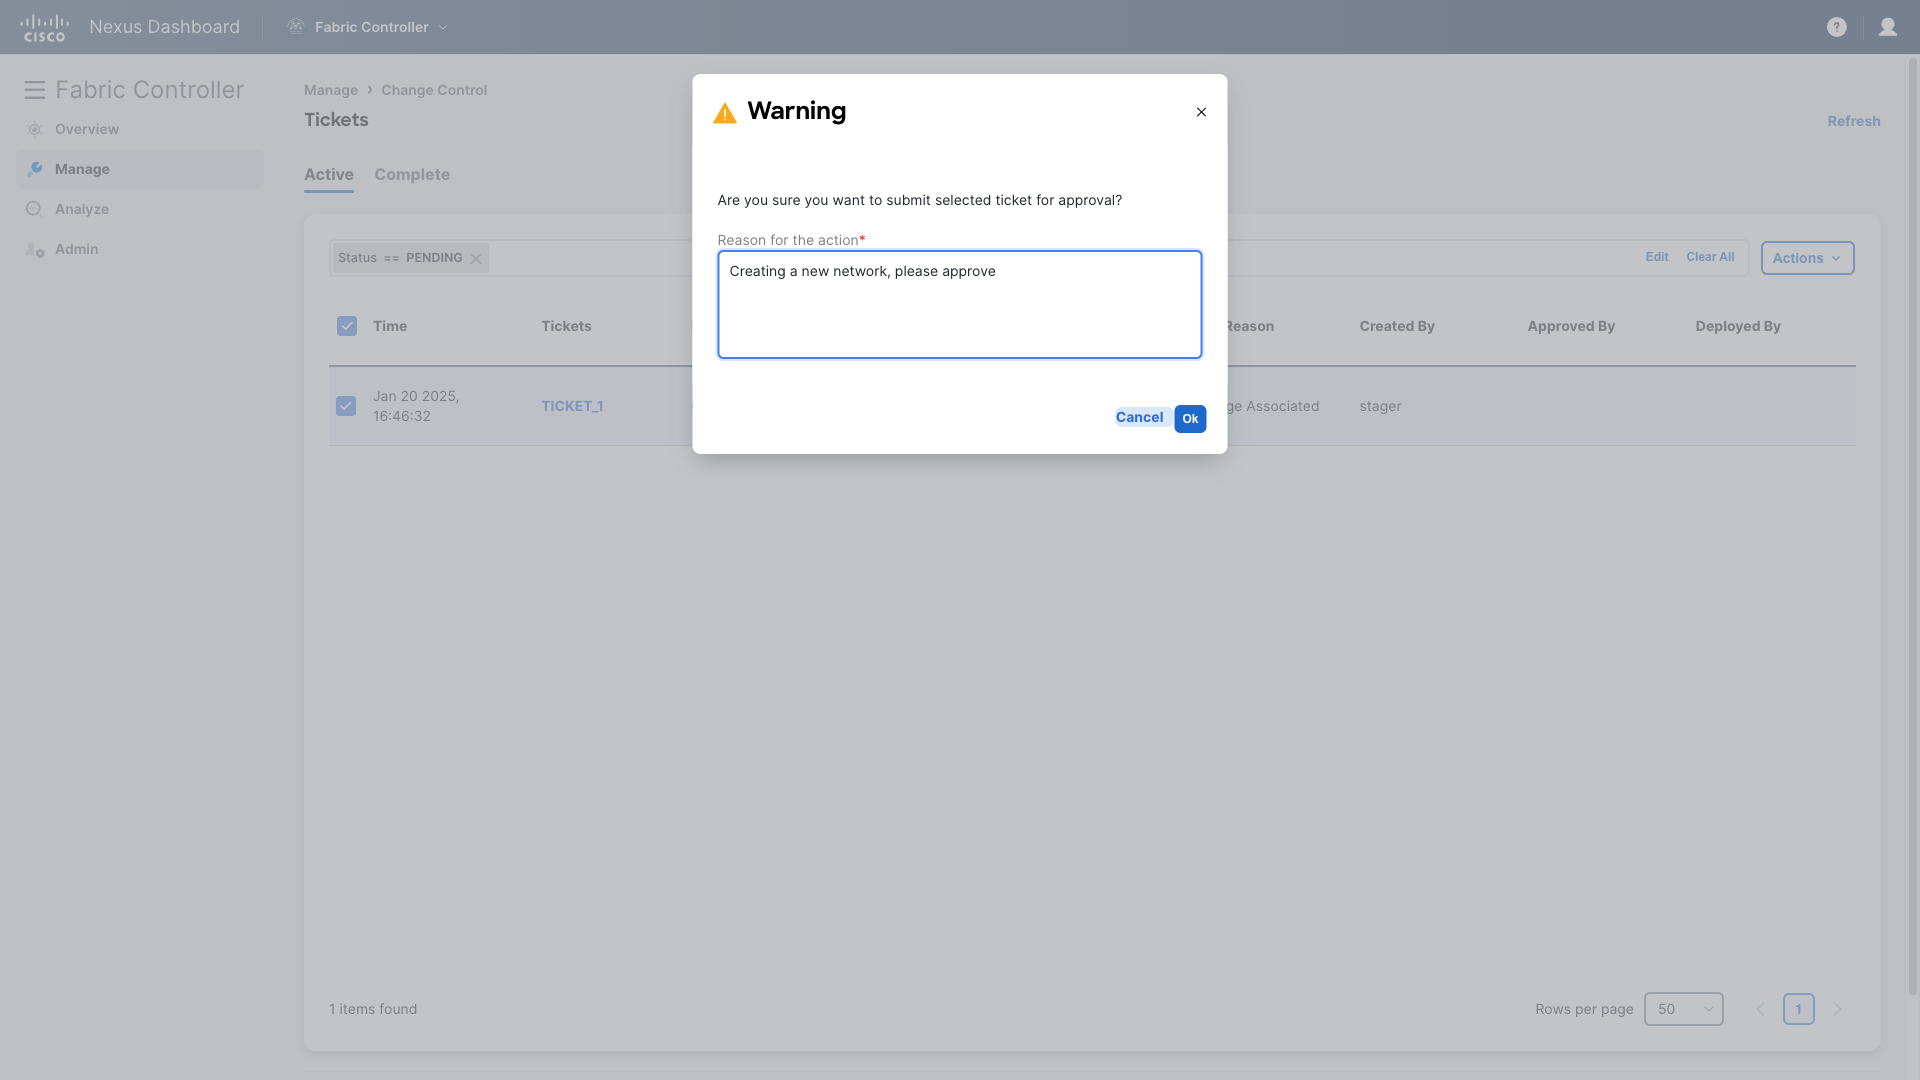
Your ticket has been submitted for approval. You can now log out as a Stager.
Approving a Change
Step 1 – Log in to ND as an Approver with the following credentials –
Username – approver
Password – C1sco12345
And go to Fabric Controller

On NDFC’s Overview you have one pending task, click on the link “You have 1 pending task(s)” to go to the Change Control page

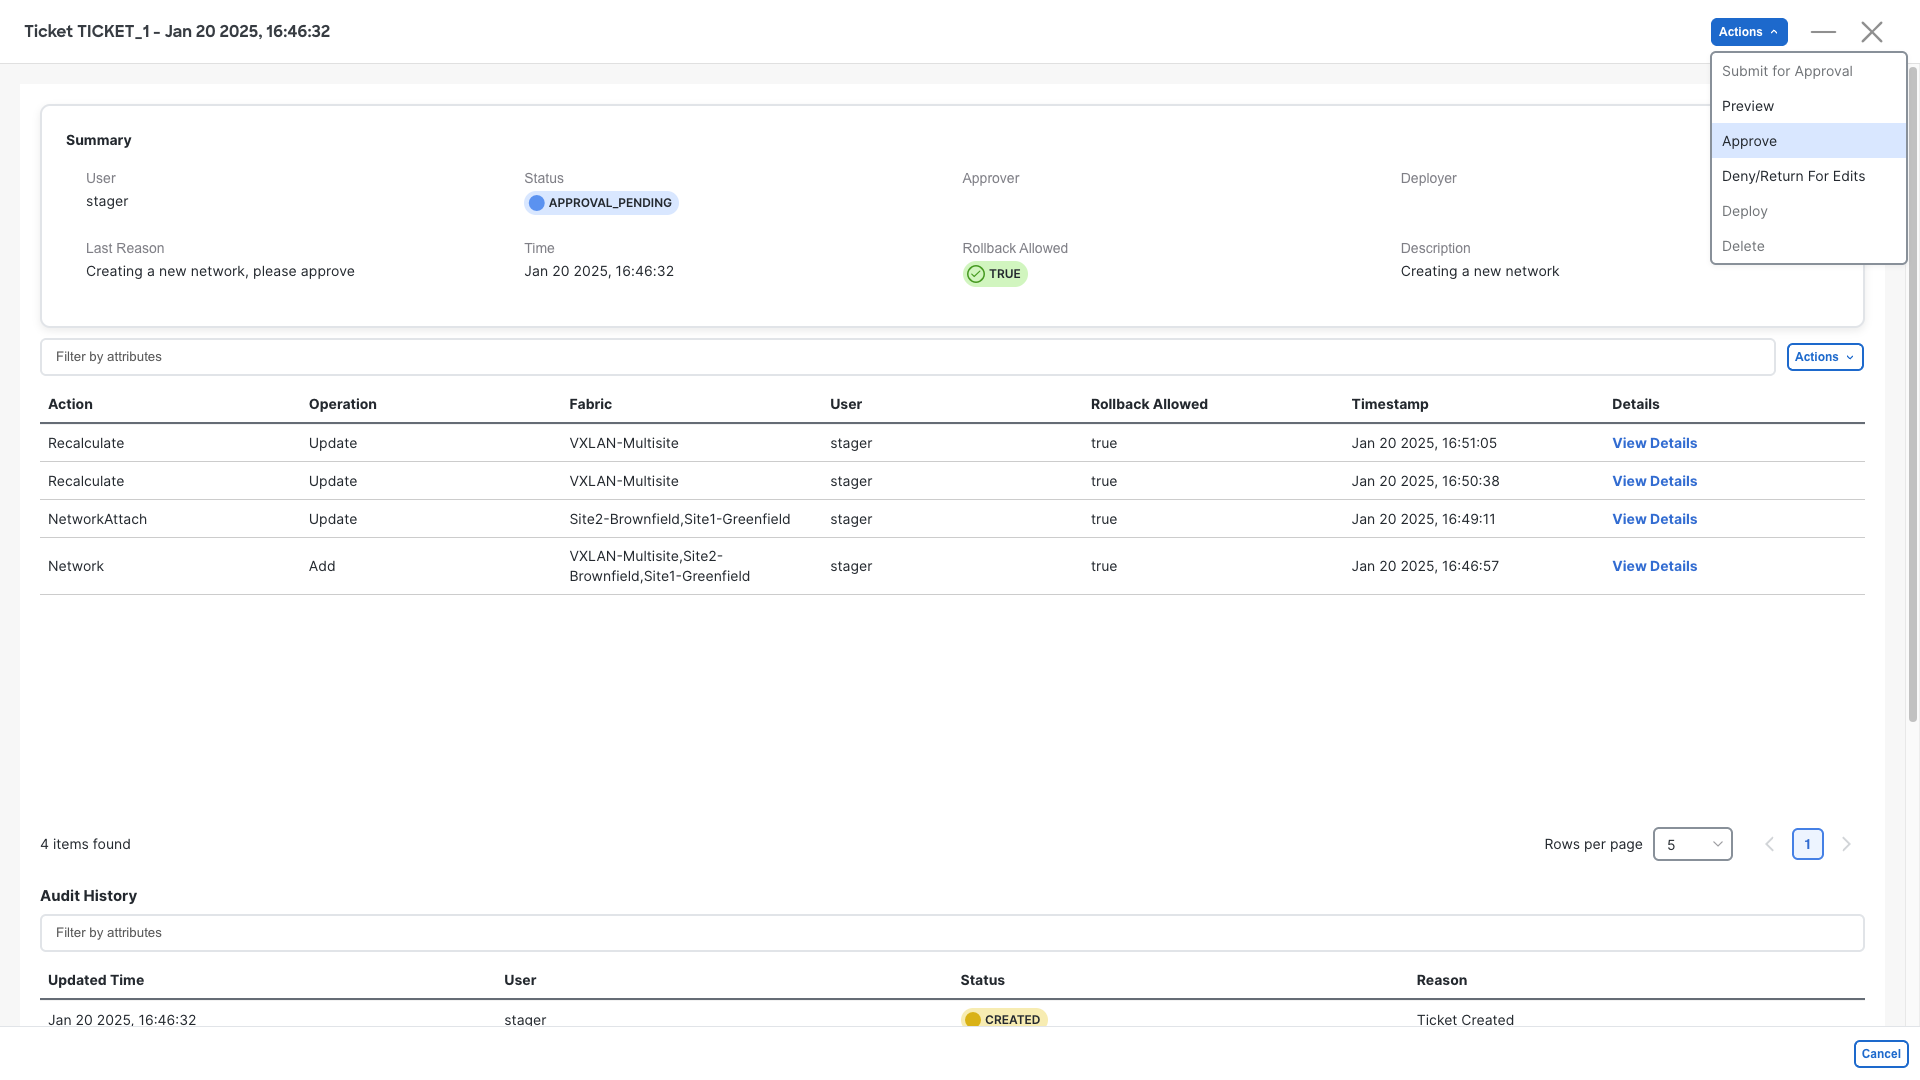
Step 2 – On the Change Control page, double-click on TICKET_1 to open this change ticket
Step 3 – Click on the View Details for the Network Attach row
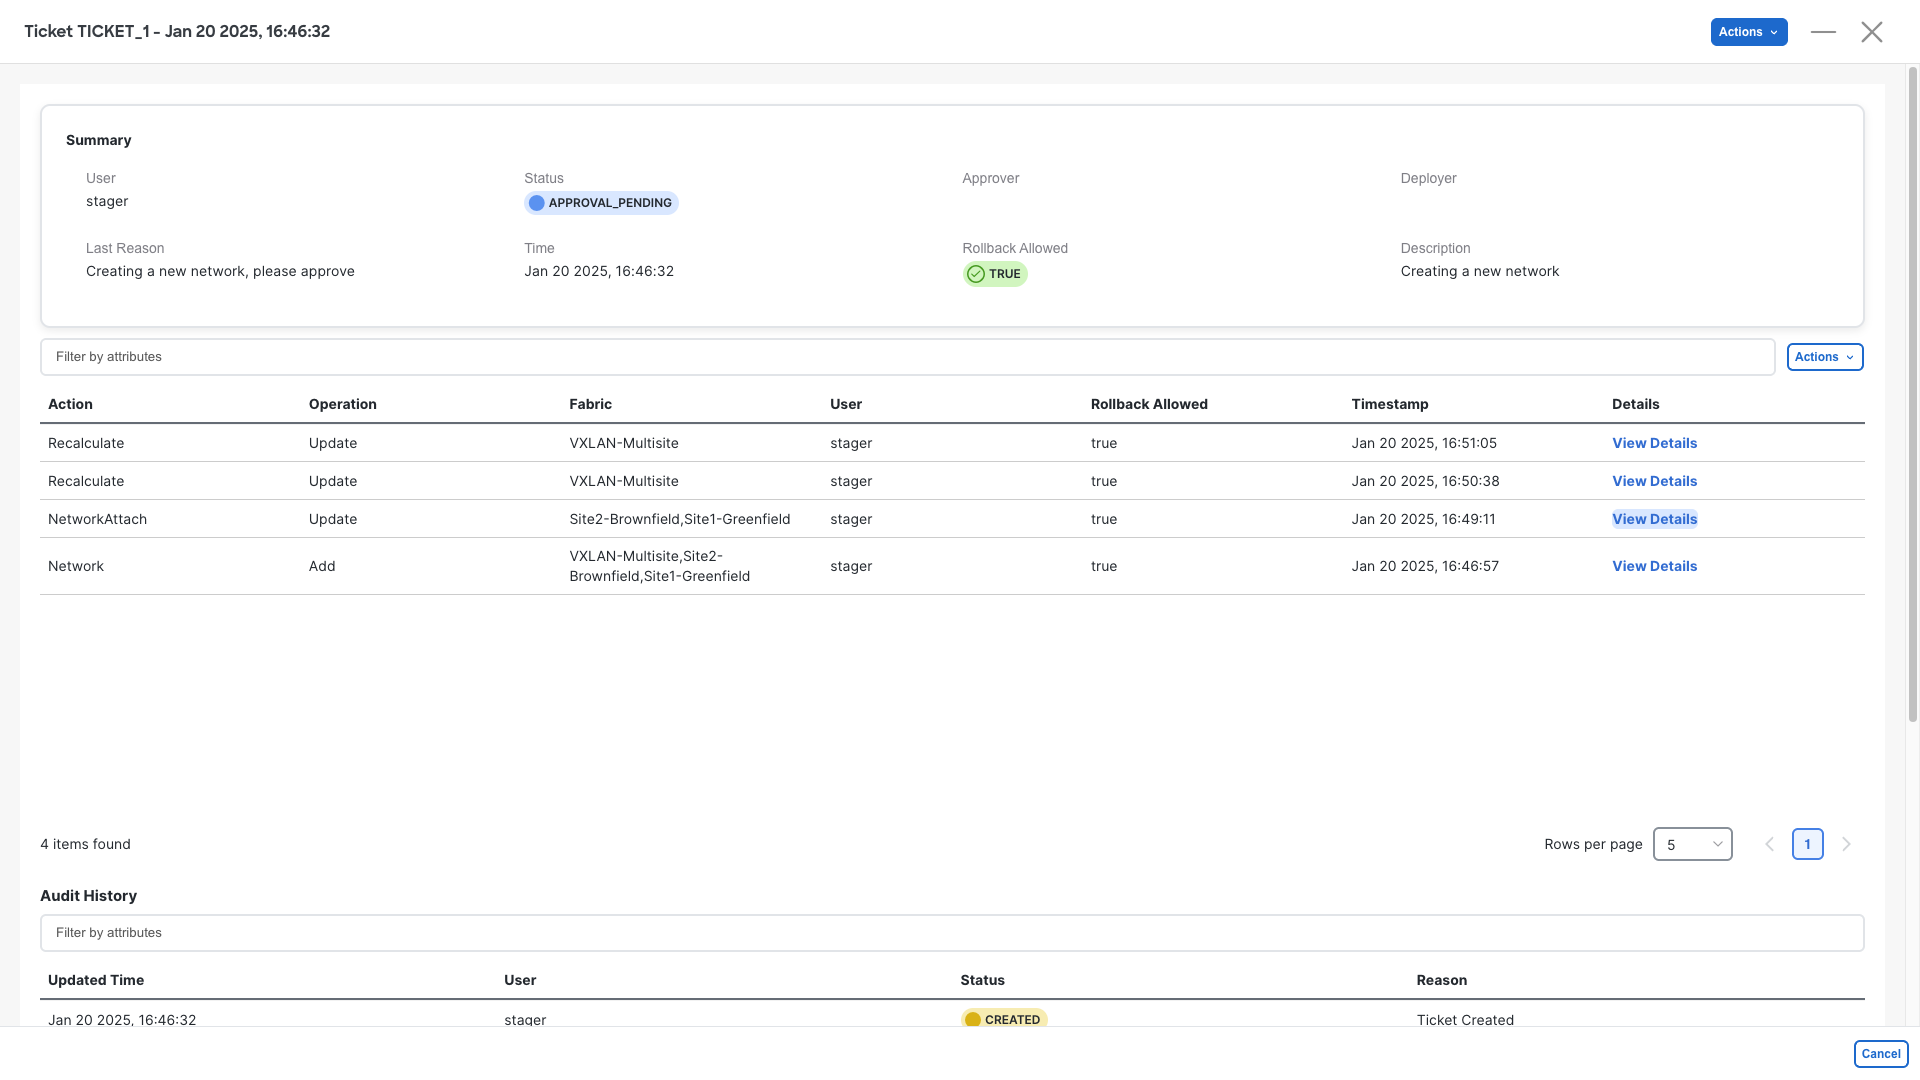
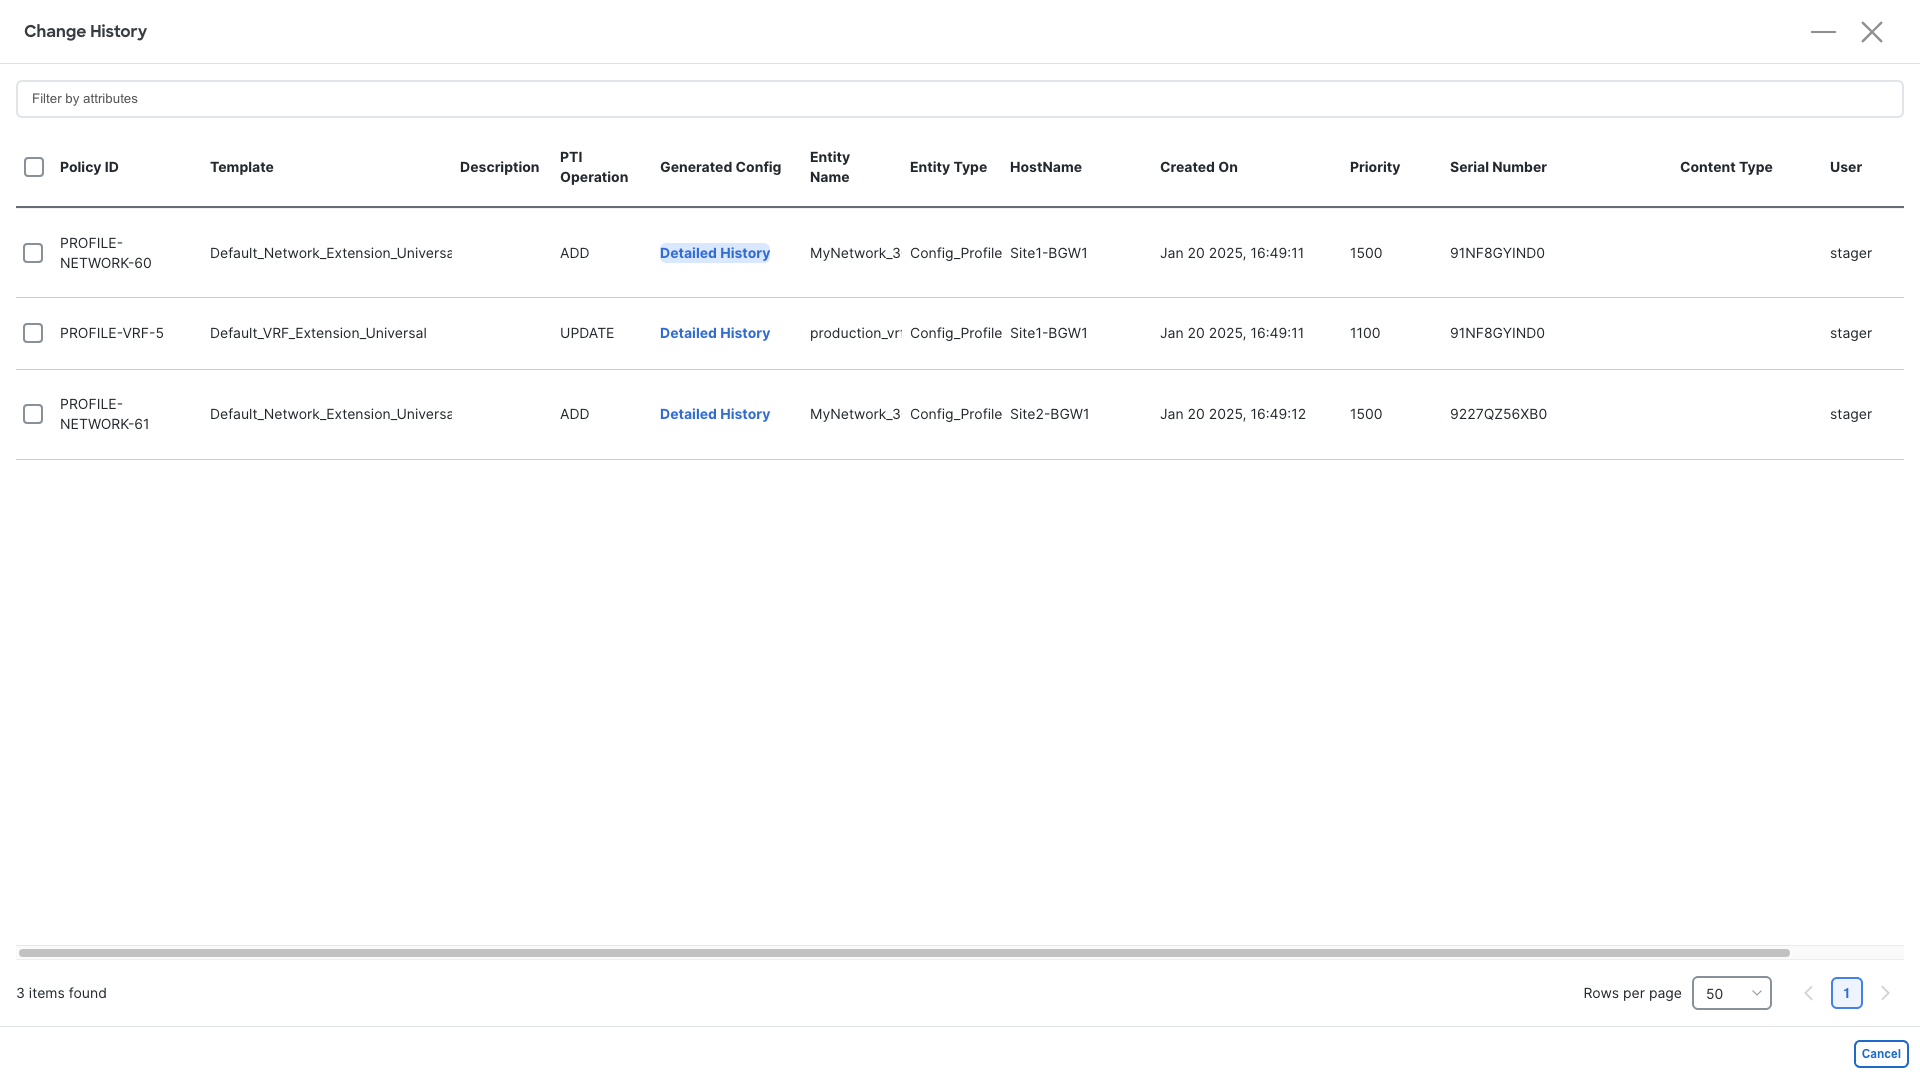
Step 4 – You should see two rows in the new view. Each row identifies a device that is expecting a new configuration. Open either of the two by clicking on Detailed History
Step 4 – Now click on Generated Config After to preview the changes that the approver users should validate
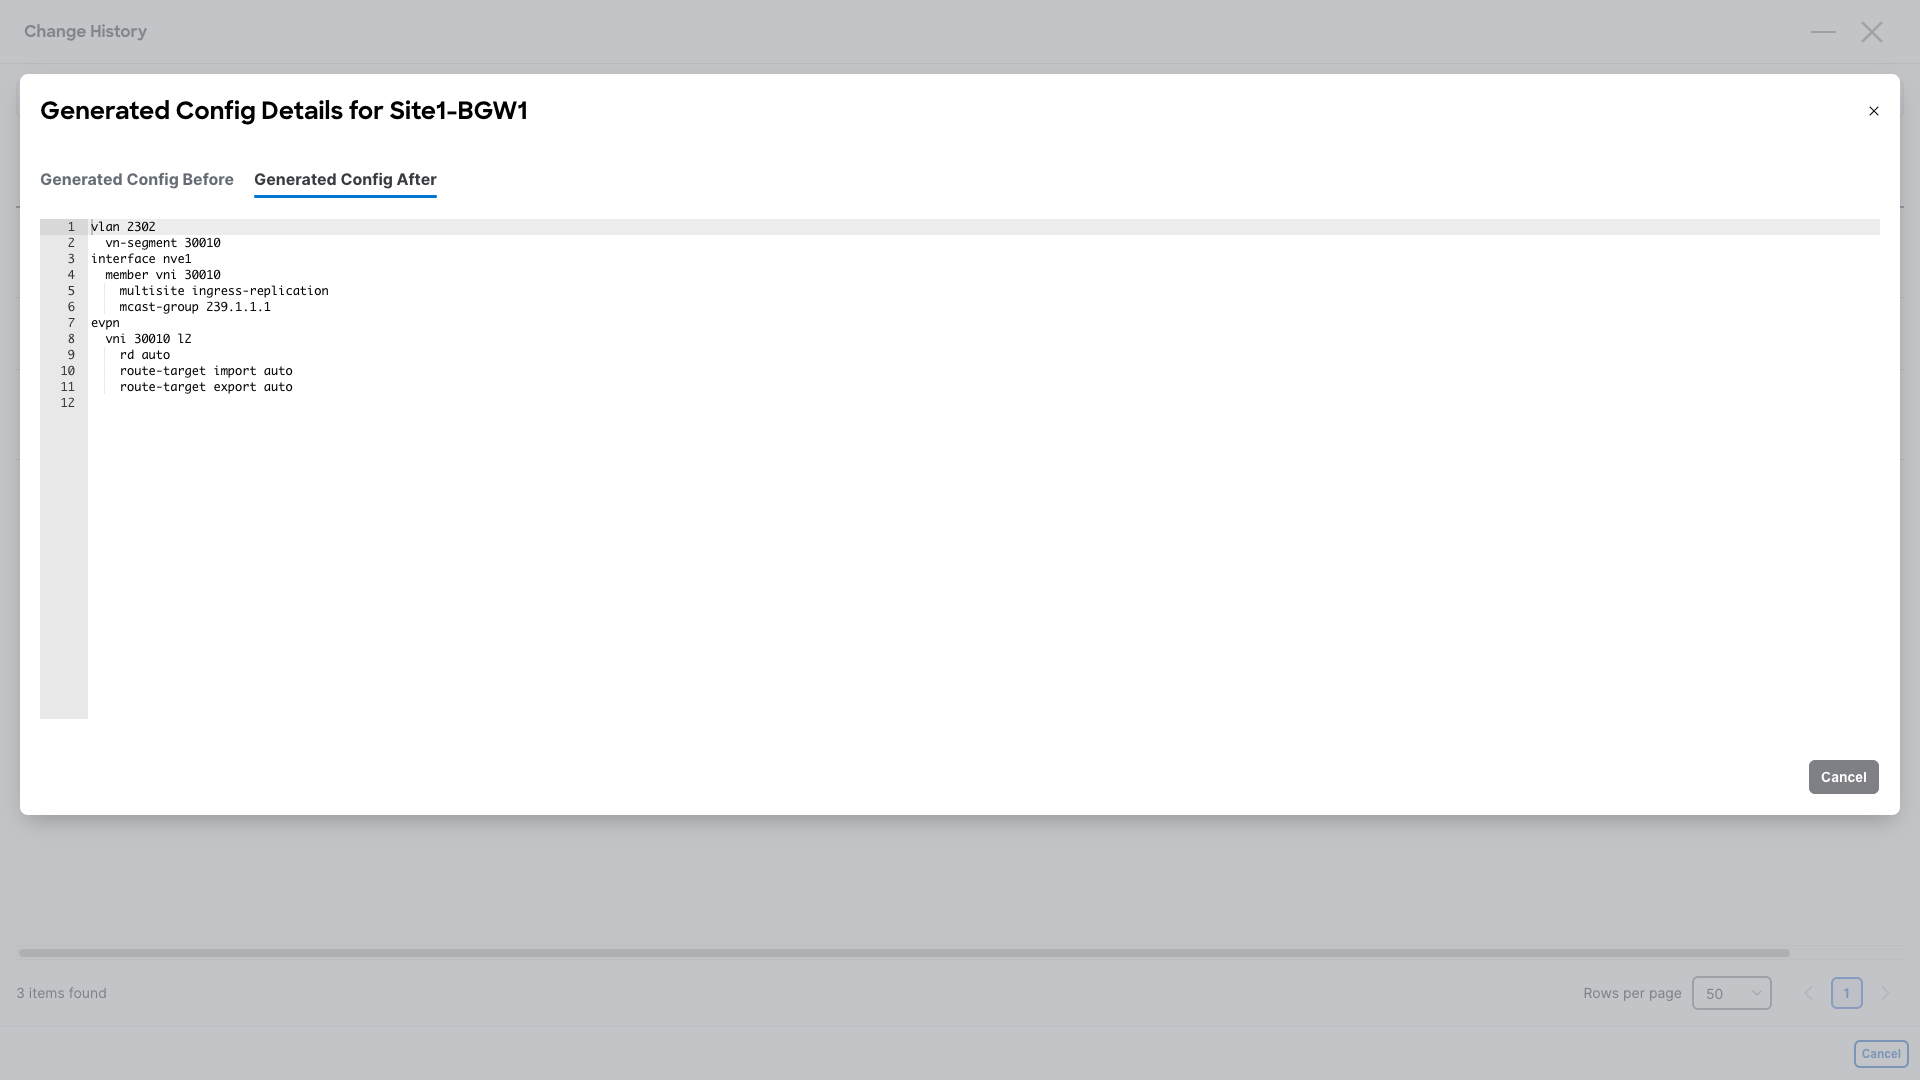
Step 5 – Once reviewed, close the details window to return to TICKET_1 Details
Step 6 – Click the top blue Actions button and select Approve, provide a comment and click Ok
You can now log out as Approver.
Deploying a Change
Step 1 – Log in as Deployer with the following credentials –
Username – deployer
Password – C1sco12345
And go to Fabric Controller

Step 2 - On NDFC’s dashboard, you have one pending task, click on the link “You have 1 pending task(s)” to go to the Change Control page

Step 3 – On the Change Control page, double-click on TICKET_1 to open this change ticket. You can view the details for each action associated with this change ticket in the same way as with the approver user
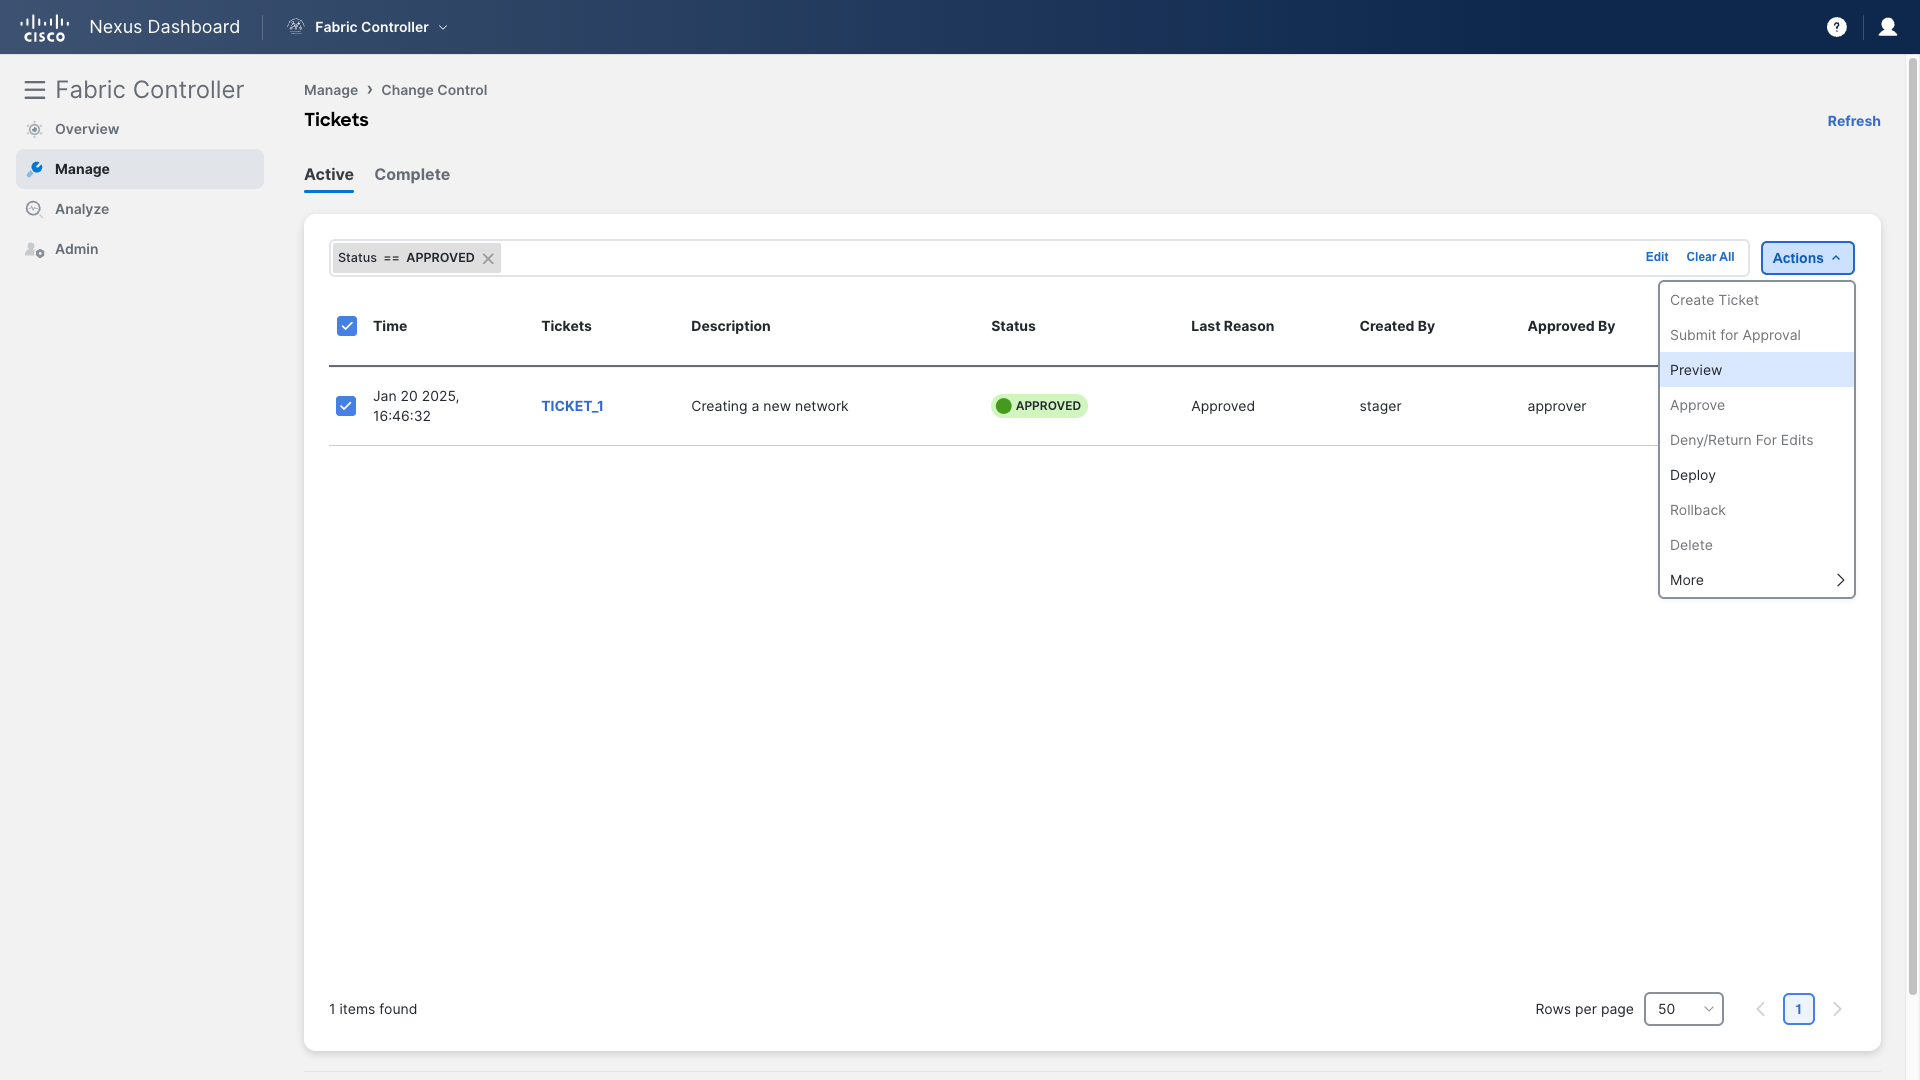
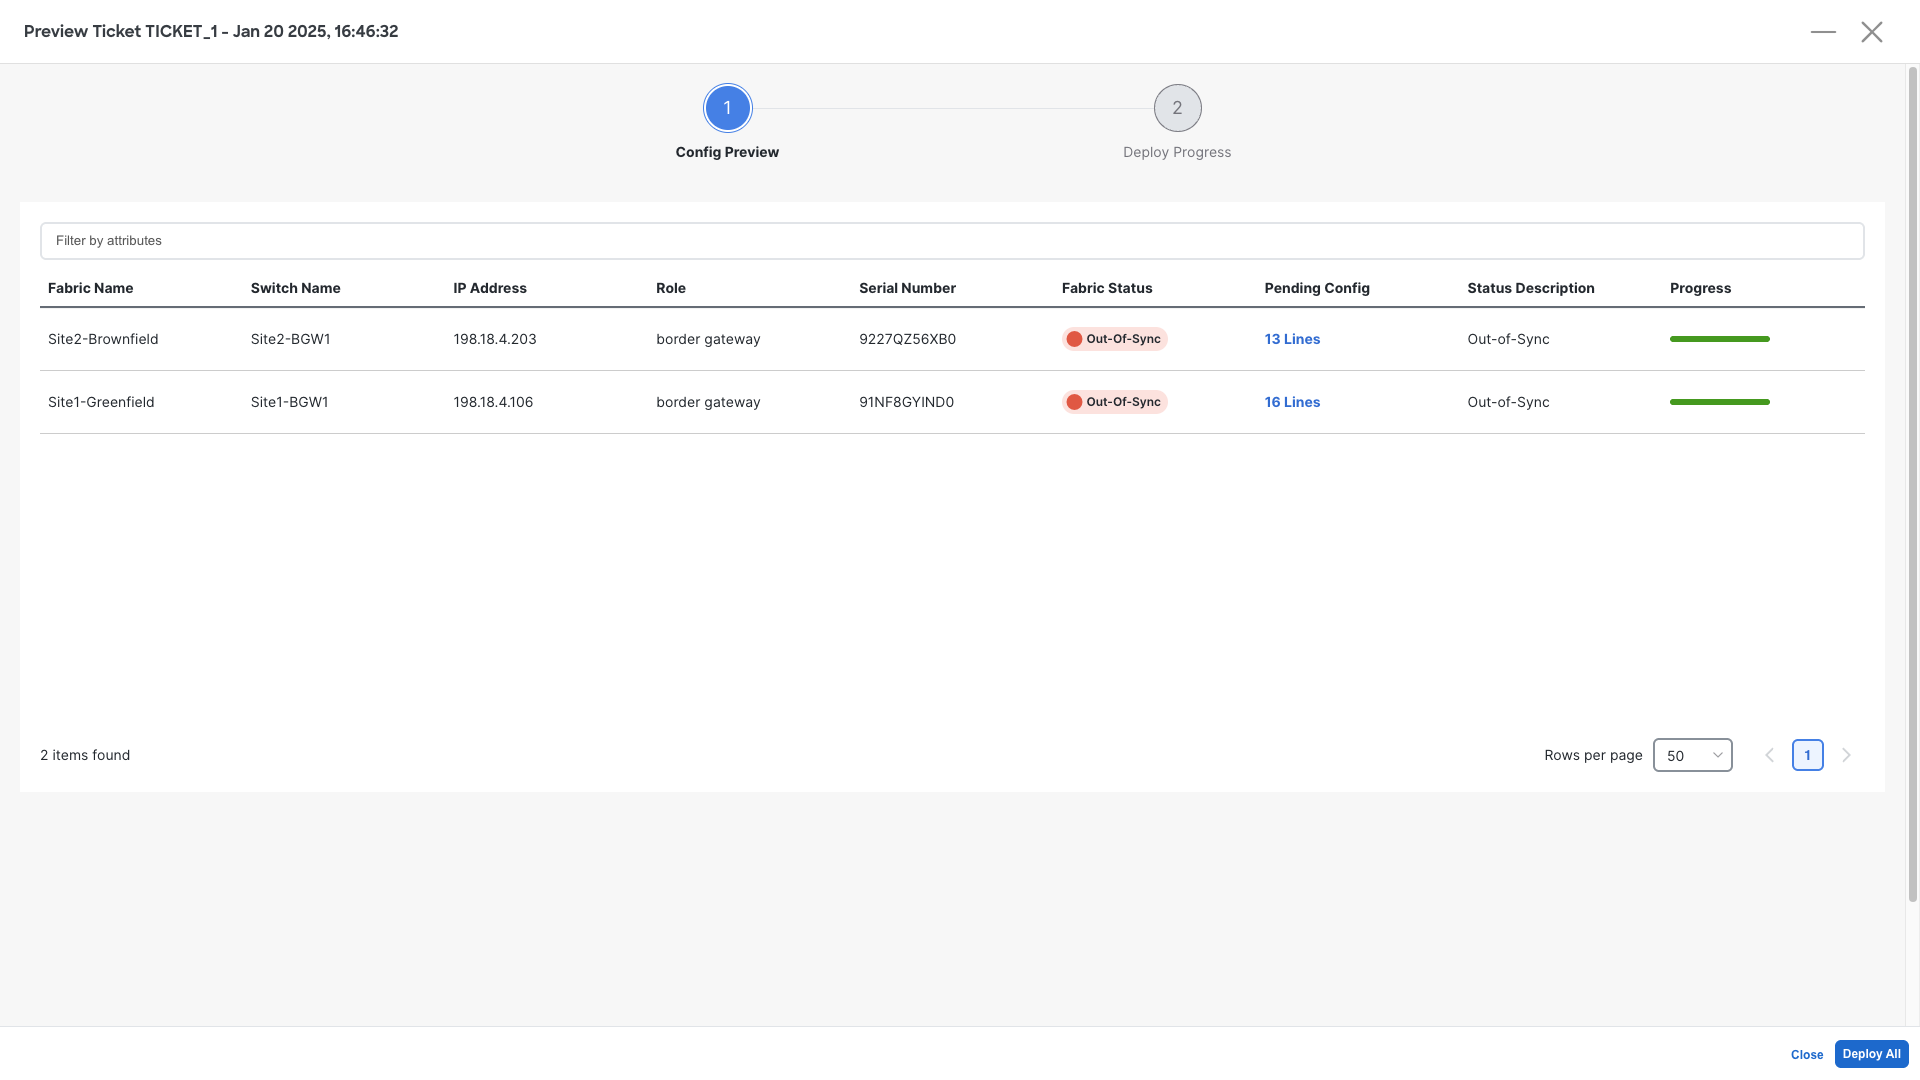
To deploy this change, click Deploy from the Actions drop-down

On the next page, click on Deploy All for NDFC to push the configuration to the devices
Congratulations, you have completed this Lab. Now, ensure that you read the Conclusion section.