Task 5 - Automation with Ansible
NDFC's native API architecture allows users to streamline workflows and increase efficiency. Network Operators and Administrators can interact with these APIs in various ways, such as:
- Direct API Calls (curl, Postman, etc.)
- Python Scripts
- Ansible playbooks for various use cases with the DCNM/NDFC Module
- Terraform HCL with the DCNM/NDFC Provider
Step 1: Automating Networks and VRFs with Ansible Playbook
- This lab guides you through running an existing Ansible playbook that pulls Networks and VRFs from an external resource—in this case, Netbox.
- Keep in mind this external resource could be any database, file, or system Ansible can read.
Step 2: Exploring Netbox VRFs, Networks, and VLANs
-
To open Netbox IPAM, click here and then use the following credentials:
Field Value Username lab_user Password C1sco12345 Note:
There is no need to open this link from the lab environment. In this task, you only need to observe the data contained in Netbox.
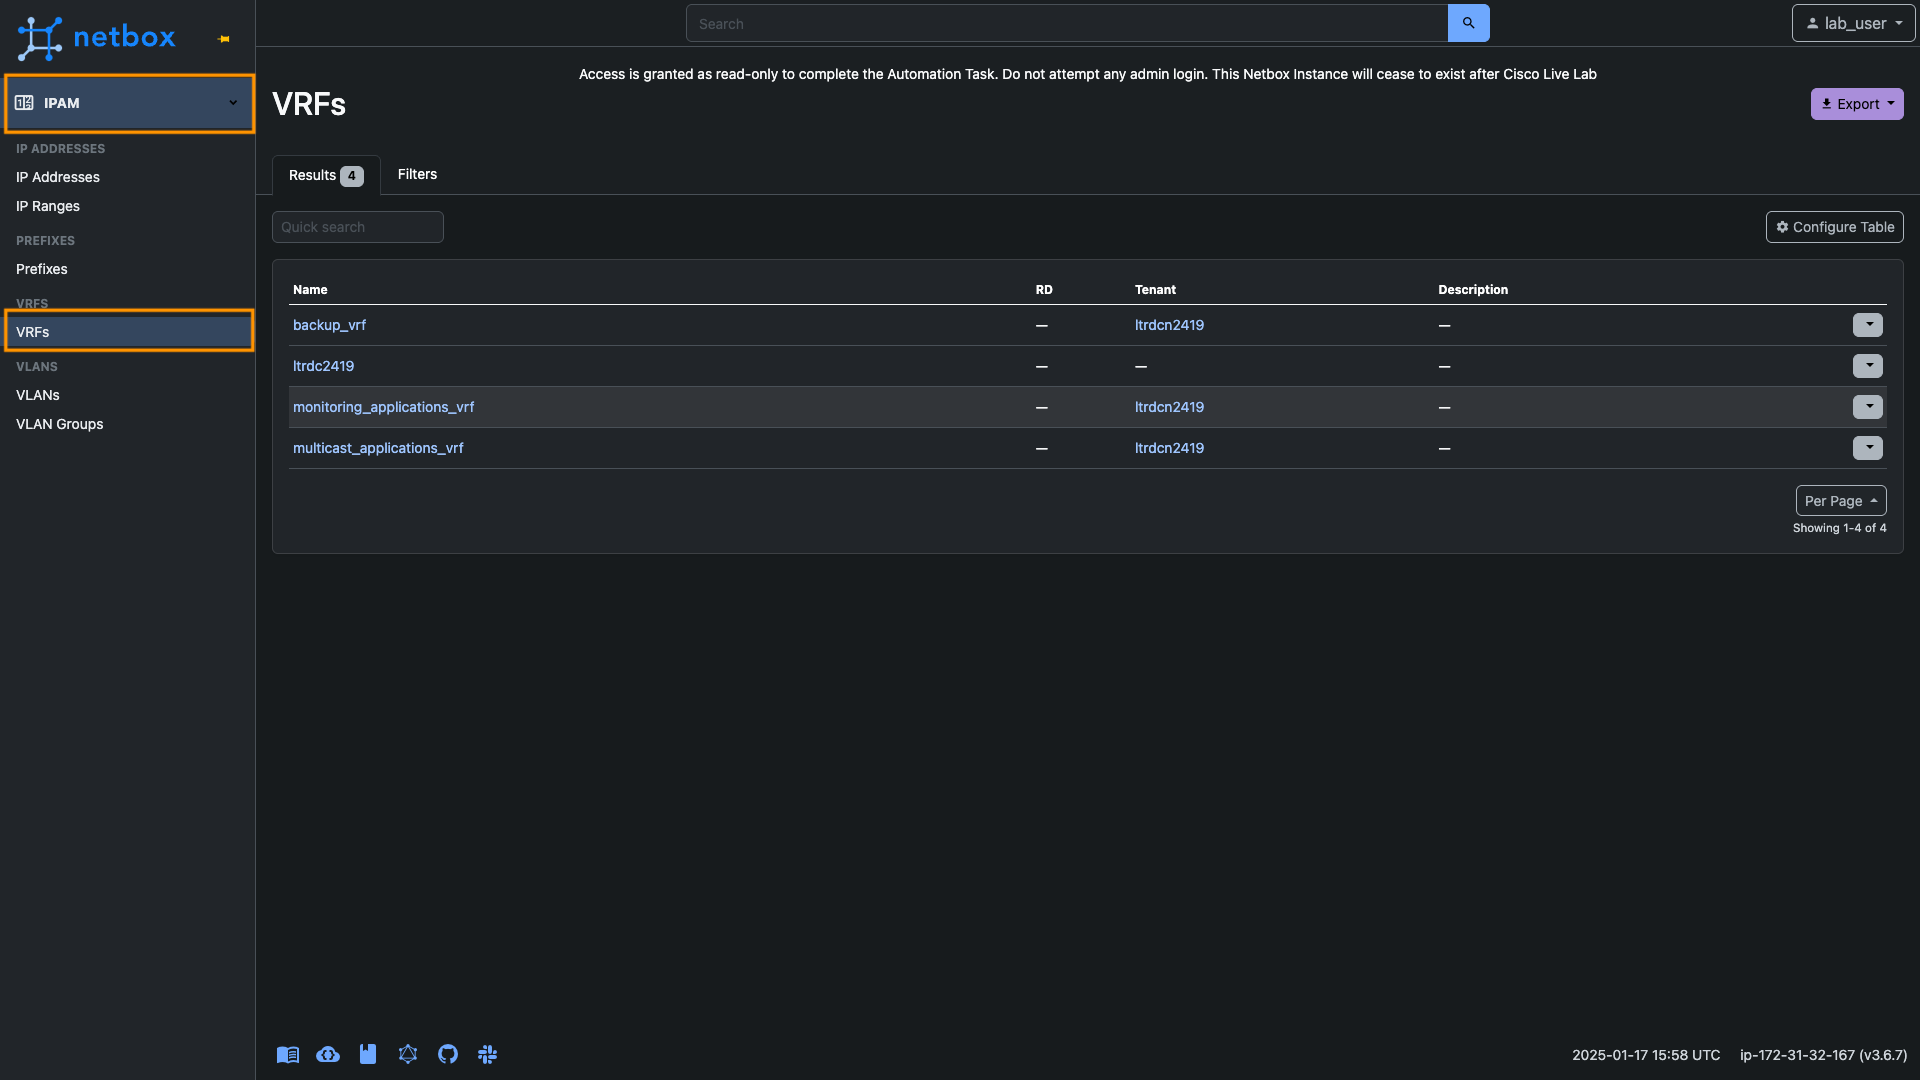
-
Expand the IPAM section and explore the VRFs, VLANs, and Prefixes. Notice that Netbox currently contains definitions of overlays that are not yet part of NDFC.
Step 3: Inspecting the Ansible Playbook
-
Access the Ubuntu-Desktop VM either via the dCloud Web RDP utility or by using a direct RDP session from your laptop to 198.18.133.101.
This direct RDP session is only applicable if you are connected via VPN.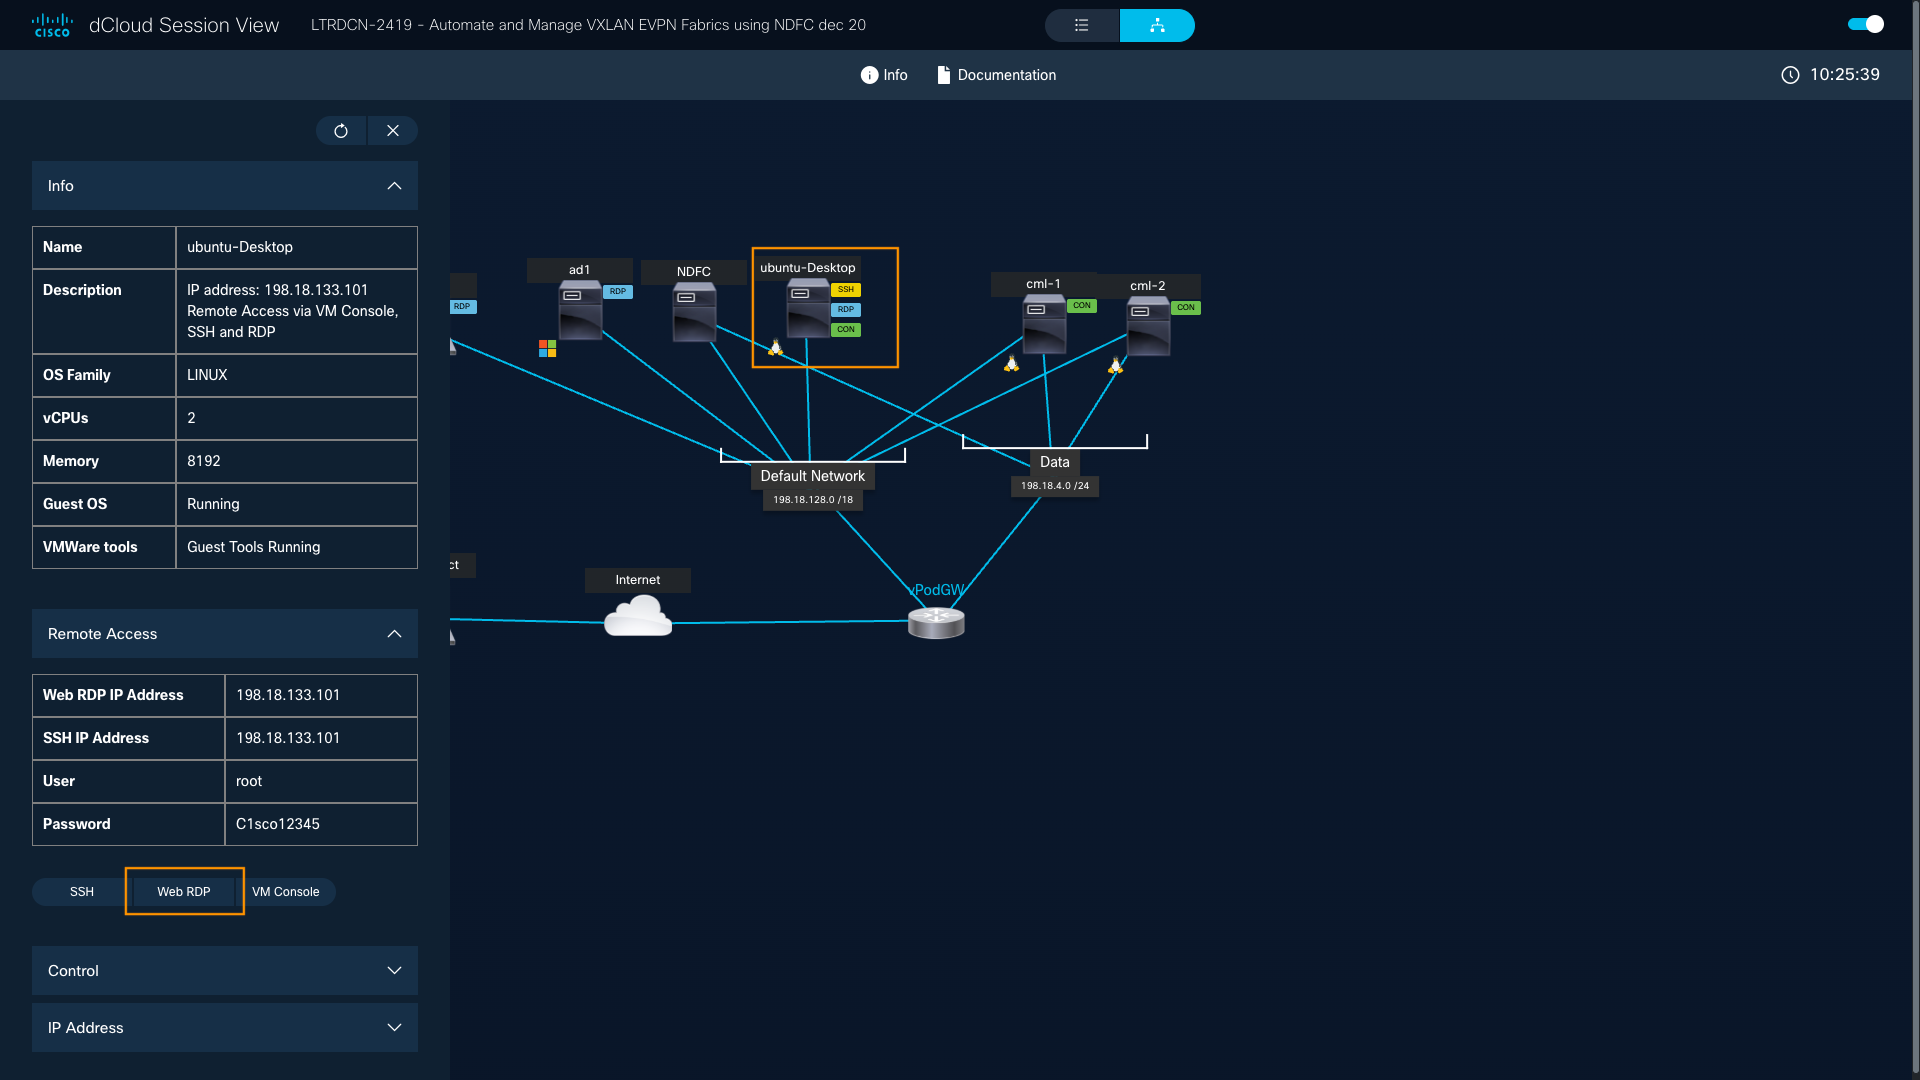
-
Info: Use the following credentials if access is not automatic:
Field Value Username root Password C1sco12345 -
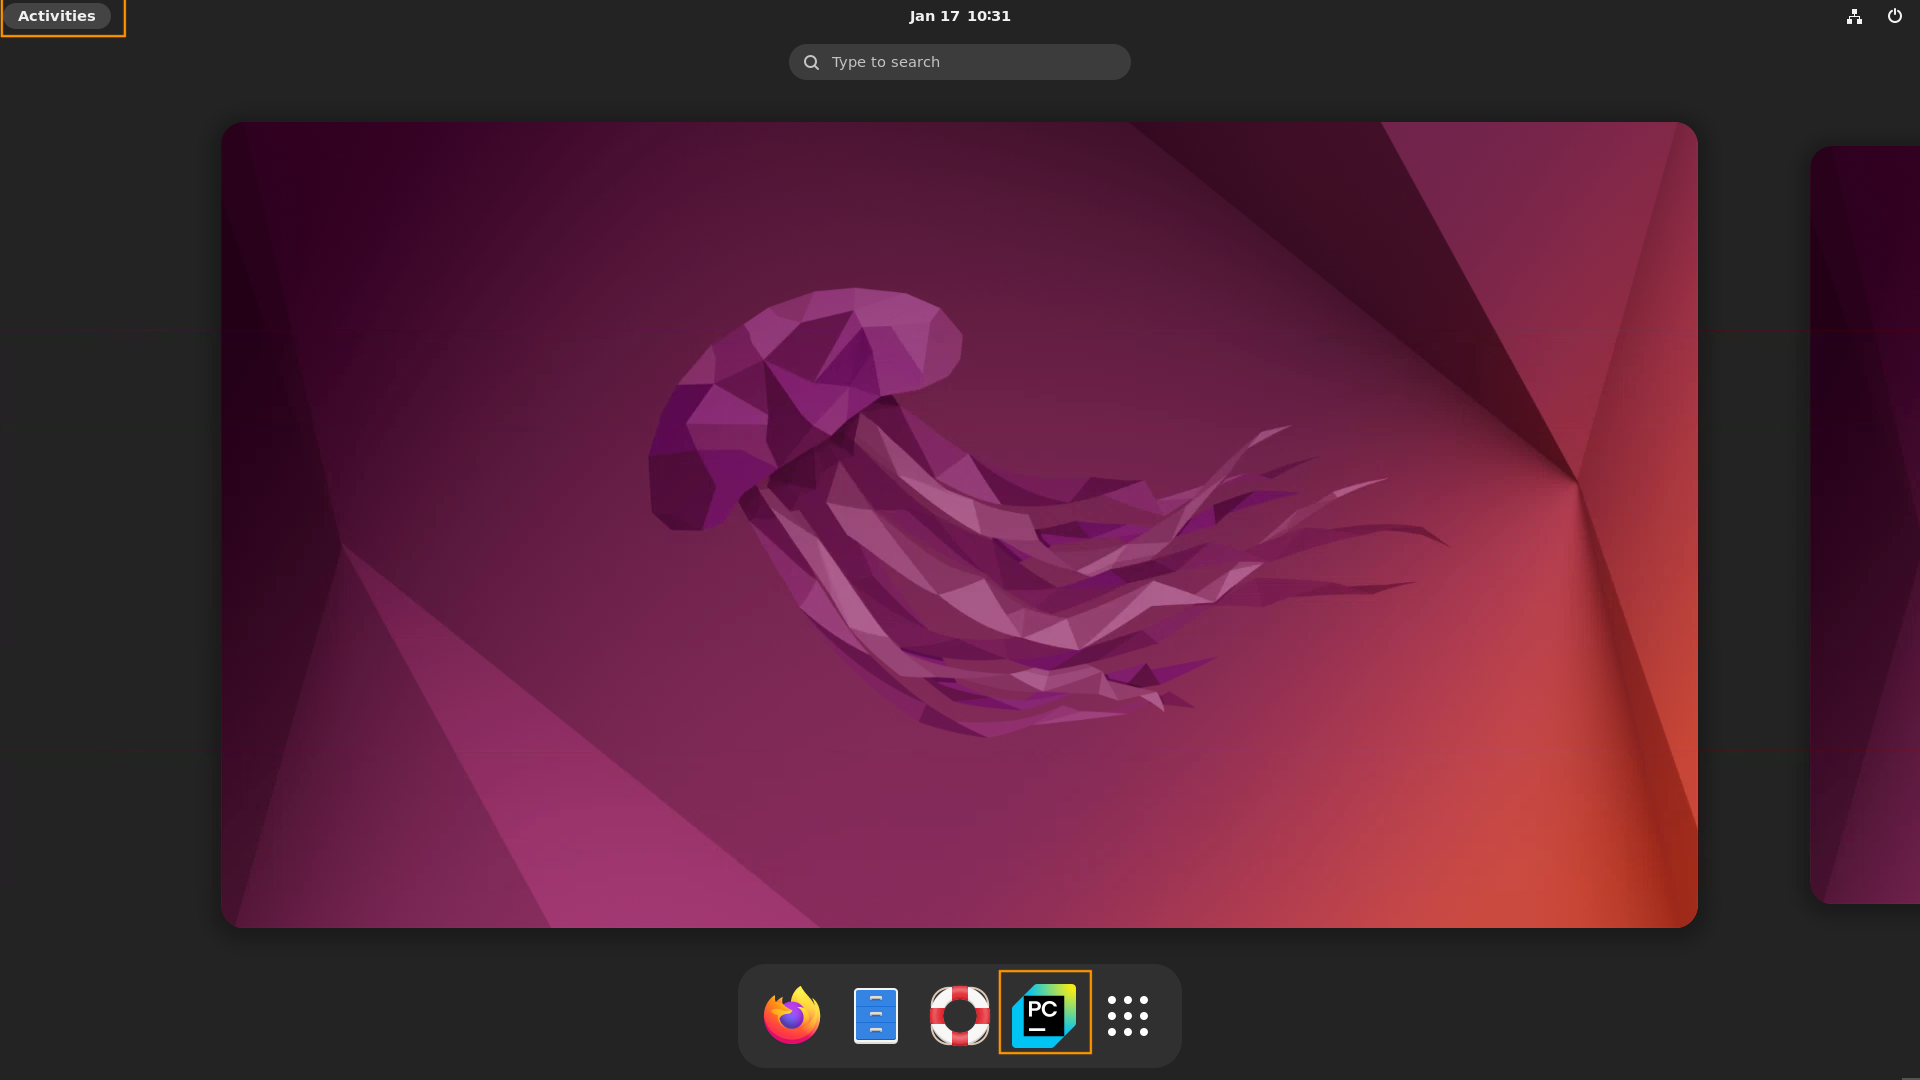
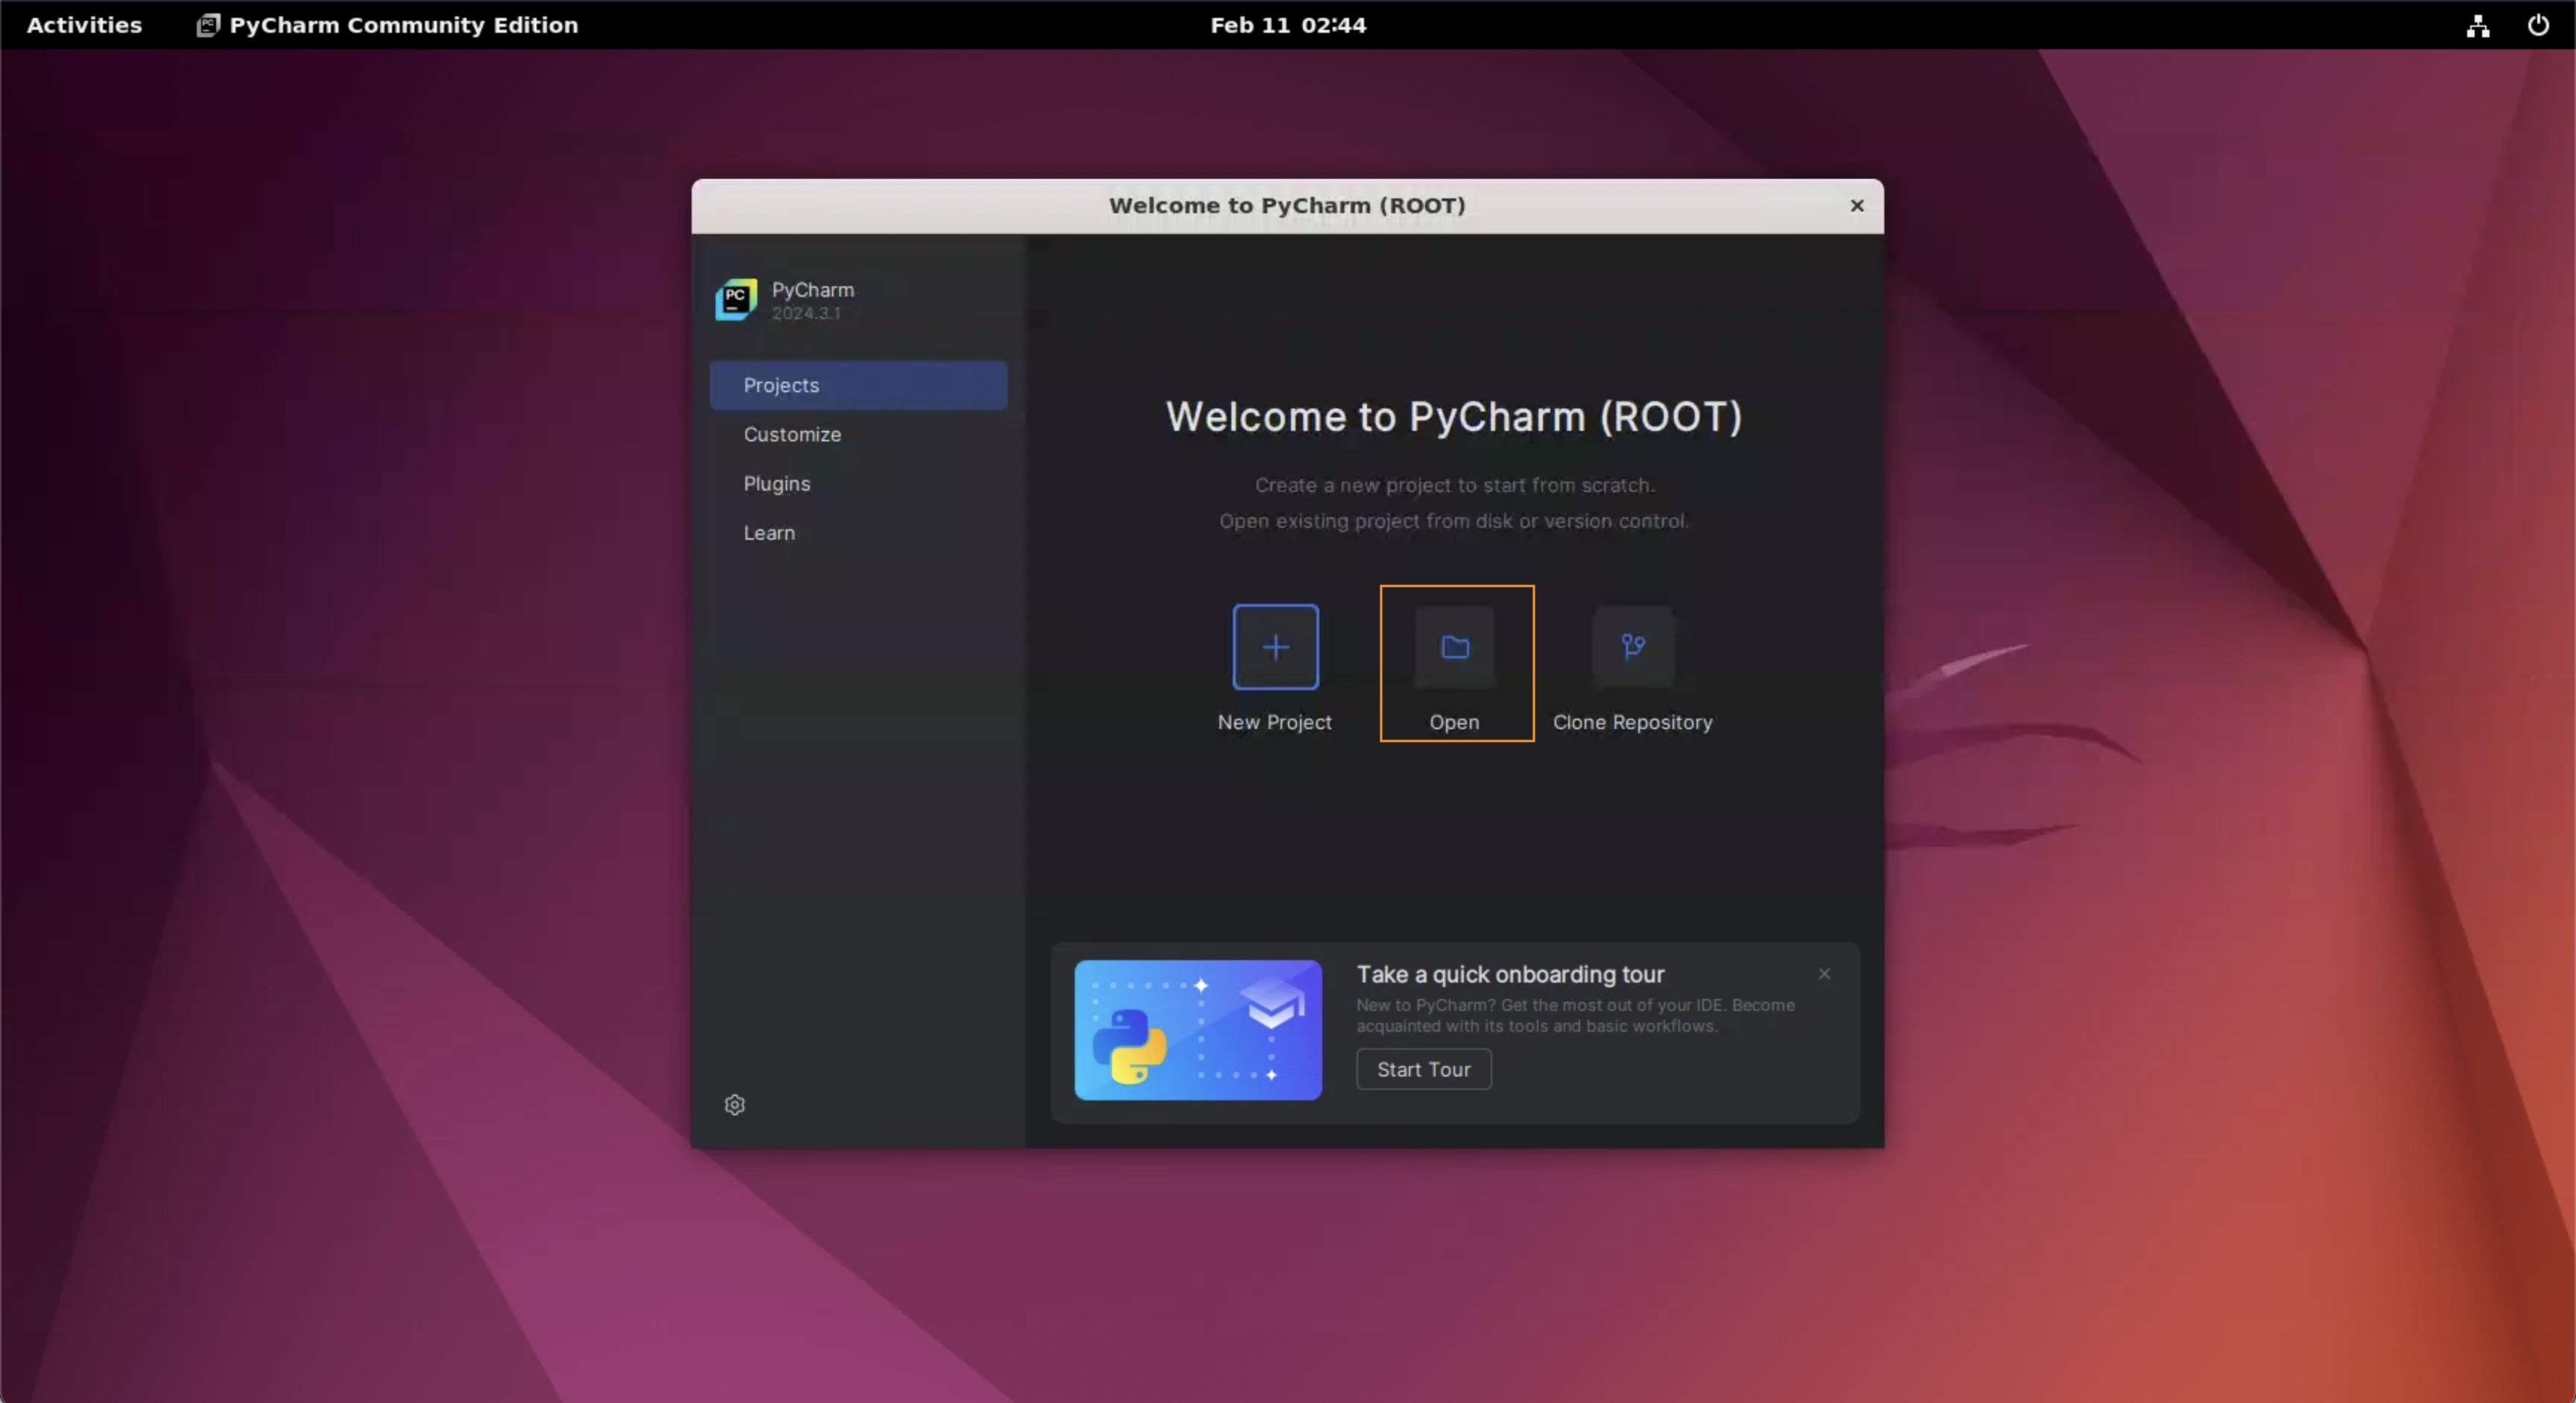
Click on Activities in the top-left corner and open the PyCharm IDE.
-
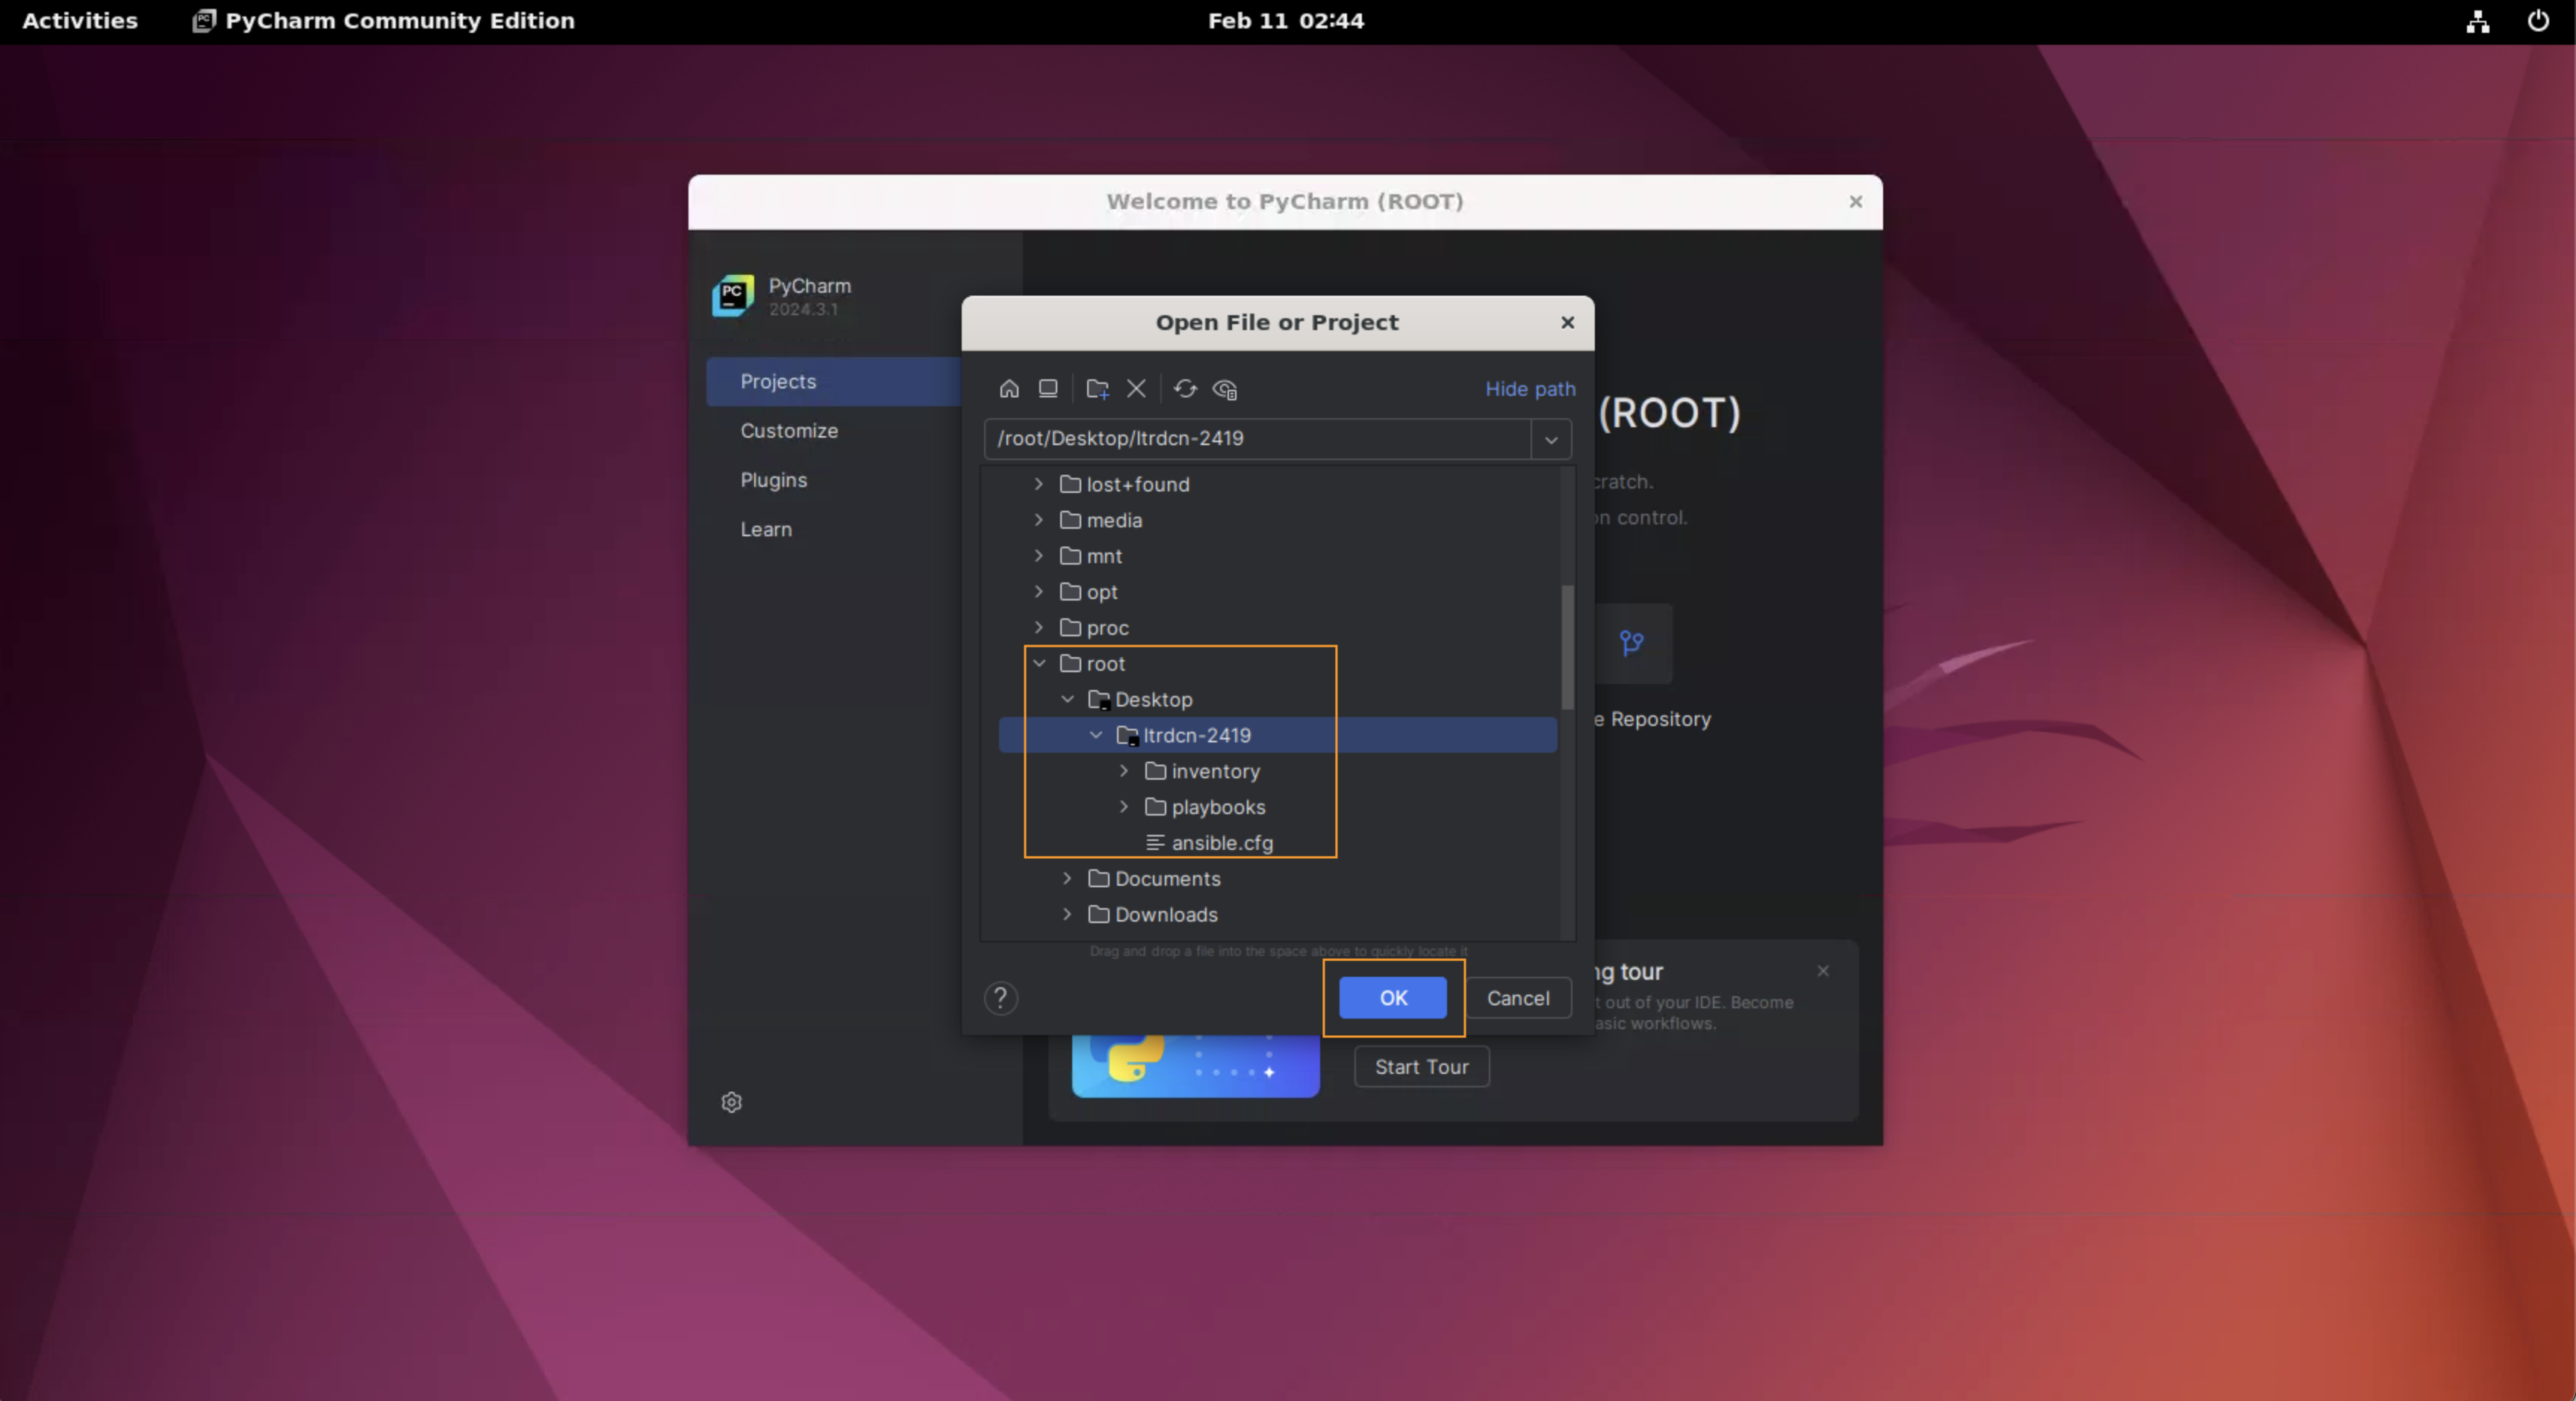
Navigate to the Ansible Playbook located in the /root/Desktop/ltrdcn-2419 directory.
-
If required click on Trust Project
-
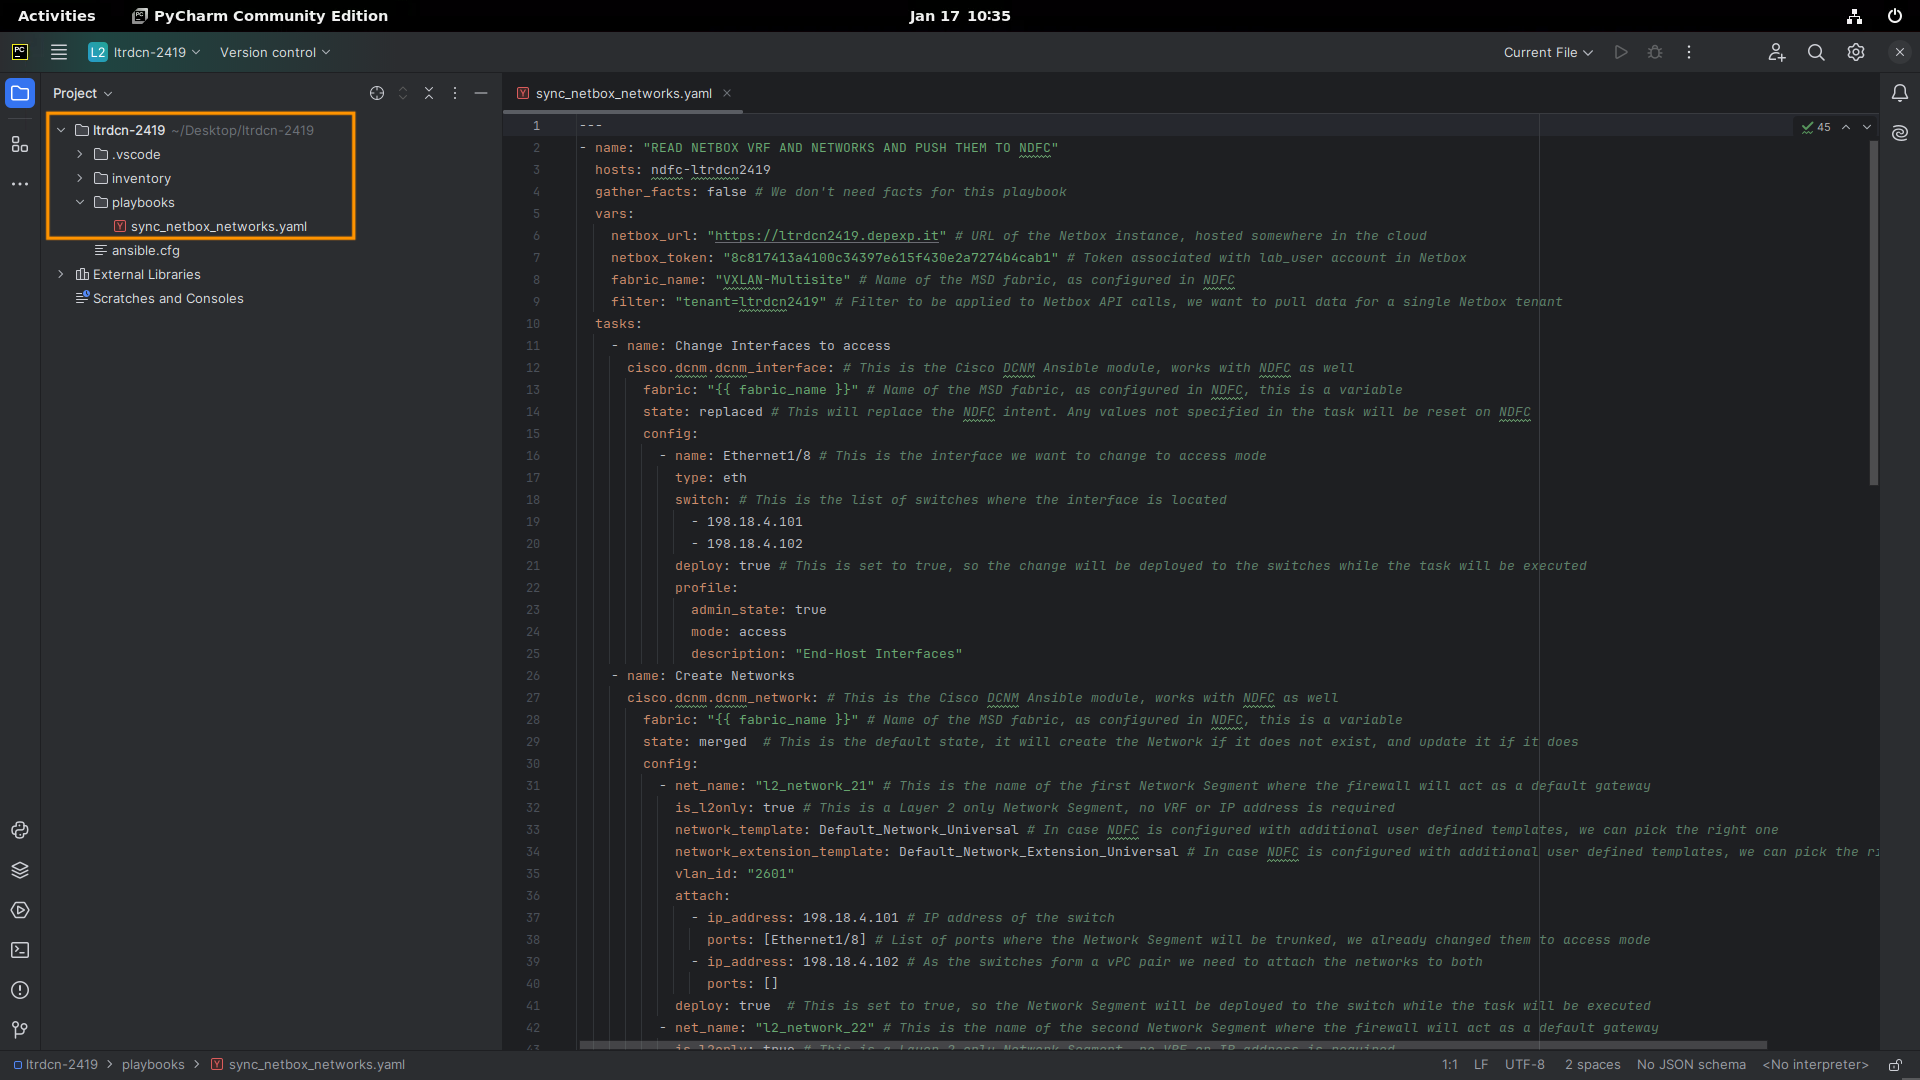
Expand the folders in the left column and open the file sync_netbox_networks.yaml
-
Review the playbook. Each line is commented for clarity.
General workflow of this playbook:
-
Prepare the Layer 2–only networks for Task 7 - Firewall Insertion
- Configure Ethernet 1/8 on Site-1 Leaf-1 and Leaf-2 as access ports for Server5 and Server6.
- Define two new networks and attach them to these interfaces; each interface will have its own network.
-
Deploy Netbox Configurations
- Connect to Netbox via APIs, read the VRFs, and create them in NDFC using the
cisco.dcnm.dcnm_vrfmodule. - Connect to Netbox via APIs, read the Networks, and create them in NDFC using the
cisco.dcnm.dcnm_networkmodule. Trunk these networks to Eth1/10-11 on a couple of leaves. - Use the flexible
dcnm_restmodule to gather the list of MSD children. - Trigger a Recalculate & Deploy in each of them.
- Connect to Netbox via APIs, read the VRFs, and create them in NDFC using the
Step 4: Running the Ansible Playbook
-
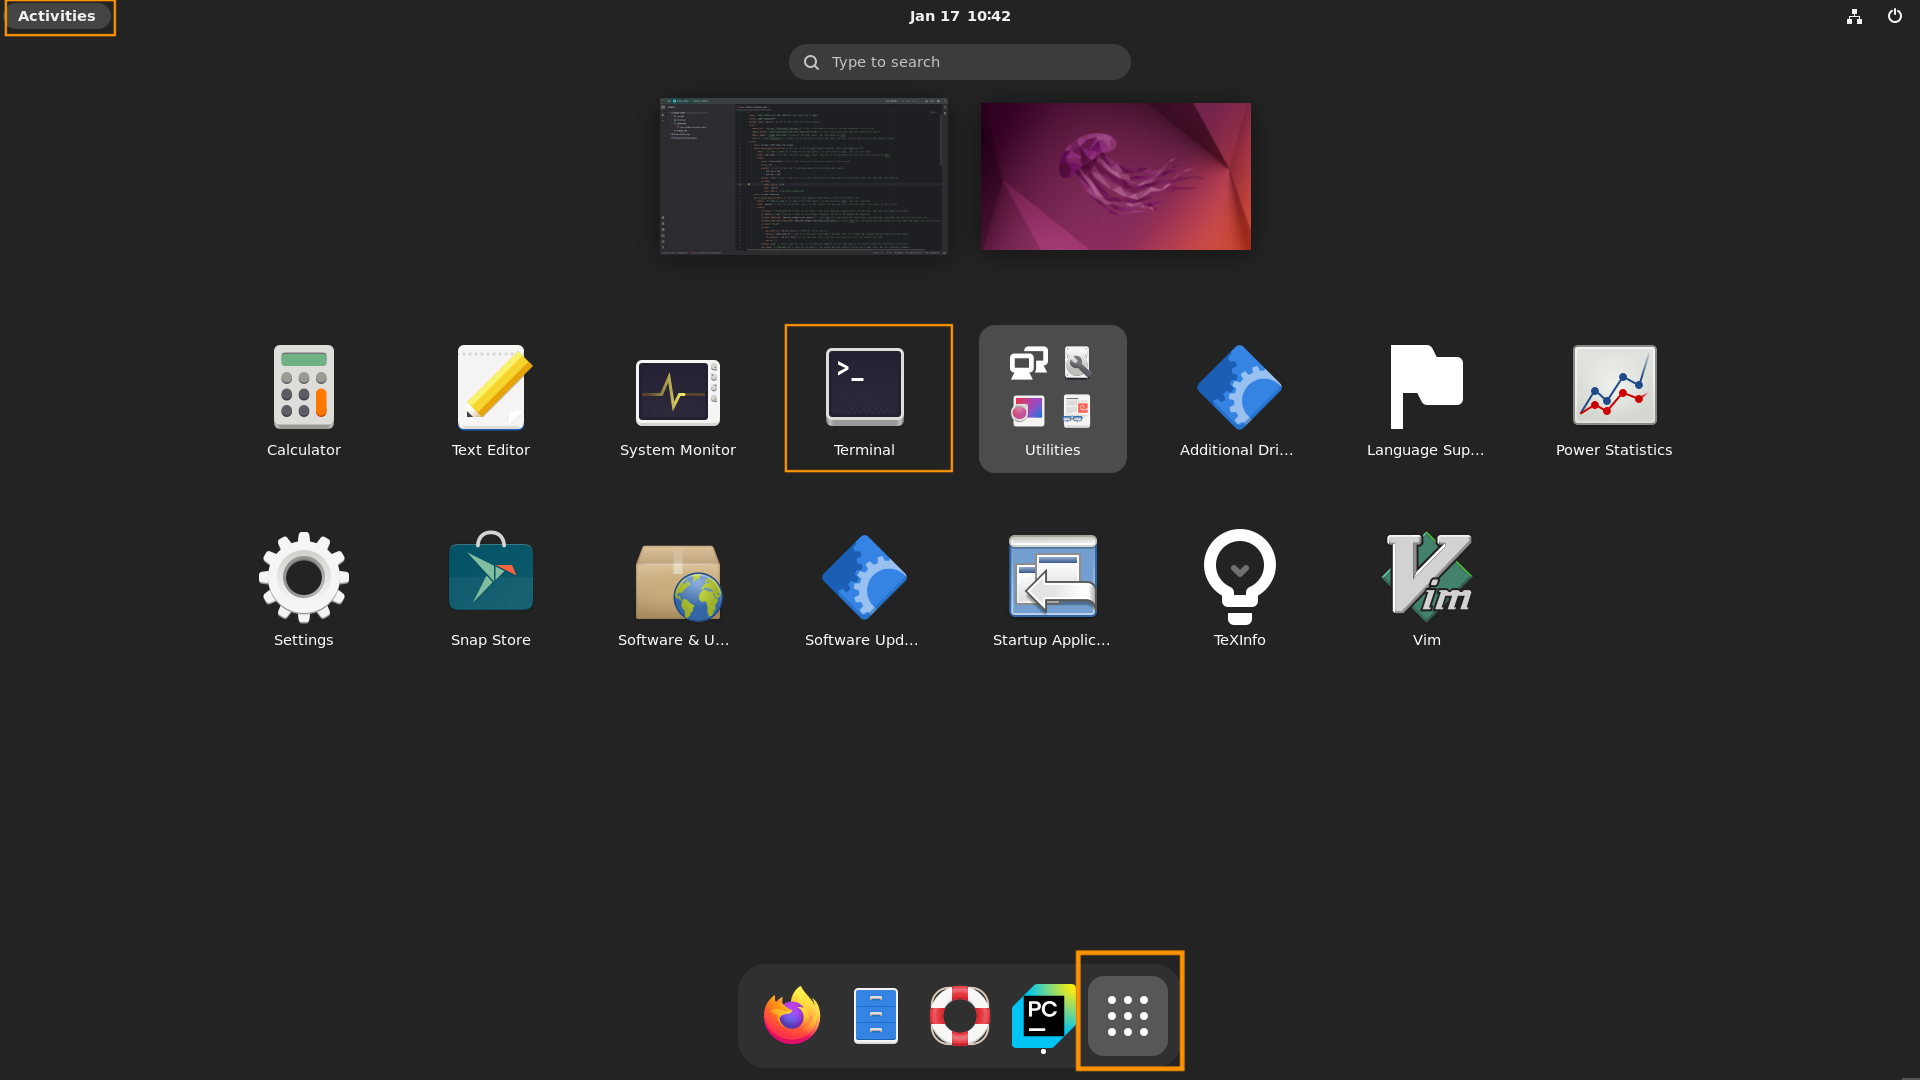
From the Ubuntu Activities menu, open Show Applications, then launch the Terminal.
-
Change directory to Desktop/ltrdcn-2419:
cd Desktop/ltrdcn-2419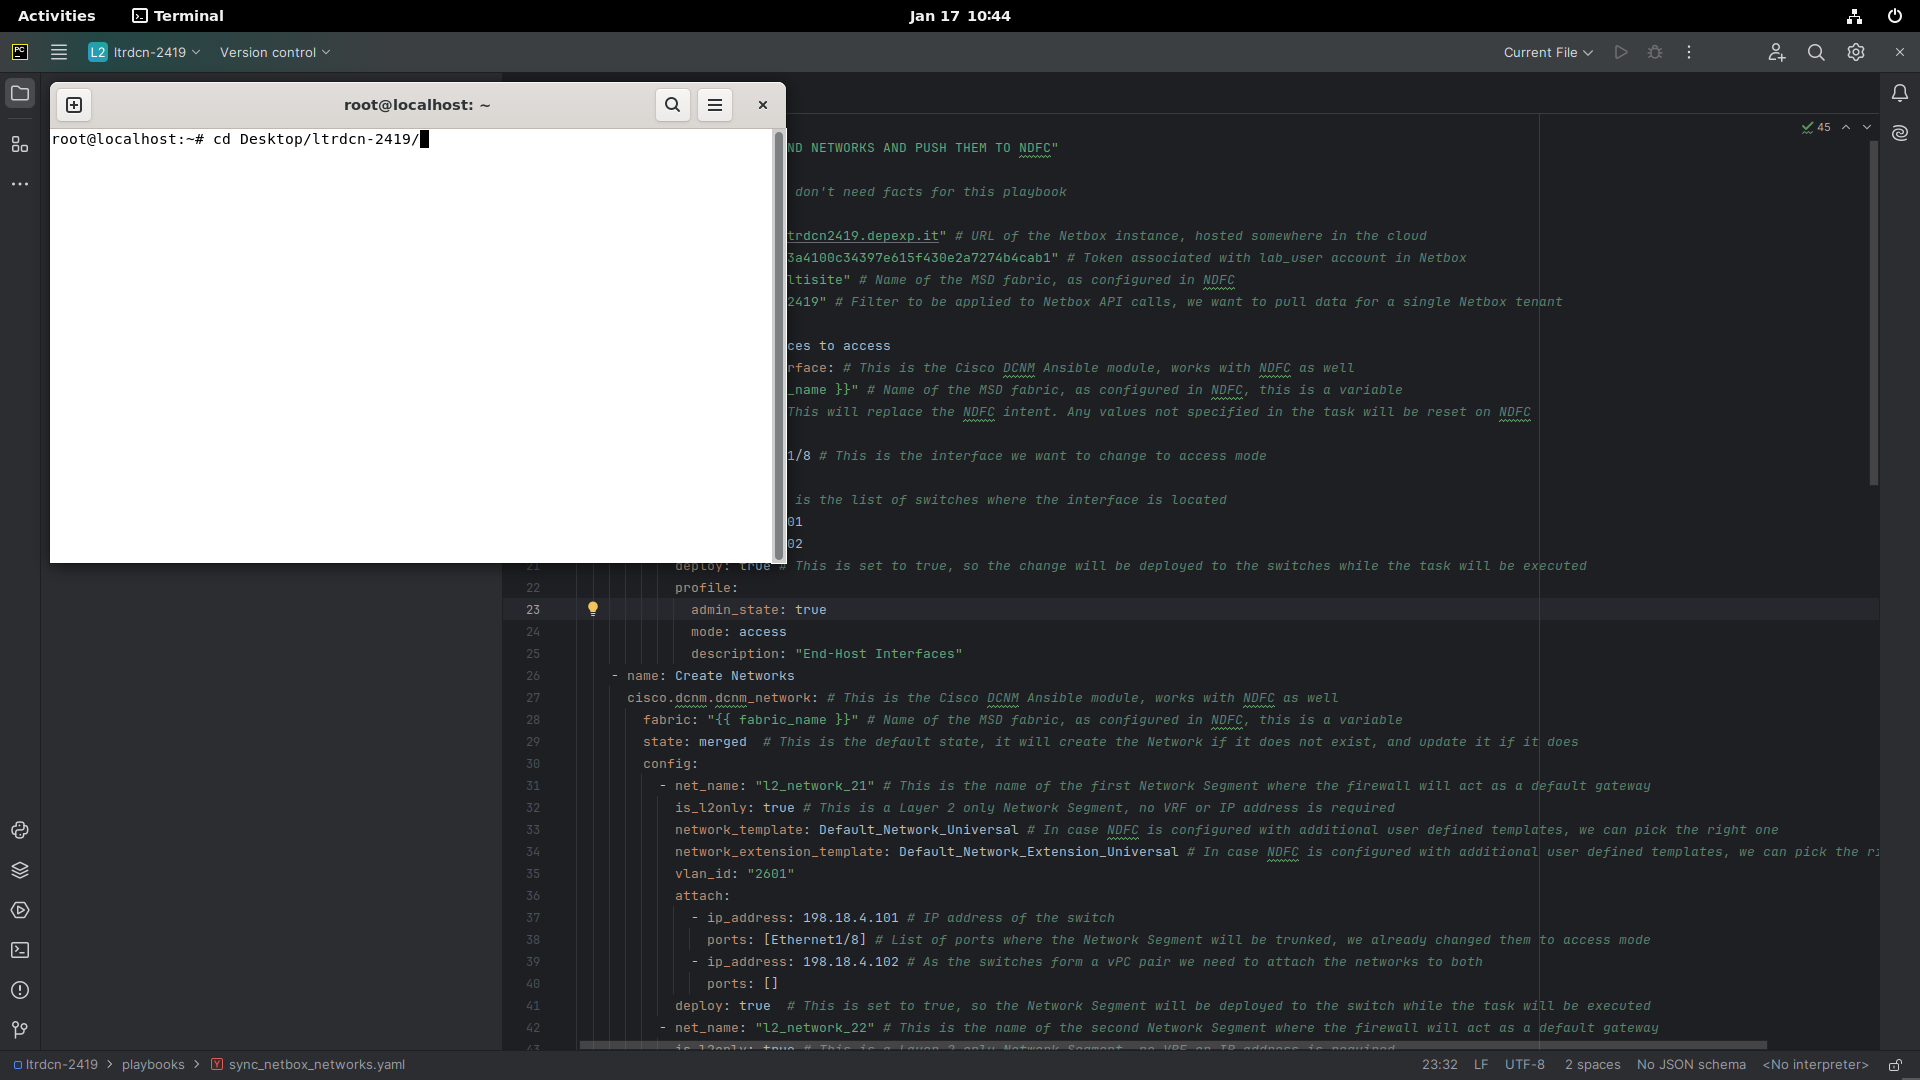
-
Execute the Ansible Playbook:
ansible-playbook -i inventory/hosts.yaml playbooks/sync_netbox_networks.yaml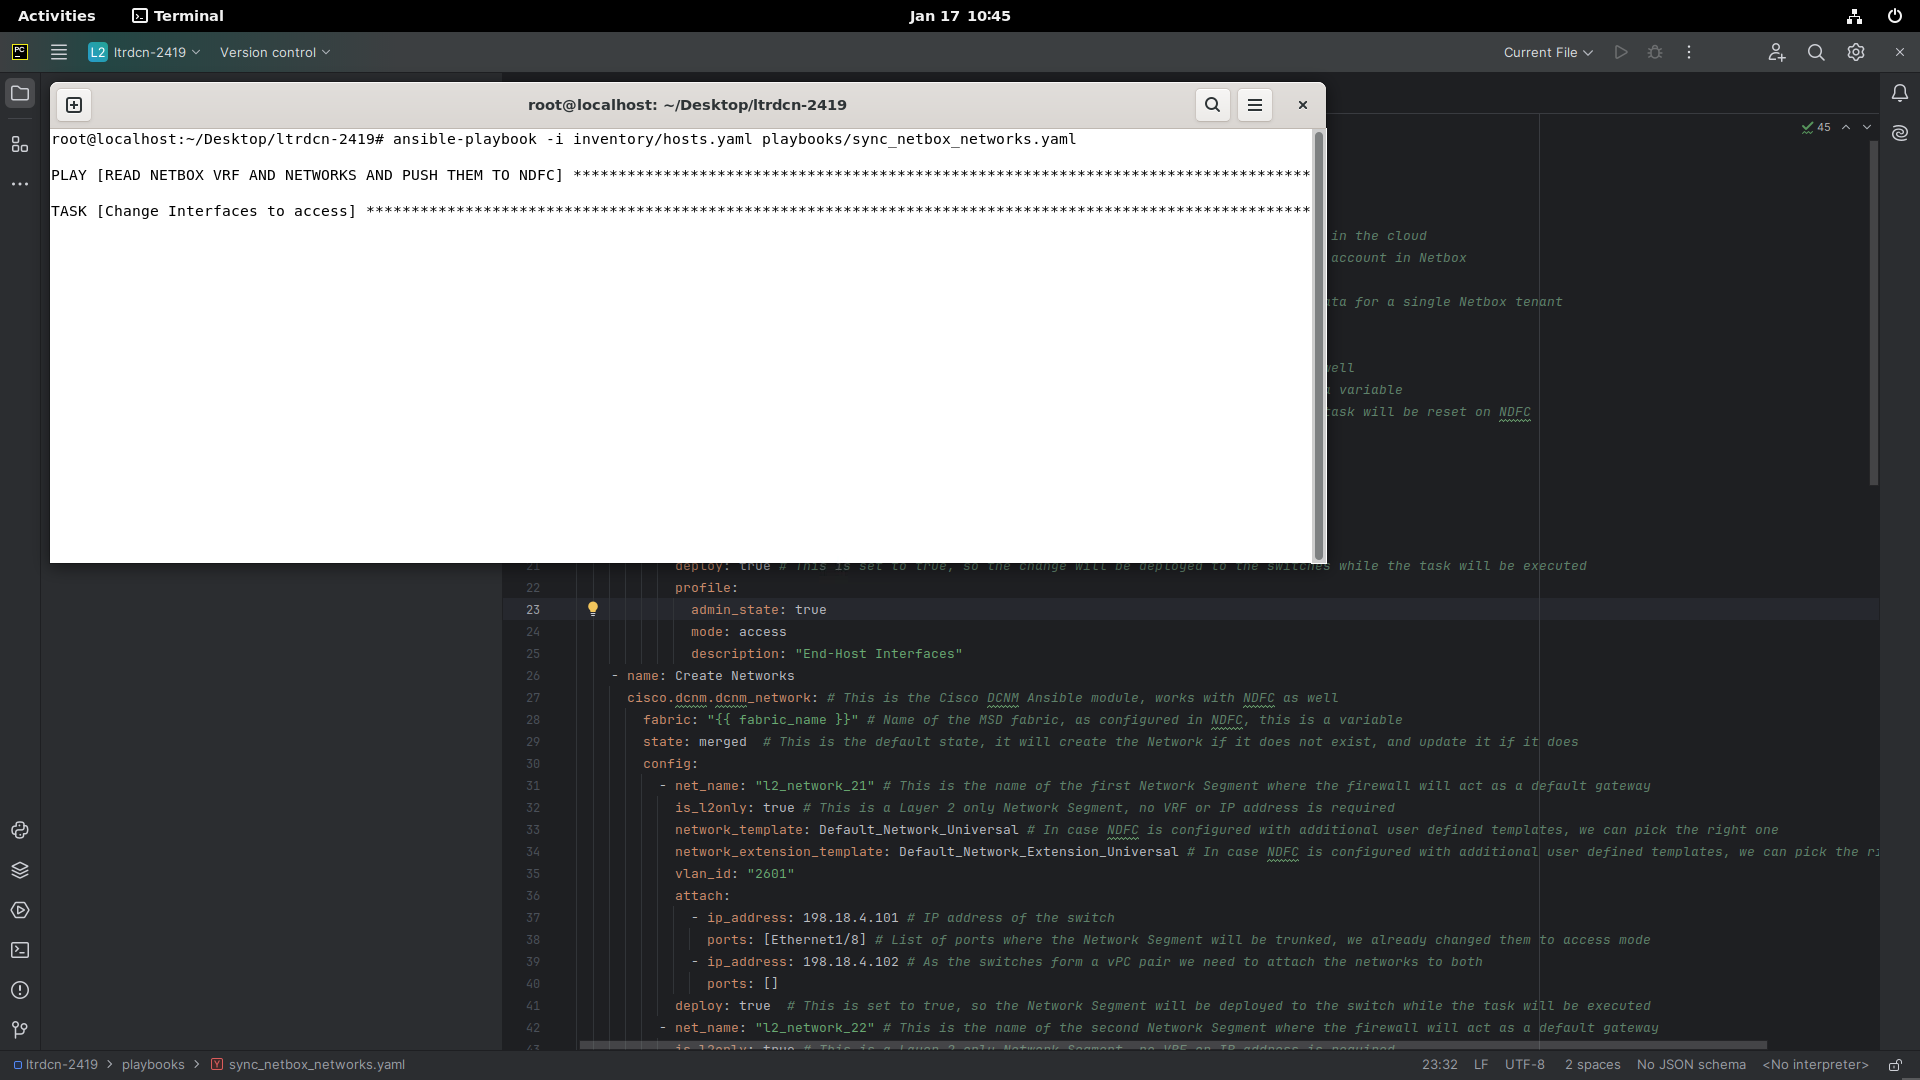
-
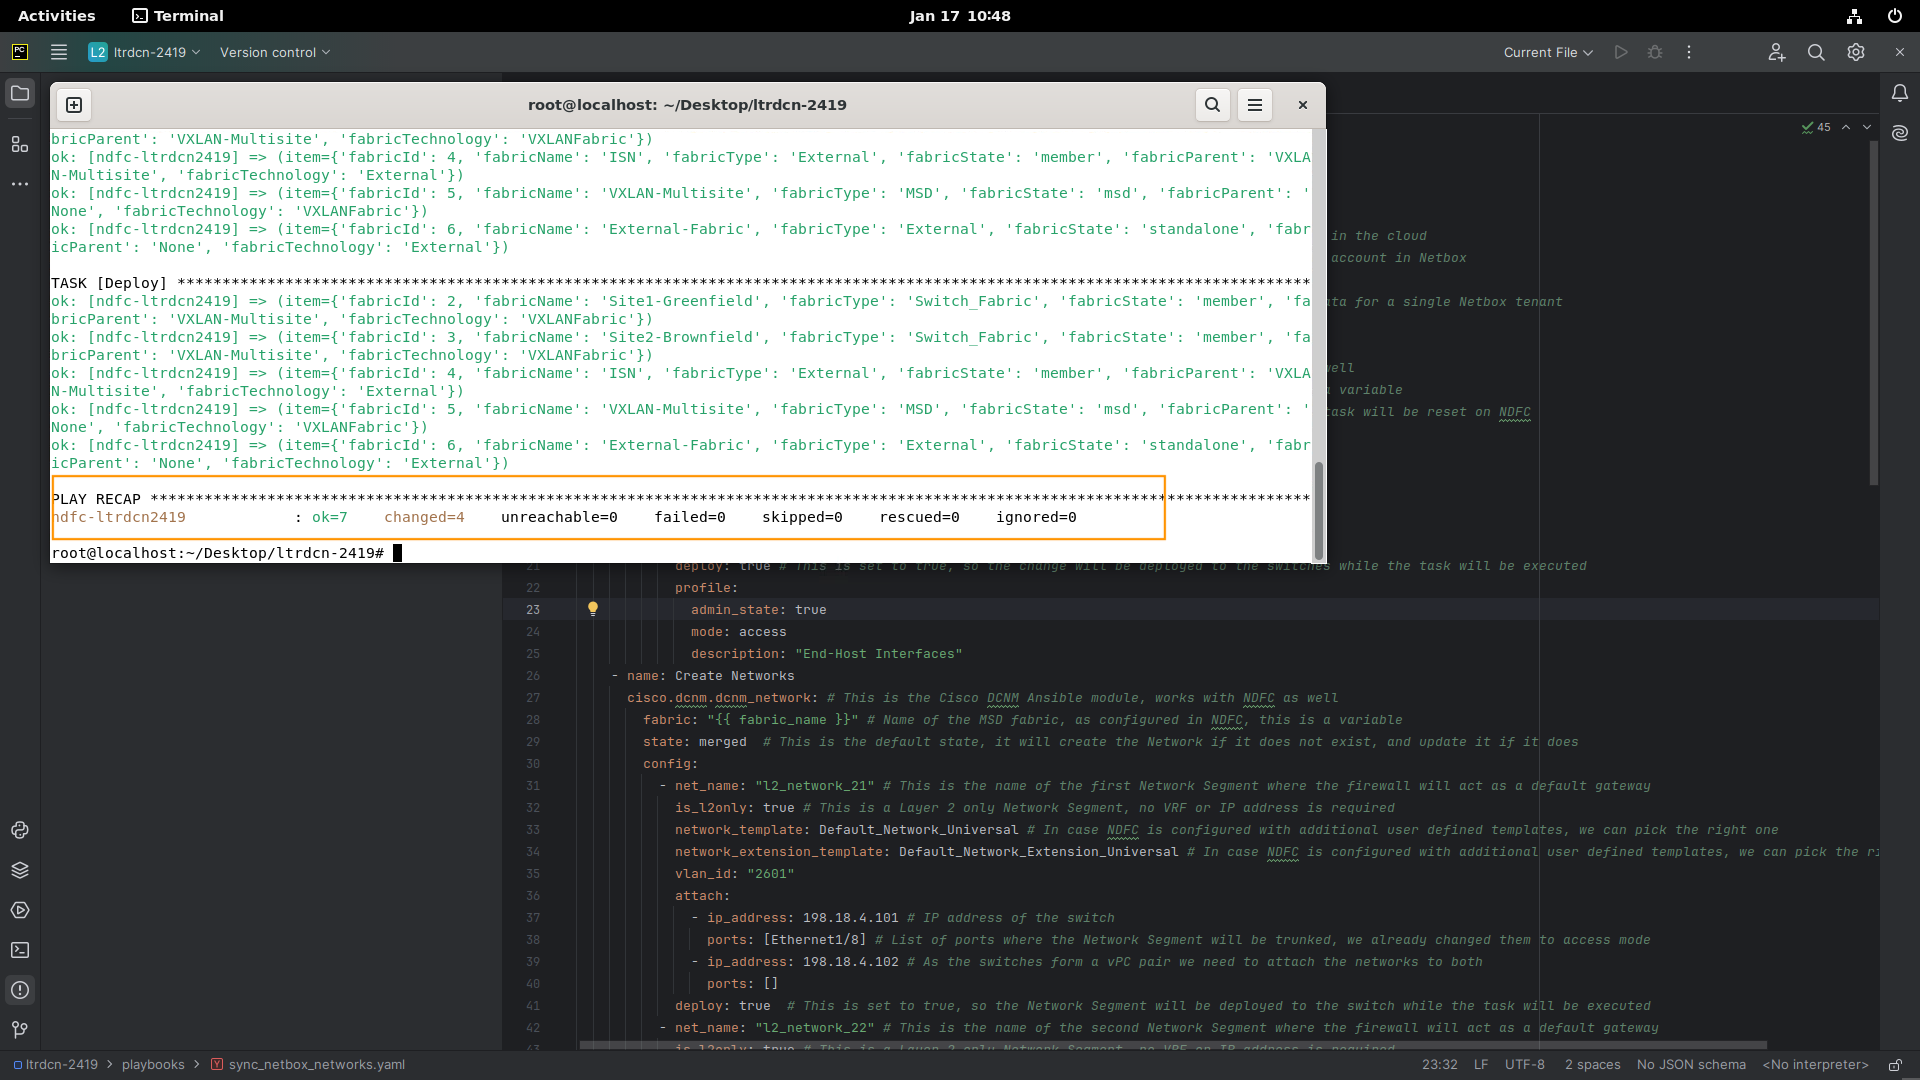
Wait for the playbook to complete.
-
You can now disconnect from the Ubuntu-Desktop VM.
Step 5: Verifying the NDFC Status
-
Access NDFC via the wkst1 WebRDP or, if connected via VPN, directly at NDFC.
-
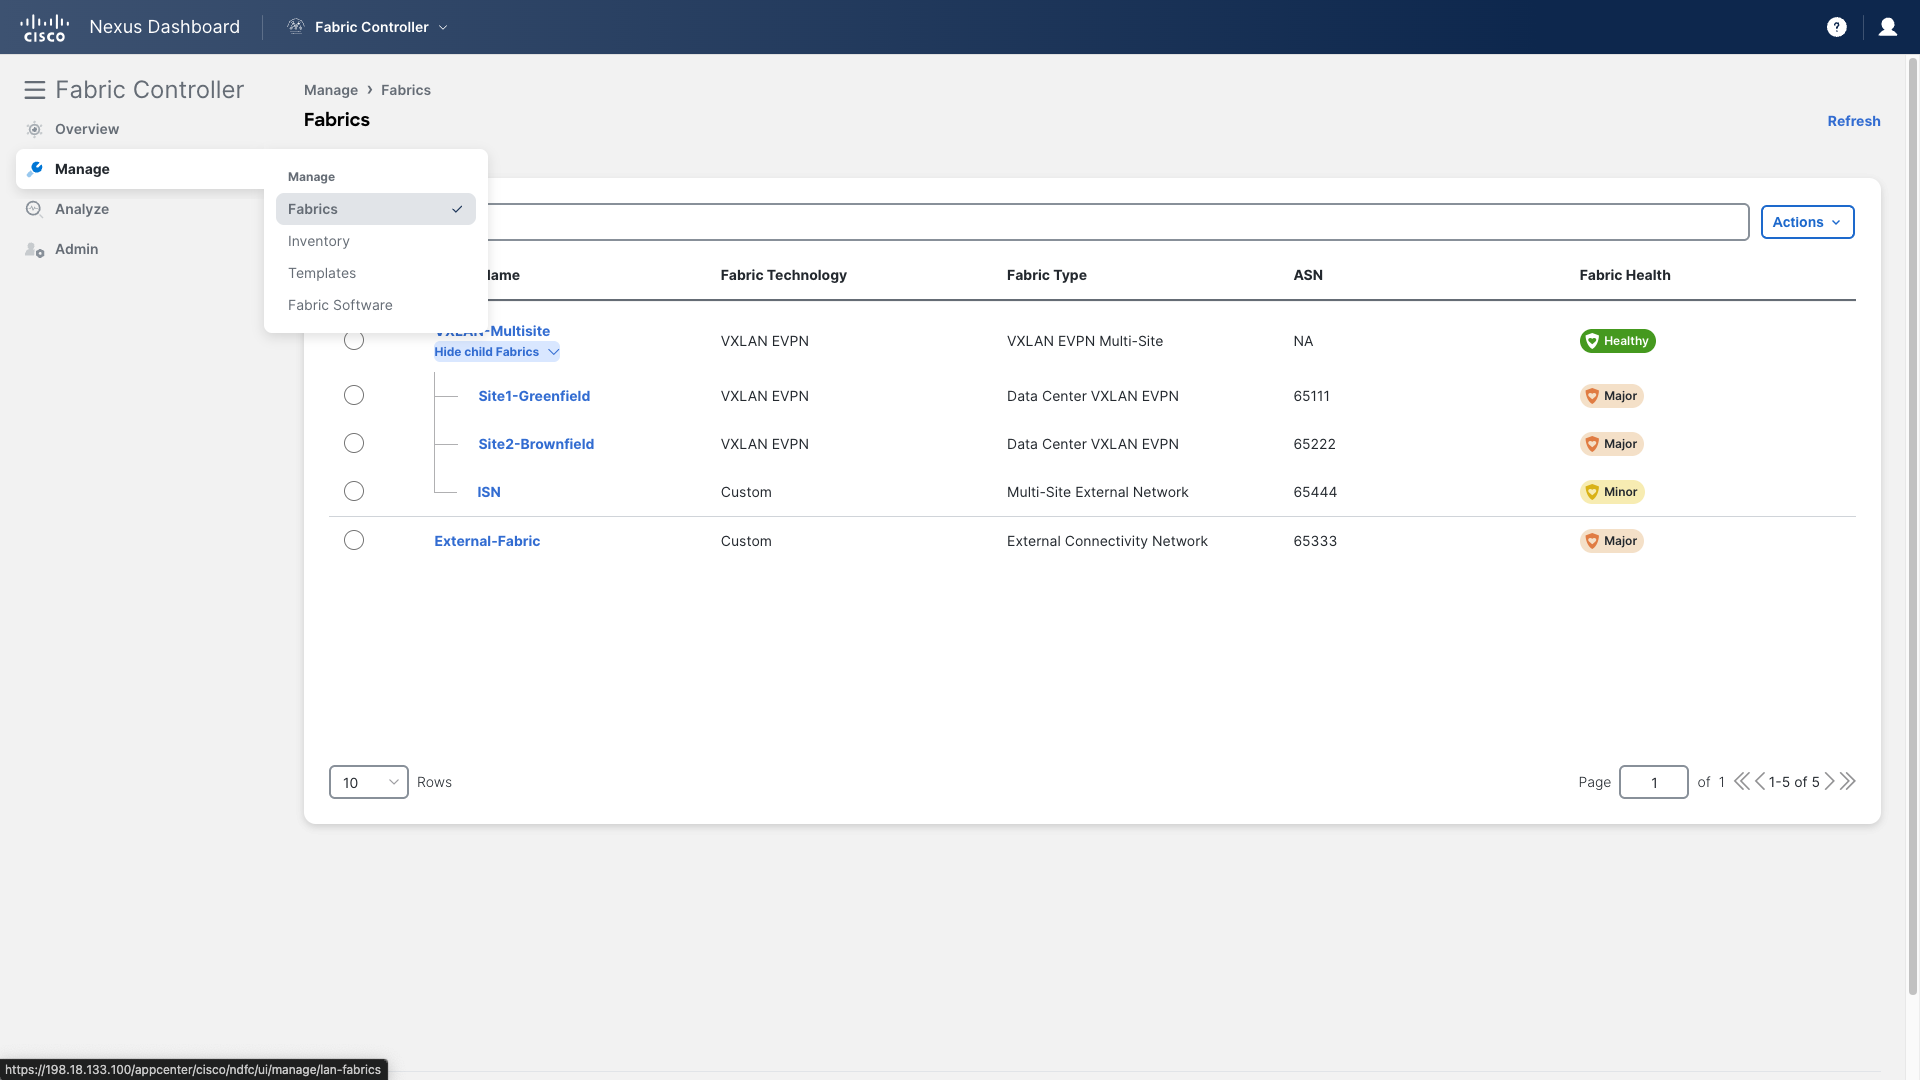
From Manage --> Fabrics, double-click on VXLAN-Multisite.
-
Go to the Networks section and confirm that all the Netbox networks have now been deployed into the fabric.
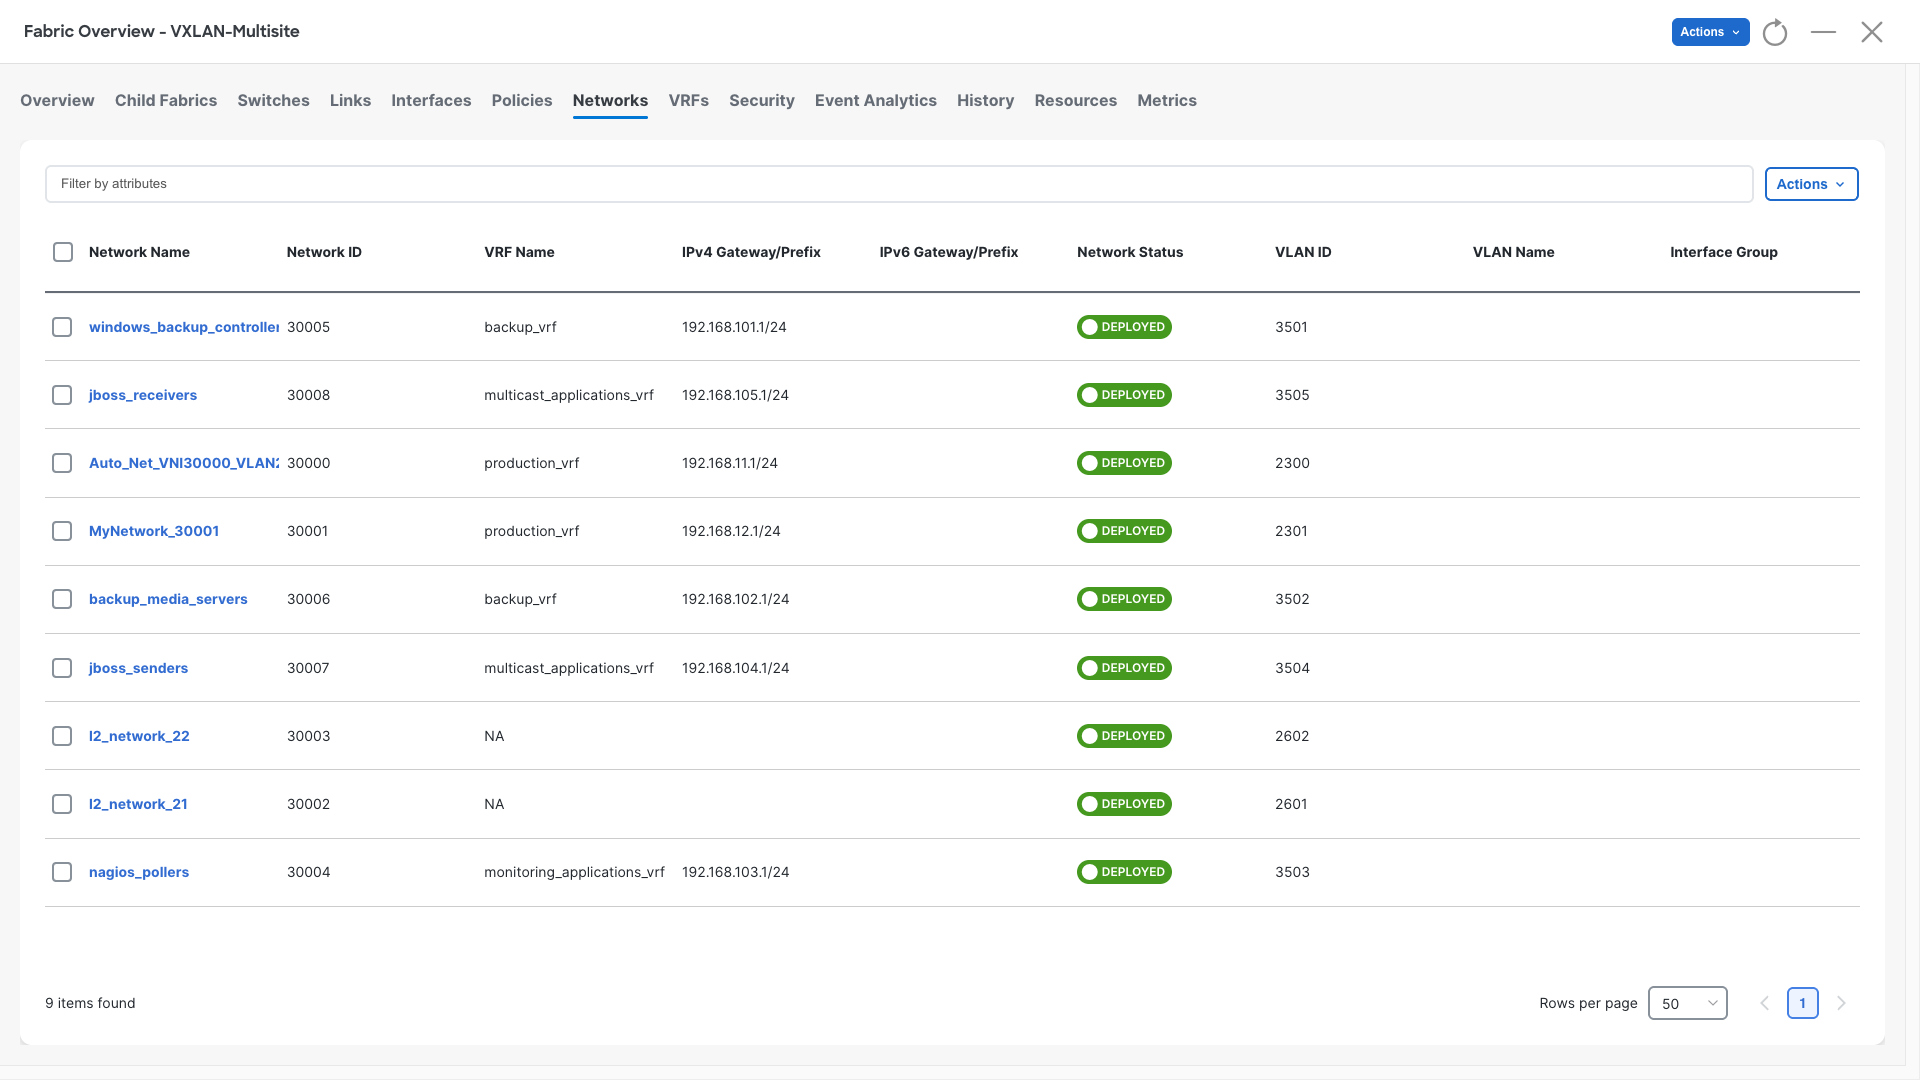
Example:
If you want to verify directly on Site1-Leaf1, run the following command to ensure these networks are provisioned:
show ip interface brief
You can continue now with Task #6